16 SCXG-SVX01B-EN
Pre-Installation
Considerations
Skid Removal
The unit ships on skids to provide forklift
locations from the front or rear. The skid
allows easy maneuverability of the unit
during storage and transportation.
Remove the skids before placing the unit
in its permanent location.
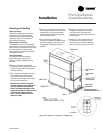
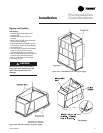
Remove the skids using a forklift or jack.
Lift one end of the unit off of the skids.
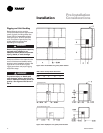
See Figure I-PC-5 and I-PC-6 on page 12
for unit gravity block location. Slide the
skids out and lower the unit at the
installation location.
Note: External isolation is not necessary
since units are internally isolated. Consult a
vibration specialist before “double-
isolating” the unit.
External Unit Isolation
If your job requires external vibration
isolation, two options are available:
isopads or spring-type isolators. Isopads
should be placed under the unit at
locations indicated on the factory-
provided isolator sheet.
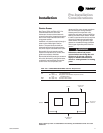
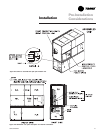
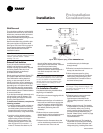
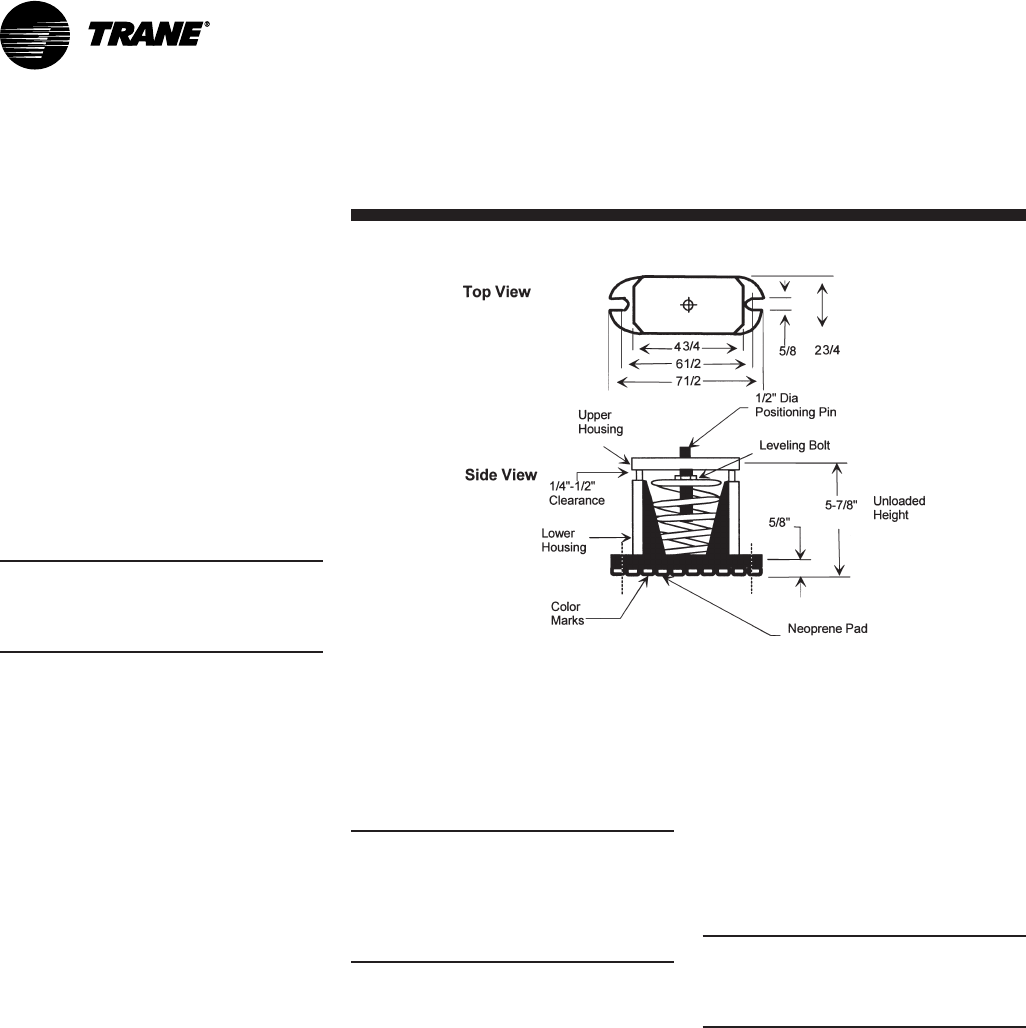
Set the spring-type isolators (Figure I-PC-
9) in position after the unit is removed
from skids before making electrical,
piping, or duct connections. All units
require a minimum of four isolators per
unit. But some may require six isolators,
depending upon unit options. Note: The
Trane Company strongly recommends
you consult a vibration specialist before
double-isolating the unit. Double isolation
is not recommended.
If you decide to externally isolate the unit,
use spring-flex, type CP isolators. The
spring number is marked on the outer
housing. See Figure I-PC-9.
To install external isolators, complete the
following procedure.
1. Locate the isolators under unit base at
the locations indicated on the factory-
provided isolator placement sheet. Lift
one end of the unit at a time to position
isolators to the floor, using anchor bolts.
2. Level the unit by adjusting isolator
heights. Unit weight may cause the
upper housing to rest on the lower
housing of the spring isolators. The
isolator clearance shown in the side
view of Figure I-PC-9, must be
1
/
4
-
1
/
2
inches. To increase the clearance, lift
the unit off the isolator and turn the
leveling bolt counterclockwise. Recheck
the unit level and the housing
clearances. Maximum allowable
difference between isolator heights is
1
/
4
inch. Shim as required under the
isolators.
Note: The compressors and fan assembly
are internally isolated on most units. Due
to this, the addition of external isolation
devices (spring mounting isolators) is at
the discretion of the building or HVAC
system designer.
Pre-Installation Checklist
Complete the following checklist before
beginning unit installation.
o
Verify the unit size and tagging with the
unit nameplate.
o
Make certain the floor or foundation is
level, solid, and sufficient to support the
unit and accessory weights. See Table
I-DW-1 on page 32. Level or repair the
floor before positioning the unit if
necessary.
o
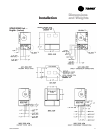
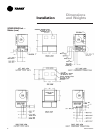
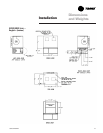
Allow minimum recommended
clearances for routine maintenance and
service. Refer to unit submittals for
dimensions.
o Allow three fan diameters above the
unit for the discharge ductwork. Return
air enters the rear of the unit and
Installation
conditioned supply air discharges
through the top.
o
Electrical connection knockouts are on
the top, left side of the unit.
o
Allow adequate space for piping
access and panel removal. Condenser
water piping, refrigerant piping, and
condensate drain connections are on
the lower left end panel.
Note: Unit height and connection locations
will change if using vibration isolators. The
unit height may increase up to 5
7
/
8
” with
spring type isolators.
o Electrical supply power must meet
specific balance and voltage
requirements as described in the
“Electrical Requirements” section on
page 37.
o
Water-cooled units only: The installer
is responsible for providing a condenser
main, standby water pump, cooling
tower, pressure gauges, strainers, and
all components for waterside piping.
See the “Water Piping” section on page
34 for general waterside
recommendations.
o Air-cooled units only: The installer is
responsible for providing and installing
the remote air-cooled condenser and
refrigerant piping, including filter driers.
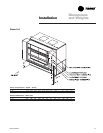
Figure I-PC-9. Optional spring isolator dimensional data.


