Jaguar Model J-390
33
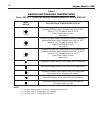
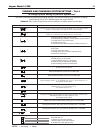
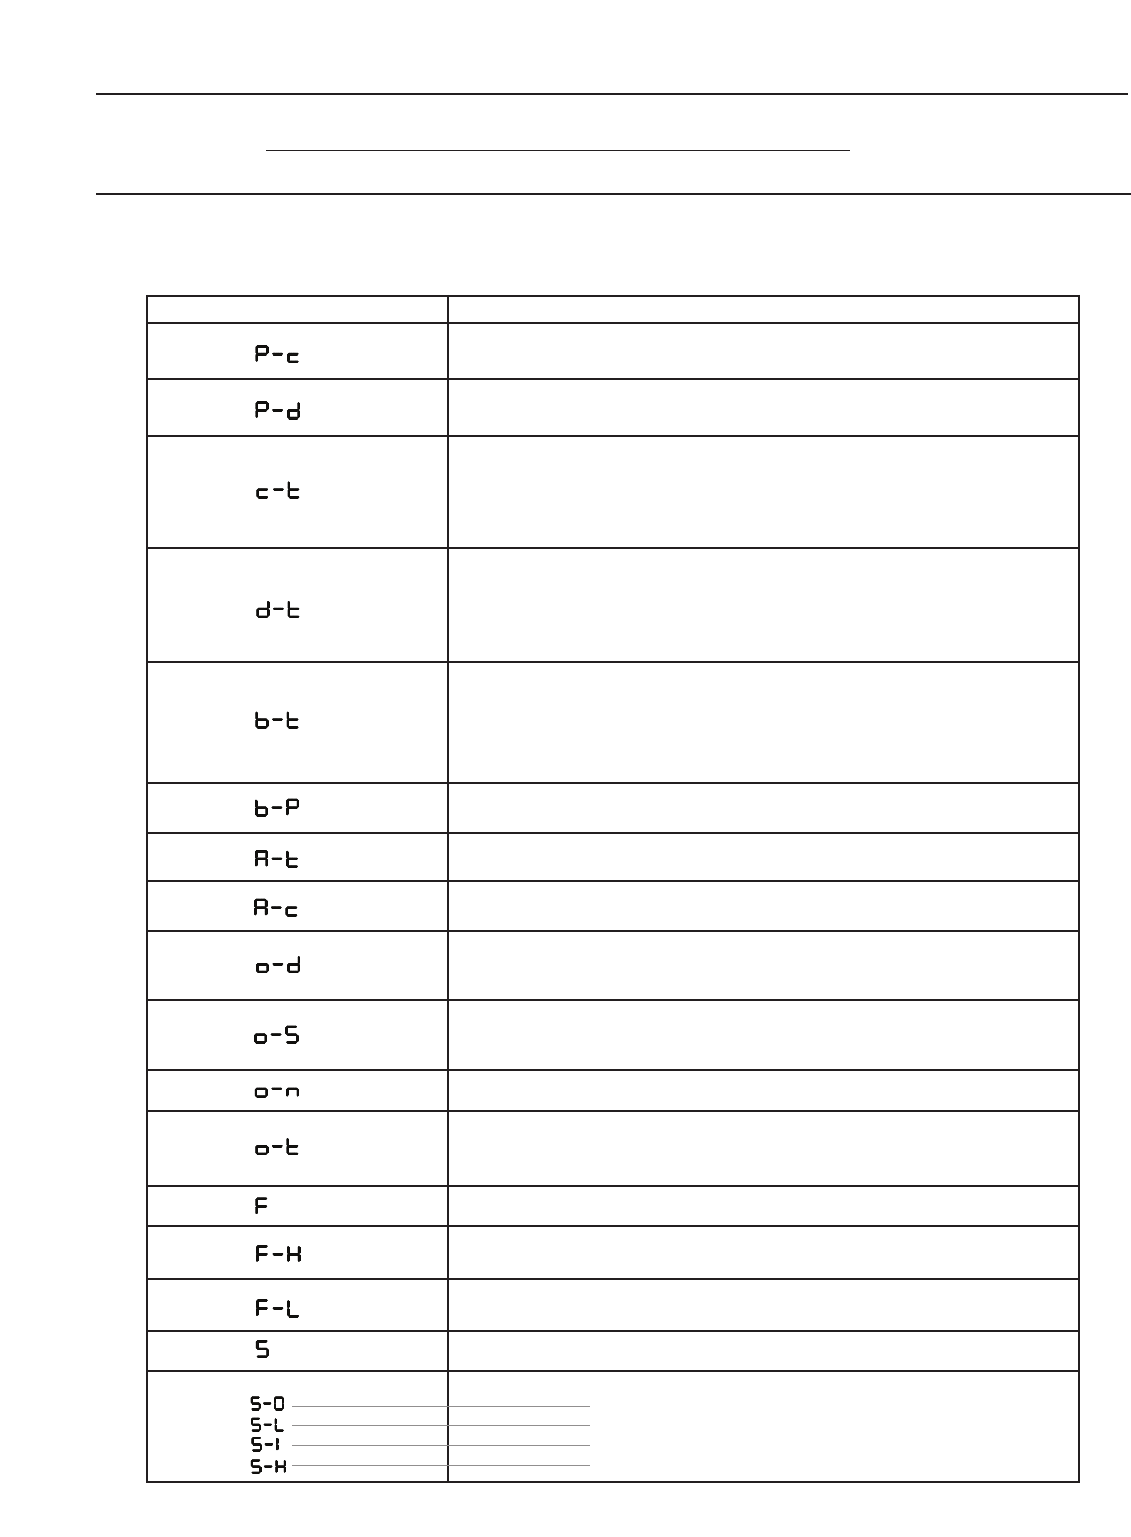
MODE DISPLAY
DESCRIPTION
Changing space heating post pump time. Settable from 10 to 900 seconds.
(steps of 10 seconds). The default value is 30 seconds.
Changing DHW post pump time. Settable from 1 to 255 seconds.
(steps of 1 seconds). The default value is 15 seconds.
C
hanging space heating control mode
0: Thermostat only (default) - boiler without outdoor sensor
1
: Outside sensor and Thermostat
2:
Outside sensor only
3: Permanent heat demand (boiler circulator always on)
C
hanging domestic hot water (DHW) mode
0: No DHW
1: Storage tank with sensor
2: Storage tank with thermostat (default value)
3:
Plate heat e
xchanger
Changing DHW or space heating priority mode
0: DHW priority (no time limit)
1: Space heating priority (no time limit)
2: DHW priority for limited time (default)
3: Space heating priority for limited time
Changing priority limited time. Settable from 20 to 80 minutes.
The default value is 30 minutes.
Boiler model selection, value is 5 for model J-390
Boiler model confirmation, value is 5 for model J-390
Weather compensation supply water reference temperature
(space heating mode 1 or 2). Settab
le from 16˚F to 122˚F (steps of 1 F).
The def
ault v
alue is 86˚F.
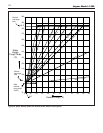
Changing compensation slope (space heating mode 1 or 2).
Settable from 0.1 to 5.0 (steps of 0.1).
The default value is 1.0.
Not Utilized
Changing weather compensation set point (space heating mode 2 only).
Settable from 32˚F to 122˚F (steps of 1˚F).
The default value is 68˚F.
Displa
y sho
ws blower RPM (mutiply reading by 10 for actual RPM)
Change blower RPM for high input (steps of 30 RPM, limit +/- 480 RPM).
Change blower RPM for low input (steps of 30 RPM, limit +/- 120 RPM).
Display shows flame current in micro amps
System test – Display shows flame current
0: System test off
L: Steady low input (20 minutes)
I: Steady ignition input (20 minutes)
H: Steady high input (20 minutes)
NOTE: *: Alternating **: Steady
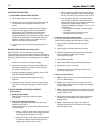
VIEWING AND CHANGING SYSTEM SETTING - Table 5
“To change system setting or perform system test”
T
he menu is accessed by pressing and holding “SELECT” and “ENTER” buttons for 10 seconds. To change
system setting: Press “UP or DOWN” button, then press “ENTER”
WARNING: Only a trained, experienced service technician or installer should use this table.
Table 2
Table 1
Table 3
Table 2
Table 1
Table 3
Table 2
Table 1
Table 3
Table 2
Table 1
Table 3
Table 2
Table 1
Table 3
Table 1
T
able 3
T
able 1
Table 3
Table 1
T
able 3
Table 1
Table 3
Table 1
Table 3
Table 3
Table 3
Table 3
Table 3
Table 3
Table 3
Table 3
Table 3
Table 3
*
*
*
*
*
*
*
*
*
*
*
**
*
*
**
*
Table 3
*


