Chapter 2 Detector Setup 15
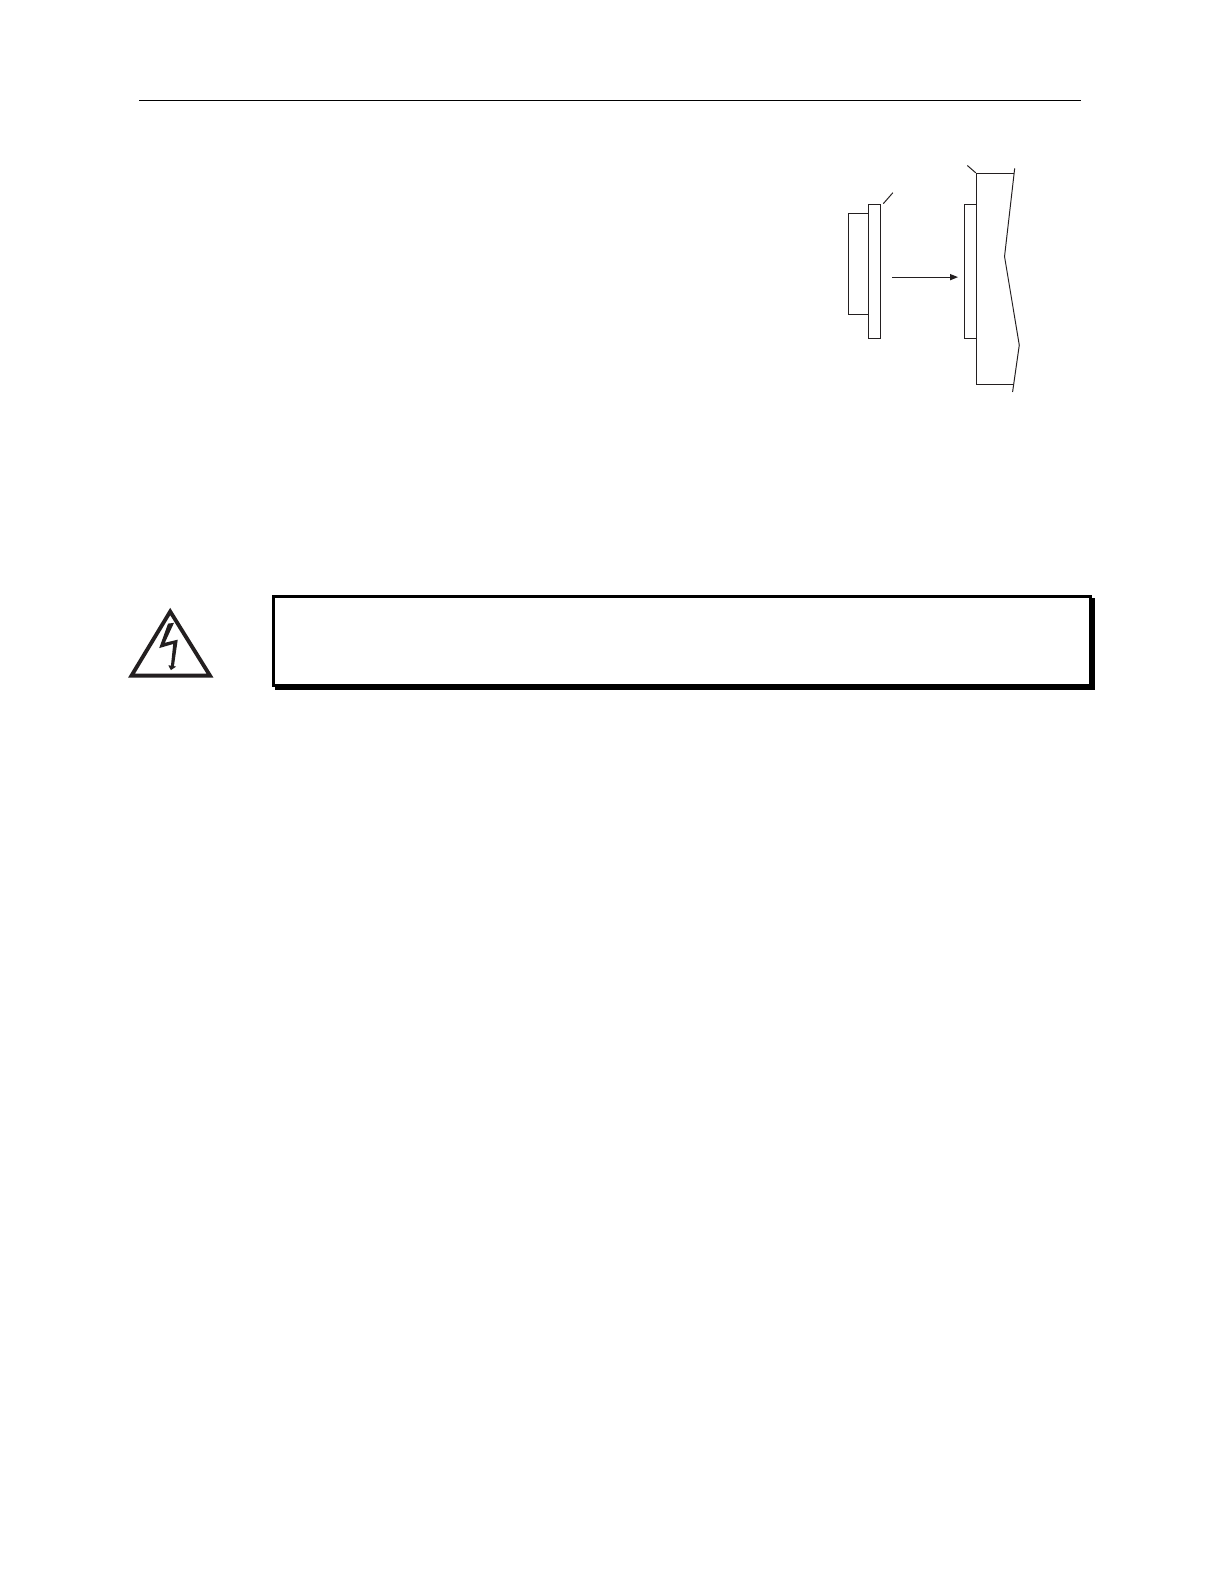
Second Shutter Type Mounting Directions
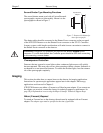
The second shutter mount, used with all Acton Research
spectrographs, requires no disassembly. Mount it to the
spectrograph as shown in Figure 7.
Adapter
Spectrometer
Figure 7. Entrance Slit Shutter for
Acton Spectrographs
The shutter cable should be connected to the Shutter Power connector on the rear panel
of the NTE/CCD Detector or to the Shutter Power connector on the ST-133 Controller.
In many systems, cable length considerations will make it more convenient to connect to
the Shutter Power connector on the detector.
WARNING
:
Dangerous live potentials are present at the Remote
Shutter
power
connector. To avoid shock hazard, the Controller power should be OFF when connecting
or disconnecting a remote shutter.
Overexposure Protection
Detectors that are exposed to room light or other continuous light sources will quickly
become saturated. This most often occurs when operating without a shutter. Saturation is
not harmful to a non-intensified detector. To reduce the incident light, close the entrance
slit of the spectrograph completely.
Imaging
This section describes how to connect lenses to the detector for imaging applications.
Instructions for spectroscopic applications appear later in this chapter. Microscopy
applications are discussed in Chapter 5.
NTE/CCD Detectors use either a C-mount or a Nikon bayonet adapter. If you cannot use
the adapter you received, contact the factory for technical support or replacement. See
page
50
for Information on accessing the Roper Scientific Technical Support Dept.
Nikon (F-mount) Bayonet
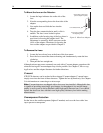
To attach an F-mount lens to the detector, the unit must be equipped with an F-mount
adapter. The adapter type must be specified at the time of purchase.


