


UltraGlow
®
G36D Zero Clearance Direct Vent Gas Fireplace
27
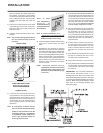
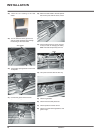
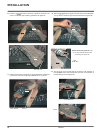
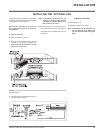
5)
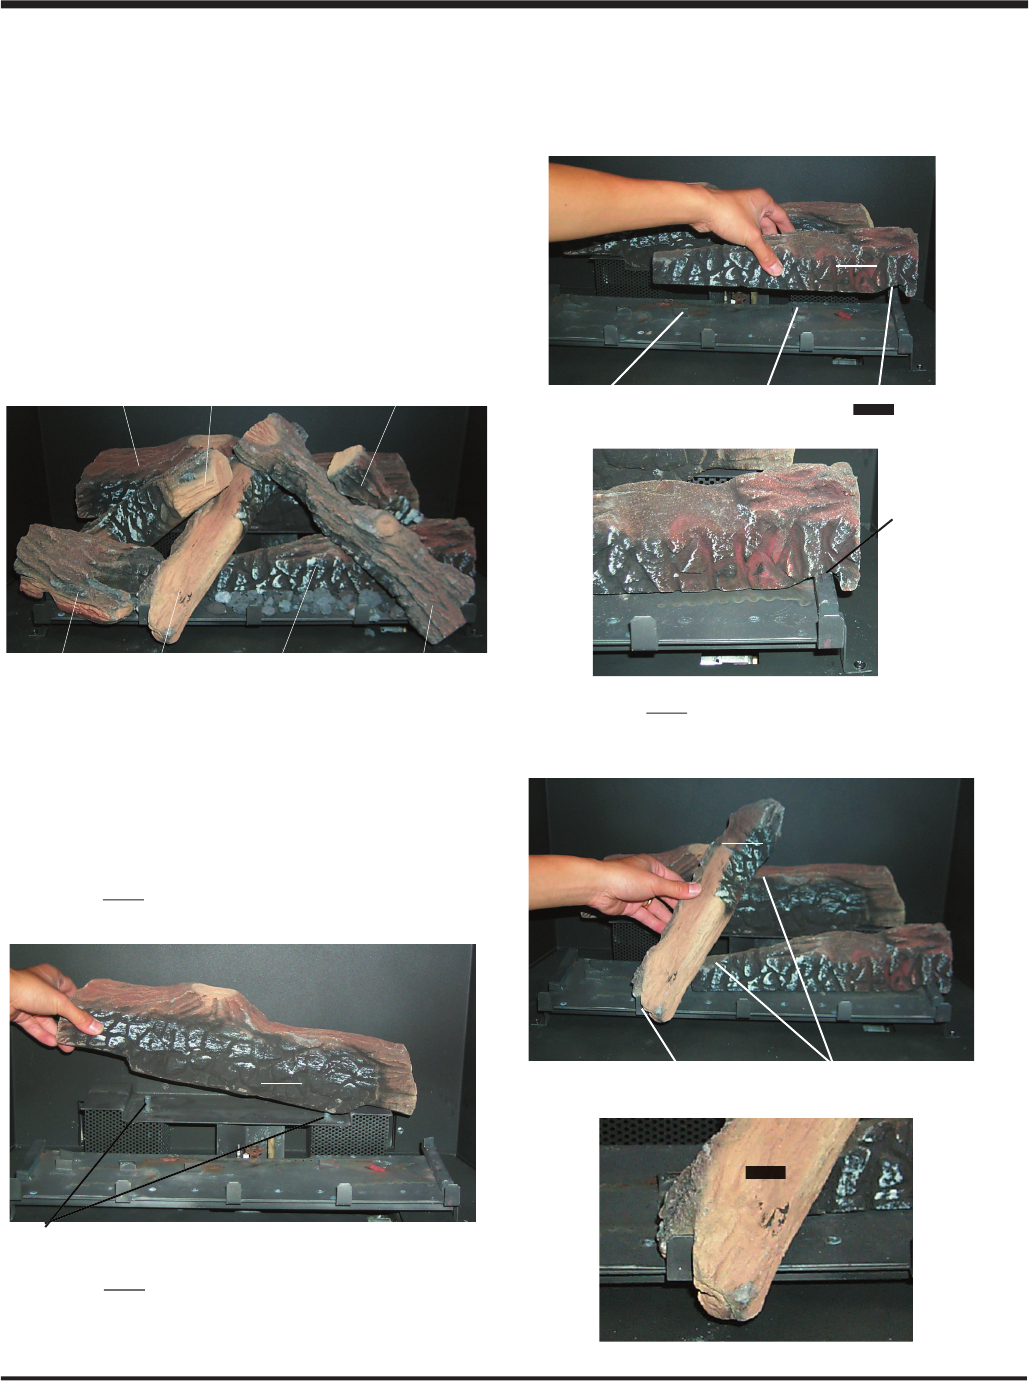
Position Log
02-53
across the cutouts in Logs 02-75 and 02-51 with
the notch on the left side of the log fi tting into the 2nd grate tab.
Cutouts
2nd Grate Tab
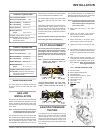
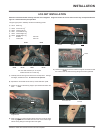
LOG SET INSTALLATION
Read the instructions below carefully and refer to the diagrams. If logs are broken do not use the unit until they are replaced. Broken
logs can interfere with the pilot operation.
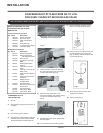
The gas log kit (Part # 780-930) contains the following pieces:
1)
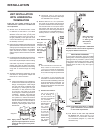
Carefully remove the logs from the box and unwrap them. The logs
are fragile, handle with care -
do not force into position.
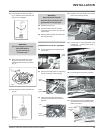
3)
Place Log
02-75
on the rear log support pins with the fl at side to the
back.
The "02" refer numbers (i.e. 02-75) are
molded into the rear of each log.
02-52
02-54
Notch
a) 02-75 Rear Log
b) 02-55 Middle Left Log
c) 02-50 Front Left Log
d) 02-53 Center Left Log
e) 02-51 Front Bottom Log
f) 02-54 Center Right Log
g) 02-52 Middle Right Log
h) Embers 902-156
i) Vermiculite 902-179
02-75
02-55
02-50
02-53
02-51
02-75
02-51
02-75
Notch
Bracket
Bracket
02-51
02-53
02-75
02-51
02-51
02-53
Support Pins
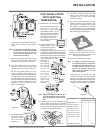
4)
Place Log
02-51
on the front right side of the burner. Push the back
of the log against the 2 brackets with the notch on the bottom right
side of the log fi tting into the right side of the grate.
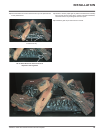
2)
Sprinkle the vermiculite all over the top of the base brick panel.
INSTALLATION