March 4, 2002 Page 26 30211C
DV400S DIRECT VENT ROOM HEATER
R
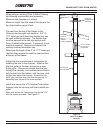
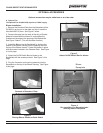
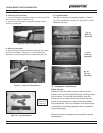
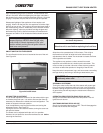
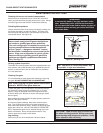
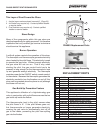
Figure 25
Air Shutter Adjustment
Note:
Allow the unit to cool before replacing the front face.
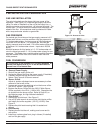
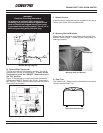
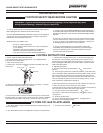
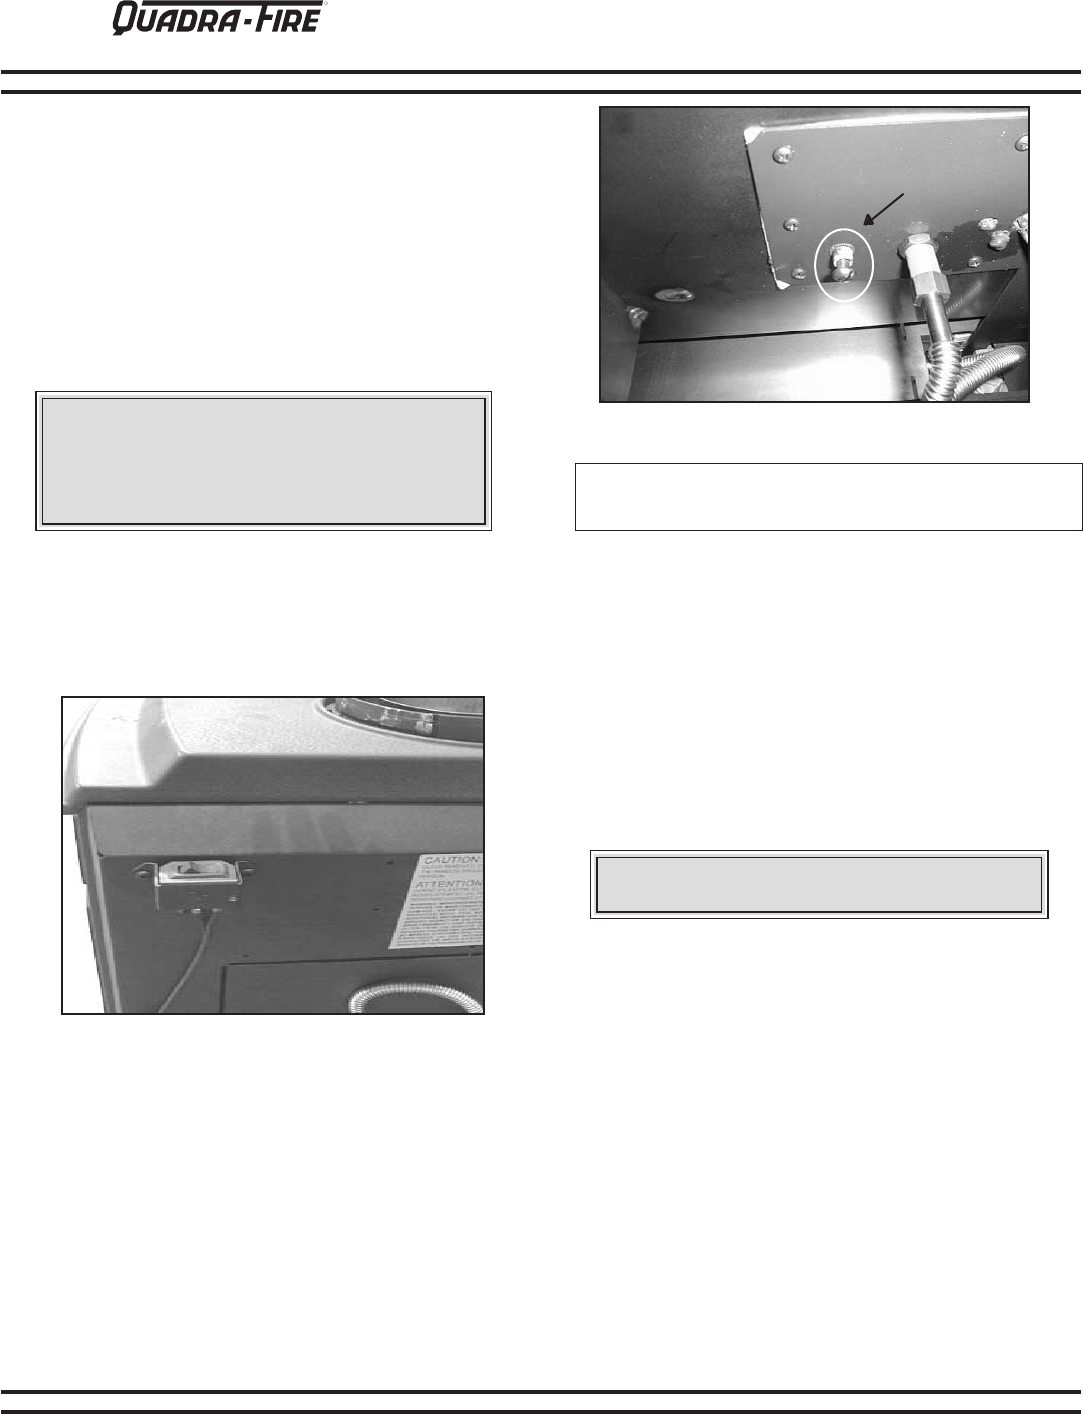
Figure 24 On/Off Switch
CAUTION: During the initial purging and sub-
sequent lightings, NEVER allow the gas valve
control knob to remain depressed in the “pilot”
position without pushing the red ignitor button at
least once every second.
CAUTION: The Logs can get very hot -
handle only when cool.
Upon completing the gas line connection, a small amount of air
will be in the lines. When first lighting the pilot light, it will take a
few minutes for the lines to purge themselves of this air. Once the
purging is complete, the pilot and burner will light and operate.
Subsequent lightings of the appliance will not require such
purging. When lit for the first time, the appliance will emit a slight
odor for an hour or two. This is due to paint and lubricants used in
the manufacturing process. Additionally, for the first few minutes
after each lighting, vapor may condense and fog the glass and
the flames may be blue. After a few minutes, this moisture will
disappear and within 15-30 minutes the flames should become
yellow.
ON/OFF SWITCH FOR THE BURNER
The on/off switch for the burner is located at the rear of the unit.
See Figure 24.
AIR SHUTTER ADJUSTMENT
The air shutter adjusts the amount of air that mixes with the gas
as it enters the burner pan. It is used to fine tune the flame as
necessary for differences in altitude and vent configuration. The
shutter is shipped in the open position.
It can be adjusted by removing the front face and turning the
adjustment screw. See Figure 25.
Turning the screw in will close the shutter; turning the screw out
will open the shutter.
The shutter can be adjusted while the unit is in operation.
However, the unit should be shut off and allowed to cool before
removing the front face.
Allow the unit to operate about 15-20 minutes. This will give
the flame time to reach its height and color before making
adjustments to the air shutter. As the shutter is closed, the flame
should get taller and darker.
The appliance may produce a noise, caused from metal
expansion and contraction as it heats up and cools down. This
noise is similar to one that a furnace or heat duct may produce
and does not affect the operation or longevity of the the unit.
Keep the control compartment, logs, and burner area surrounding
the logs clean by vacuuming or brushing at least twice a year.
SEASONAL SHUTDOWN
Turning the valve to off at the end of the season will prevent gas
from running to the appliance while not in use in the off season.
However, leaving the pilot on does not consume a large amount
of gas and the pilot will help keep the moisture and insects out
of the system.
OPERATION PROCEDURE DURING REGULAR USE
Simply turn the switch/thermostat to the ON position. This will
ignite the main burner.
SHUTDOWN DURING REGULAR USE
Simply turn the switch/thermostat to OFF. This will disengage the
burner and the flames will extinguish.
Air Shutter
Screw


