Page 23
32198A February 15, 2002 32198A February 15, 2002
Cape Cod Wood Stove
R
INSTALLATION
ASSEMBLY
1 Place the unit in a location near the nal installation area and follow the procedures below:
2 Open the stove and remove all the parts and articles packed inside. Inspect all the parts and cast iron body for
shipping damage. Contact your dealer if any irregularities are noticed.
3 Install oor protection if the heater is being placed on a combustible oor. Refer to the section on oor protectors
for required materials and sizes on page 10.
4 REMOVE ANY LABELS FROM GLASS.
5 DO NOT TILT THE UNIT ON THE CAST IRON LEGS: Lift the unit upright and place it into position
on the oor protector.
6 Ensure that the kaowool insulation is positioned snugly against the rear of the unit, (see page 33, for kaowool blanket
location). This eliminates any unburned gases from escaping prior to burning.
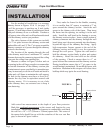
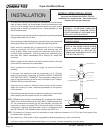
REVERSIBLE FLUE COLLAR
The Cape Cod ue collar is reversible for either a top or rear venting installation. The unit is shipped with the ue collar
in the top vent position. For rear vent installations adjust the ue collar as follows:
1. Remove 6 Phillips head screws from the vent collar shield, remove shield and discard.
2. Remove bolts from each side of the ue transition (2 total). (Place your free hand in ue opening to locate
and retrieve nuts attached to bolts.)
3. Turn vent. Replace bolts and nuts.
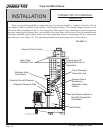
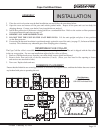
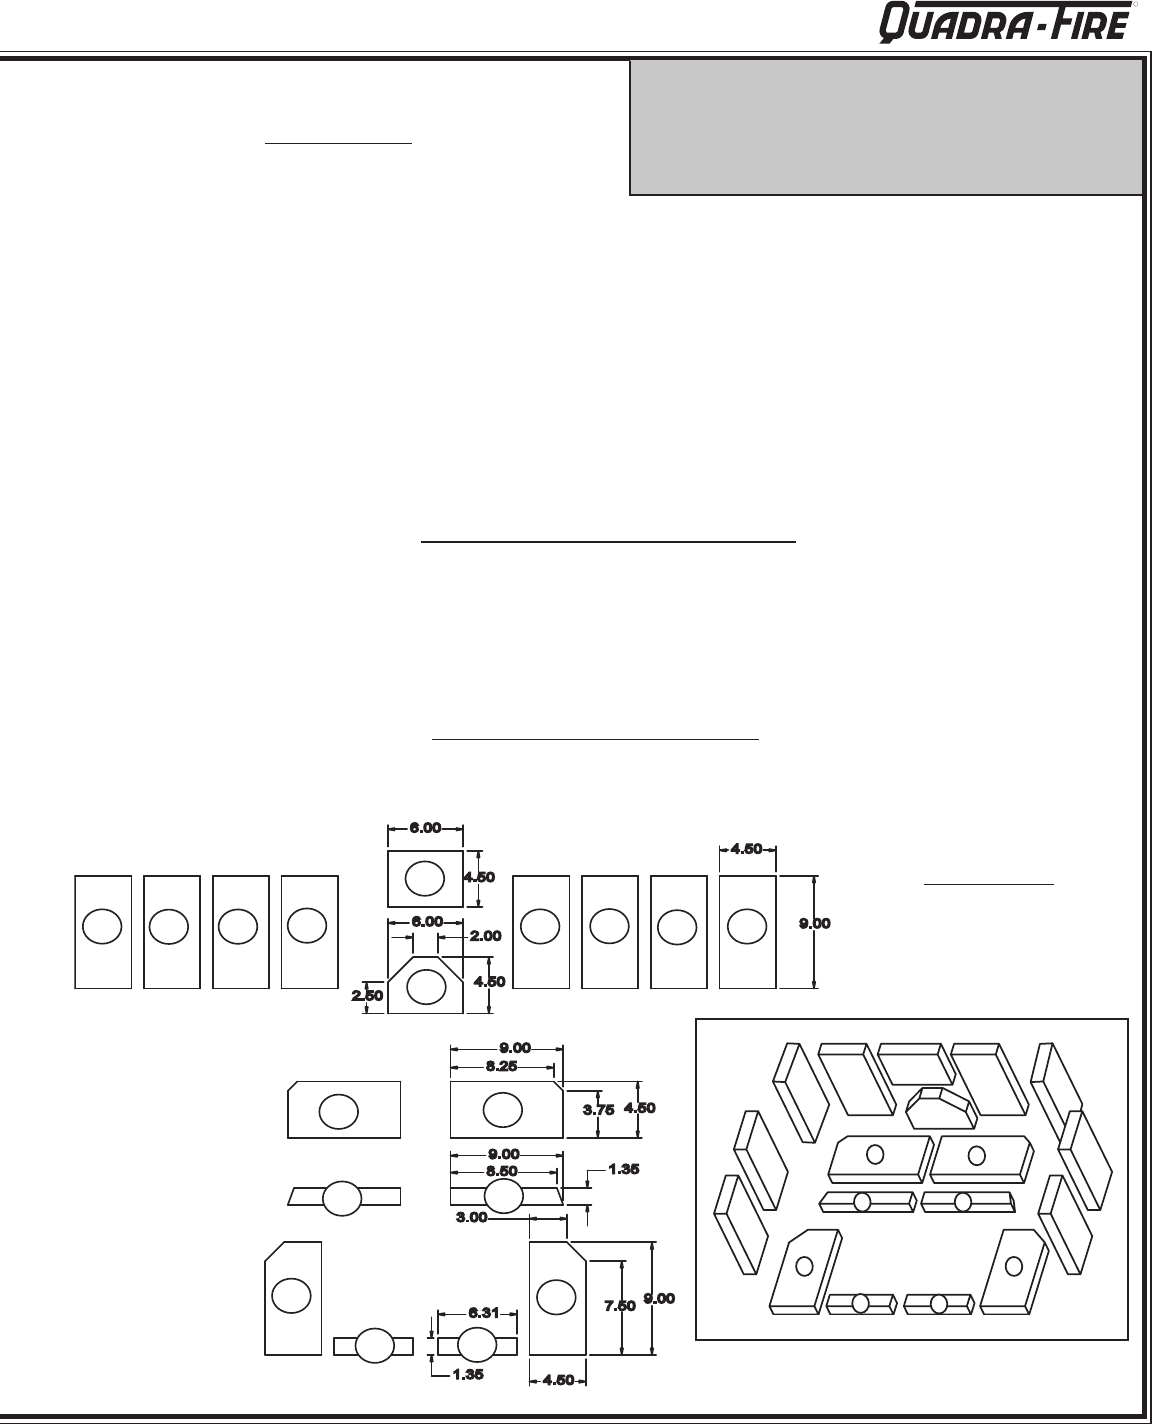
FIREBRICK PLACEMENT
Ensure that the rebricks are correctly positioned as referenced by diagram below, and that the rebox does not contain
any broken brick prior to operating the unit.
Part Numbers
834-3870 Brick Set
832-0550 Individual Brick
9.00
8.25
4.50
3.75
9.00
8.50
1.35
9.00
7.50
4.50
3.00
6.31
1.35
9.00
4.50
6.00
4.50
4.50
2.00
6.00
2.50
1
12
2
3
4
5
6
7
8
9
10
11
13
14
15
16
17
18
j
k
l
m
n
o
p
q
r
s
11
12
13 14
15
16
17
18


