94
PC Mode / Controlling the Camera
Using the WT-4 with a Computer
Controlling the Camera
1 Complete the steps in “Connecting to the Computer” (pp. 90–
93).
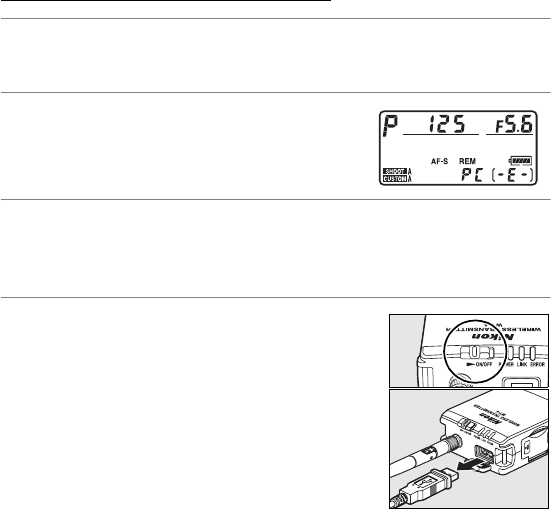
2 Start Camera Control Pro 2 on the host
computer and confirm that “PC” is
displayed in the camera control panel.
3 Control the camera as described in the Camera Control Pro 2
manual. Any photographs taken while the camera is
connected will be recorded directly to the computer hard disk.
4 Turn the WT-4 off when transfer is
complete.
Wait for the POWER LED (pg.
3) to turn from green to yellow and
then go out, and then disconnect the
USB cable.
D Wireless Networks
More time may be required to complete operations on wireless networks.
D Ethernet Networks: Do Not Disconnect the Ethernet Cable
Do not disconnect the Ethernet cable while the camera is on.
A Wireless Networks: Loss of Signal During Transfer
A loss of signal may interrupt the connection while pictures are being
transferred to Camera Control Pro 2. If the POWER LED on the WT-4 is
blinking (pg. 2), turn the WT-4 off and then on again. Transfer will resume
when the connection is re-established. Do not turn the camera off.
Transfer can not be resumed once the camera has been turned off.
