Straight Stitches 1_ _ []
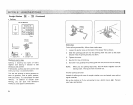
When you turn on your machine, +t is auto-
mat_catfy set to sew a straight s_itch (pattern
Stratght Stitch
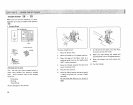
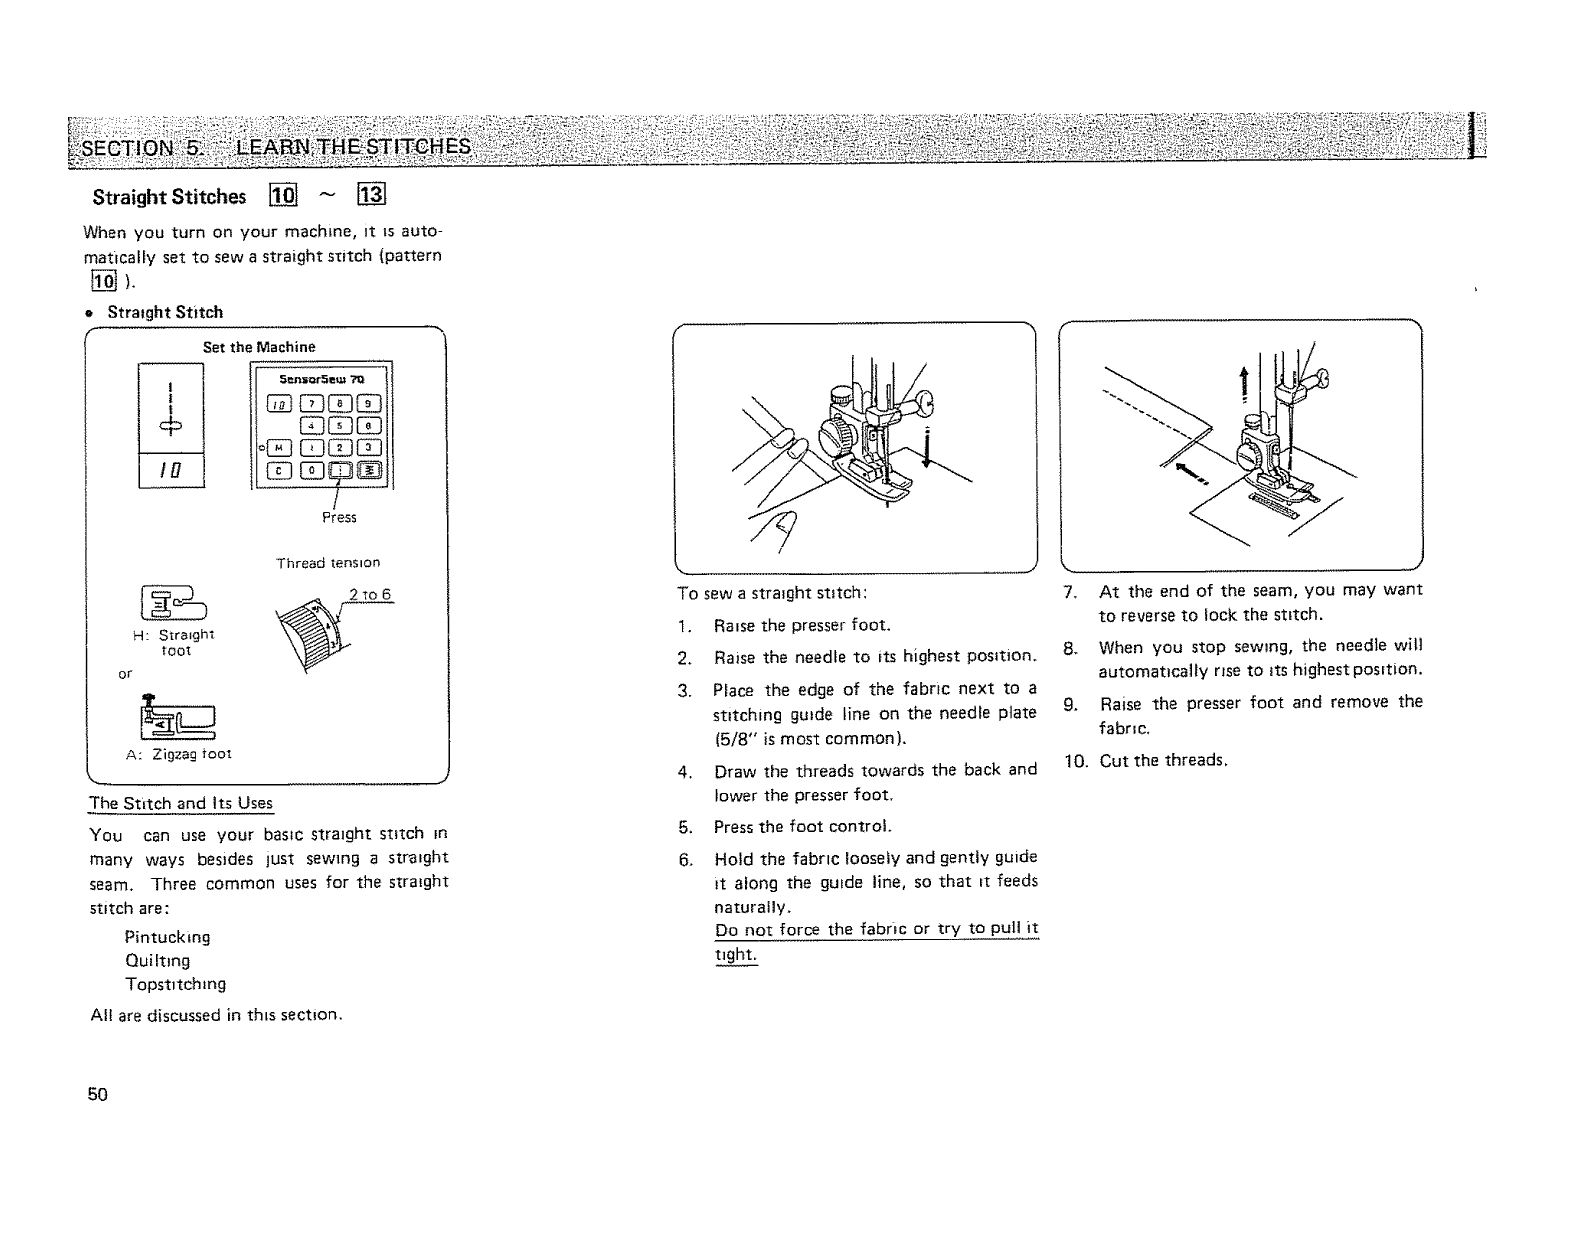
Set the Machine
!
lIo++++tt
/
Press
H: Stra+ght
toot
or
A: Zigzag toot
Thread tension
2to6
The Stitch and Its Uses
You can use your bas+c strmght st+tch +n
many ways besides just sewing a straight
seam. Three common uses for the straight
st+tch are:
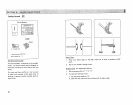
Pintucking
Quilting
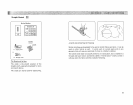
Topstitch mg
All are discussed in th_s sect+on.
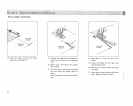
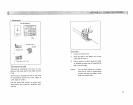
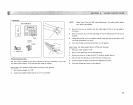
To sew a straight stitch:
1. Raise the presser foot.
2+ Raise the needle to its highest posit+on.
3. Place the edge of the fabric next to a
st+tching guide line on the needle plate
(5/8" is most common).
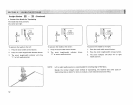
4. Draw the threads towards the back and
lower the presser foot.
5. Press the foot control+
6. Hold the fabric looseiy and gently guide
+t along the guide line, so that _t feeds
naturally+
Do not force the fabr+c or try to pull it
tight.
!
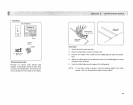
7. At the end of the seam, you may want
to reverse to lock the stitch.
8. When you stop sew+ng, the needle will
automatically rlse to its highest position.
9. Raise the presser foot and remove the
fabr+c+
10. Cut the threads,
50


