


46 EN
RECORDING
Advanced Features (Cont.)
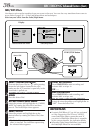
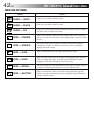
PAUSE
35 min
DEC 25 ’ 98
PM
5 : 30
444
RECPS
F. AUTO
F. AUTO
S
N
A
P
S
H
O
T
V
I
D
E
O
A
M
5S
OFF
P
L
A
Y
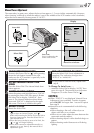
Progressive Video Recording
If an image is recorded using the Progressive Mode, it is possible to play back a jitter-free still image with
superior quality. A high-resolution still image can also be processed on a personal computer or can be
printed out (੬ pg. 60, 61).
Display
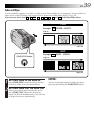
To Perform Pro Snapshot Recording during
Progressive Video Recording . . .
.... first turn the Progressive Dial to the Pro
Snapshot Mode you want, then press the
Progressive Button. To end recording, turn the
Progressive Dial to “VIDEO”, then press the
Progressive Button again.
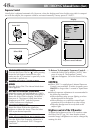
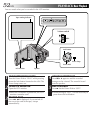
NOTES:
●
To perform Progressive Video Recording, the
Progressive Button should be pressed during
Record-Standby; it cannot be activated during
recording.
●
If START/STOP is pressed instead of the Progres-
sive Button, the camcorder starts recording using
the operation mode to which the Power Dial is set
at that moment (
੬
pg. 19). “PS” disappears.
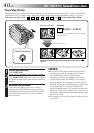
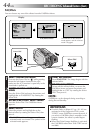
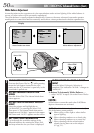
1
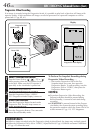
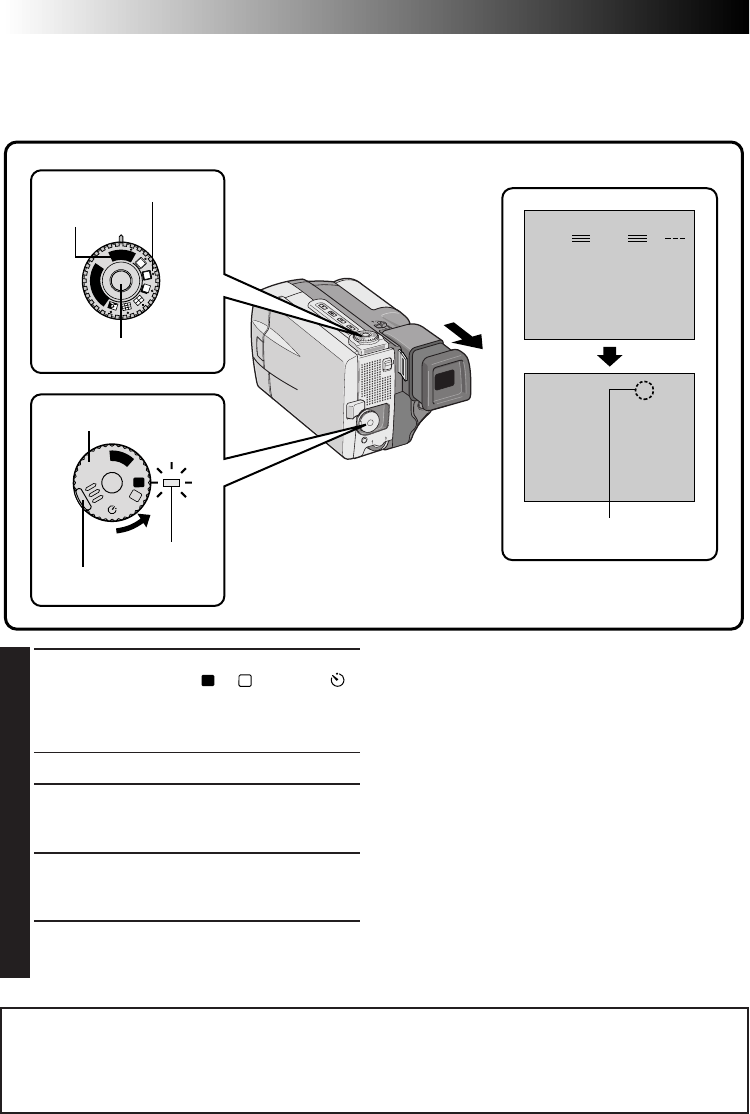
SELECT OPERATION MODE
Turn the Power Dial to “
A
”, “
M
”, “5S” or “ ”
while pressing down the lock button located
on the dial. Make sure the LCD monitor is
open fully or the viewfinder is pulled out.
•The power lamp comes on.
2
SELECT PROGRESSIVE MODE
Turn the Progressive Dial to “VIDEO”.
“PS” (Progressive Mode Display) comes on.
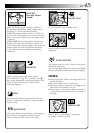
3
START RECORDING
Press the Progressive Button located on the
Progressive Dial. The tally lamp comes on.
4
END RECORDING
Press the Progressive Button. The camcorder
enters Record-Standby mode.
VIDEO mode
Progressive Dial
Progressive Button
Lock button
Power Dial
Power lamp
Progressive mode display
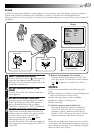
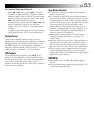
IMPORTANT:
●
When an image recorded using the Progressive Mode is played back, the image may not look natural.
●
When the Progressive Dial is set to “VIDEO”, Wipe/Dissolve (
੬
pg. 43) Effects and some P.AE/Effects
(
੬
pg. 45) cannot be used.