25
WALL CONTROL OPERATIONAL FEATURES
FOR HELP- GENIECOMPANY.COM
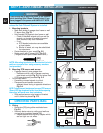
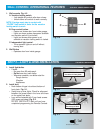
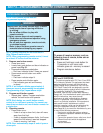
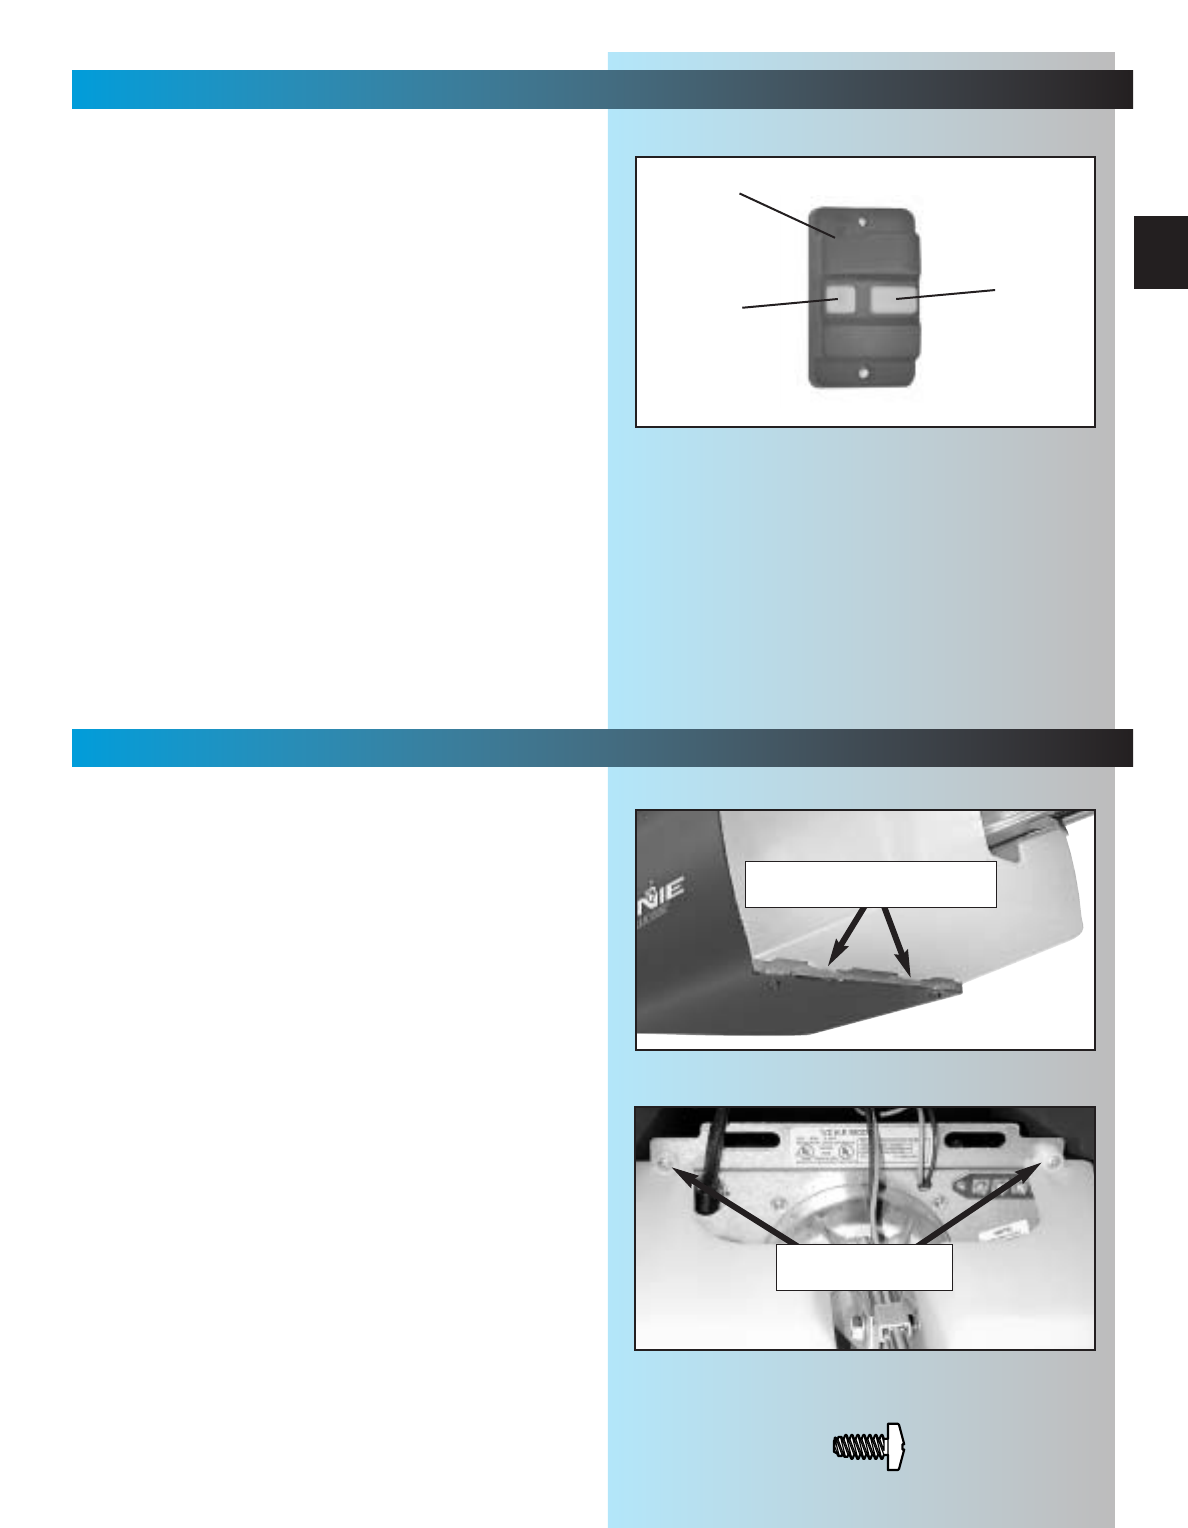
Fig. 4-5
1. Wall console. Fig. 4-5.
A. Vacation locking switch.
– Lock disable all controls after door closes..
– Unlock allows all controls to work normally.
NOTE: Carriage must stay in contact with
“CLOSE” limit switch in order for the vacation
locking switch to work.
B. Door control button.
– Opens and closes door from inside garage.
– Lights on shows system has power available
and vacation switch is not locked.
–Lights out shows either power is not
available or vacation locking switch is locked.
C. Independent light control.
–Turns operator lights on and off without
moving door.
2. Wall Button
– Operates door from inside garage.
A
B
C
SECT 5 —LIGHT & LENS INSTALLATION
FOR HELP-1.800.354.3643
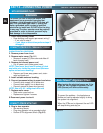
1. Install light bulbs.
•2bulbs.
– No more than 60 watts each.
– Do Not use short neck bulbs.
–Whenever possible, use bulbs rated for:
Rough service
Vibration
Appliances
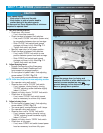
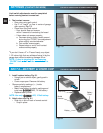
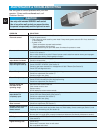
2. Install lens.
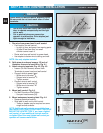
• Hook bottom hinges into slots at bottom of
front plate. Fig. 5-1.
• Swing lens up over lights. Check for alignment
between the screw holes in the Lens and those
on the metal front plate.
• Lens will be fastened with 2 pan head screws.
([42] green parts bag). Fig. 5-2.
DO NOT FASTEN YET! Wait until you have
completed programming the Remote Controls.
Fig. 5-1
Fig. 5-2
#8 x 3/8" Pan head screw
[
42
]
bottom of lens cover hooks
into slots in front plate
pan head screws
secure top of lens


