


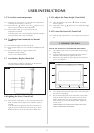
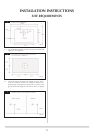

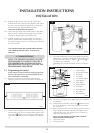
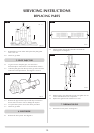
2.7 The flue can now be cut to size. Measure the thickness of
the wall, then deduct 12mm. This is the length required
when measuring from the line on the flue label. See
diagram 3.
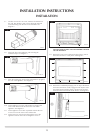
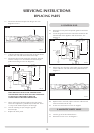
2.8 Attach the flue to the appliance and seal using the
aluminium tape. See diagram 4.
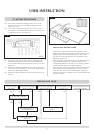
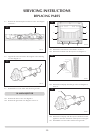
2.9 Place the sealing ring over the flue and position it up against
the rear of the appliance. See diagram 5.
2.10 Fit the appliance on to the wall bracket by engaging the
arms on the bracket into the slots in the rear of the
appliance. See diagram 5.
2.11 Fit the appliance as far back as possible and refit the two
screws to secure the Linea to the wall bracket.
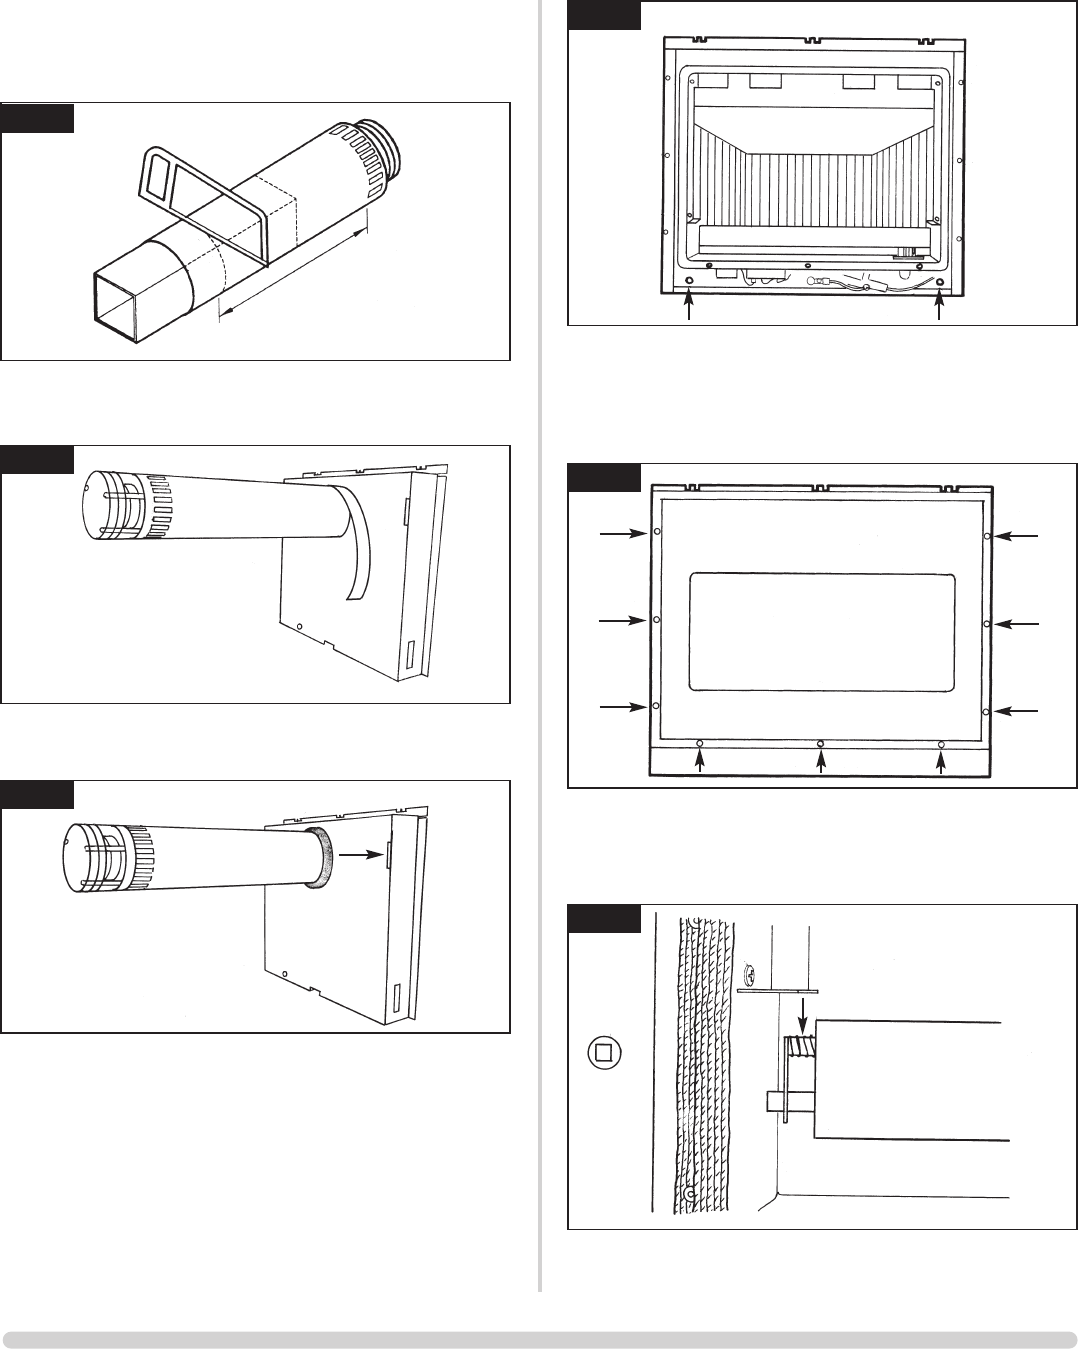
2.12 Fit the lower two wood screws through the rear of the
appliance and into the wall. See diagram 6 arrow A.
13
INSTALLATION INSTRUCTIONS
INSTALLATION
DO NOT OVER TIGHTEN. DO NOT DEFORM THE REAR
OF THE APPLIANCE.
2.13 Remove the nine screws retaining the glass frame, remove
the frame and store in a safe place. See diagram 7.
2.14 Remove the cardboard packaging from on top of the burner
and ensure the burner is fully engaged on the injector. Also
check the burner retention spring is located over the stud
and tab on the left hand side of the burner. See diagram 8.
5
AR1336
6
AR1338
7
AR1339
8
AR1340
4
AR1335
A
A
AR0630
3