


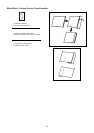
FREE MOTION DARNING (Optional) / ZURCIDADE BRAZO LIBRE (Opcional) / REPRISE (Option)
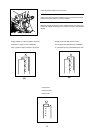
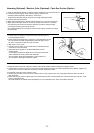
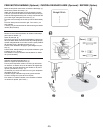
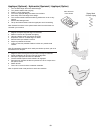
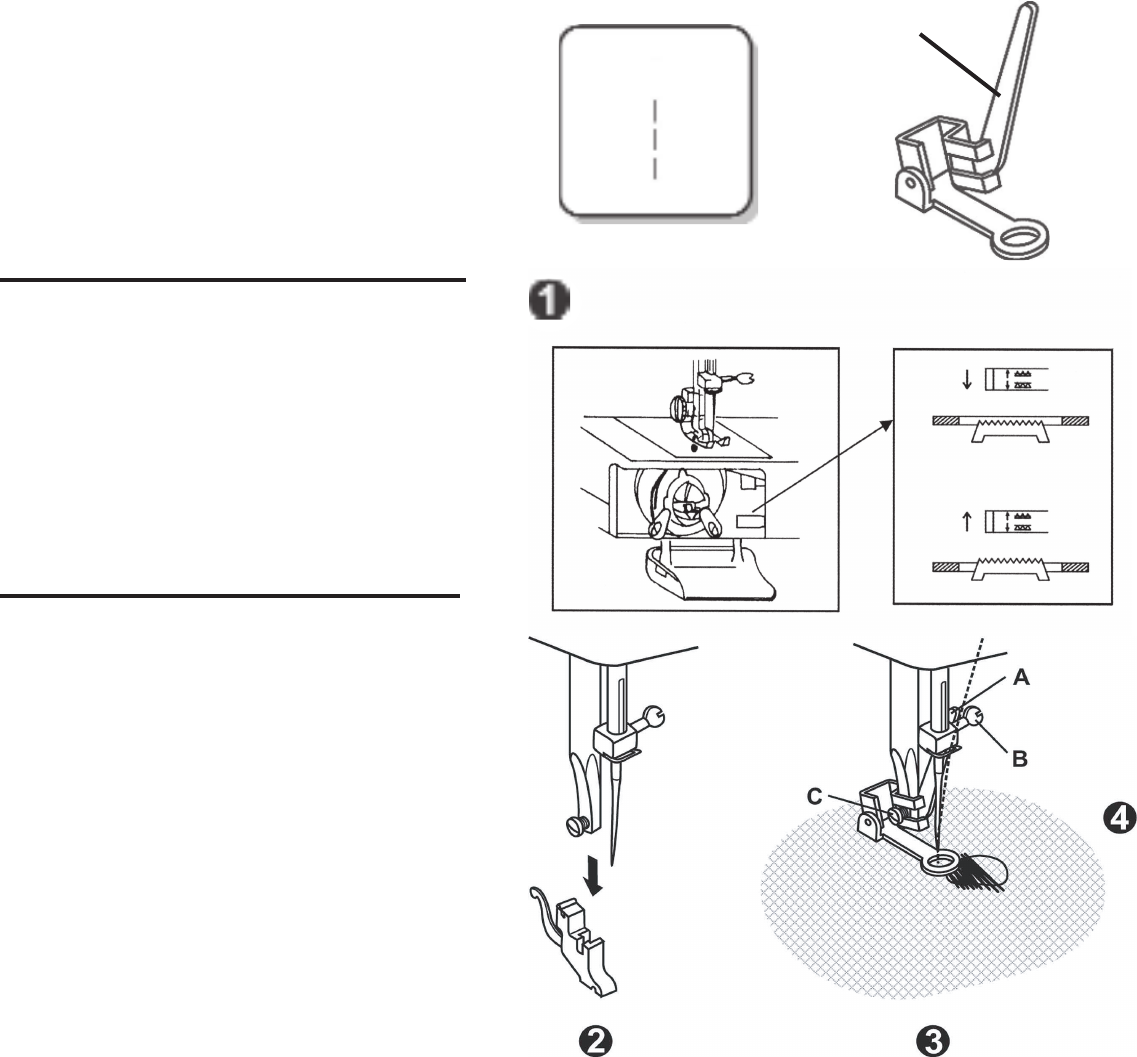
Move the drop feed control down to lower the feed dogs. (1)
Remove
the presser foot clamp. (2)
Attach the darning/embroidery foot to the presser foot bar.
The
lever (A) should be behind the needle clamp screw (B).
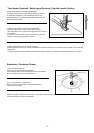
Press
the darning/embroidery foot on firmly from behind with
your
index finger and tighten the screw (C). (3)
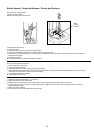
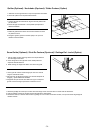
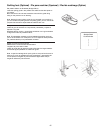
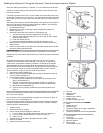
First
sew round the edge of the hole (to secure the threads).
(4)
First
row: Always work from left to right. Turn work by 1/4
and
oversew.
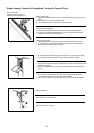
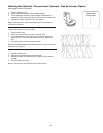
A darning ring is recommended for easier sewing and better
resul
ts. (Not provided.)
Deslice
el control del tranportador de dientes al lado abajo
para bajar los dientes. (1)
Qui
tar el porta-pie. (2)
Fijar
el pie para zurcir en la barra prensatelas. la planca (A)
tiene
que estar detrás, sobre el tornillo del porta-agujas (B).
Apre
tar enérgicamente con el indice contra la parte posterior
del
pie para zurcie y atornillar el tornillo (C). (3)
Primero
coser alrededor del agujero (para aseguer los pun-
tos).
(4)
Primera
serie: trabajar siempre de izquierda a derecha. girar
el
trabajo de 1/4 y recubrir.
Para
obtener un mejor resultado recomendamos un bastit-
do
r. (No suministrar.)
Abaisser
les griffes d’entraînement . (1)
Retirer
le support de pied-de-biche. (2)
Fixer
le pied à repriser à la barre. Le levier (A) doit se trou-
ver
derrière, au dessus de la vis de fixation de l’aiguille (B).
Avec l’index, appuyer fermement par l’arrière sur le pied à
reprise
r, puis serrer la vis (C). (3)
Commencer
par coudre tout autour du trou (pour empêcher
les
mailles de filer). (4)
Première
rangée: Travailler toujours de gauche à droite.
Tourner l’ouvrage d’un quart et finir la reprise.
Pour
obtenir un meilleur résultat, nous conseillons d’utiliser
un
tambour à répriser. (Non inclus.)
-35-
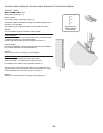
Straight Stitch
Down
Up
A