


www.desatech.com
119315-01A 9
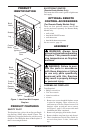
INSTALLATION
NOTICE: This heater is intended
-
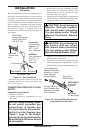
WARNING: Never install the
• in a recreational vehicle
• where curtains, furniture,
• in windy or drafty areas
-
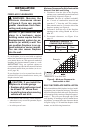
currents move heat to wall sur-
-
in the air exist, may discolor walls
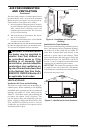
IMPORTANT: Vent-free replaces add moisture
to the air. Although this is benecial, installing re-
place in rooms without enough ventilation air may
cause mildew to form from too much moisture. See
Air for Combustion and Ventilation, page 6.
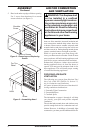
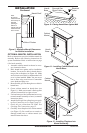
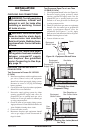
Note: Your replace is designed to be used in zero
clearance installations. Wall or framing material
can be placed directly against any exterior surface
on the rear, sides or top of your replace, except
where standoff spacers are integrally attached. If
standoff spacers are attached to your replace,
these spacers can be placed directly against wall
or framing materials.
Note: When installing replace directly on carpet-
ing, tile or other combustible material, other than
wood ooring, the replace shall be installed on a
metal or wood panel extending the full width and
depth of the replace.
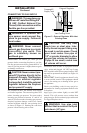
Use the dimensions shown for rough openings to
create the easiest installation (see Built-In Fire-
place Installation, page 10).
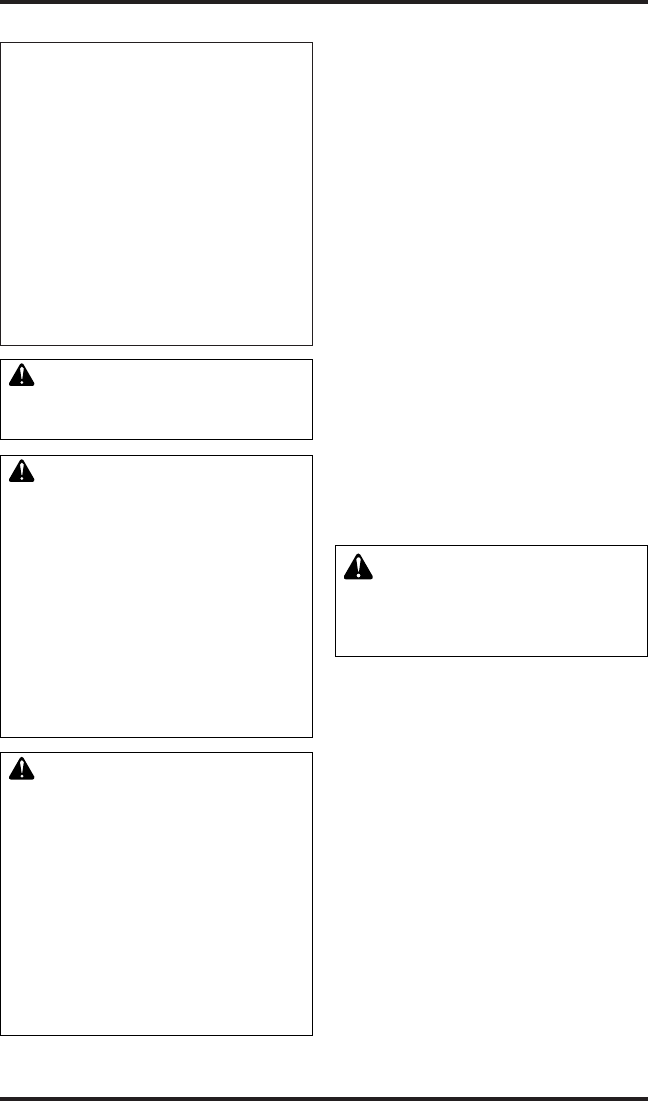
Use the correct gas type (natural or propane/LP)
for your unit. If your gas supply is not correct, do
not install replace. Call dealer where you bought
replace for proper type replace.
-
INSTALLATION ITEMS
Before installing replace, make sure you have
the items listed below.
• external regulator (supplied by installer, for
propane/LP units only)
• piping (check local codes)
• sealant (resistant to propane/LP gas)
• equipment shutoff valve *
• test gauge connection*
• ground joint union
• sediment trap
• tee joint
• pipe wrench
* A CSA design-certied equipment shutoff valve
with 1/8" NPT tap is an acceptable alternative to
test gauge connection. Purchase the optional CSA
design-certied equipment shutoff valve from your
dealer. See Accessories, page 34.