


40
BUTTONHOLE AND BUTTON SEWING
NAPINLÄPIEN JA NAPPIEN OMPELEMINEN
OJALES Y COSTURA DE BOTONES
ОБМЕТЫВАНИЕ ПЕТЕЛЬ И ПРИШИВАНИЕ ПУГОВИЦ
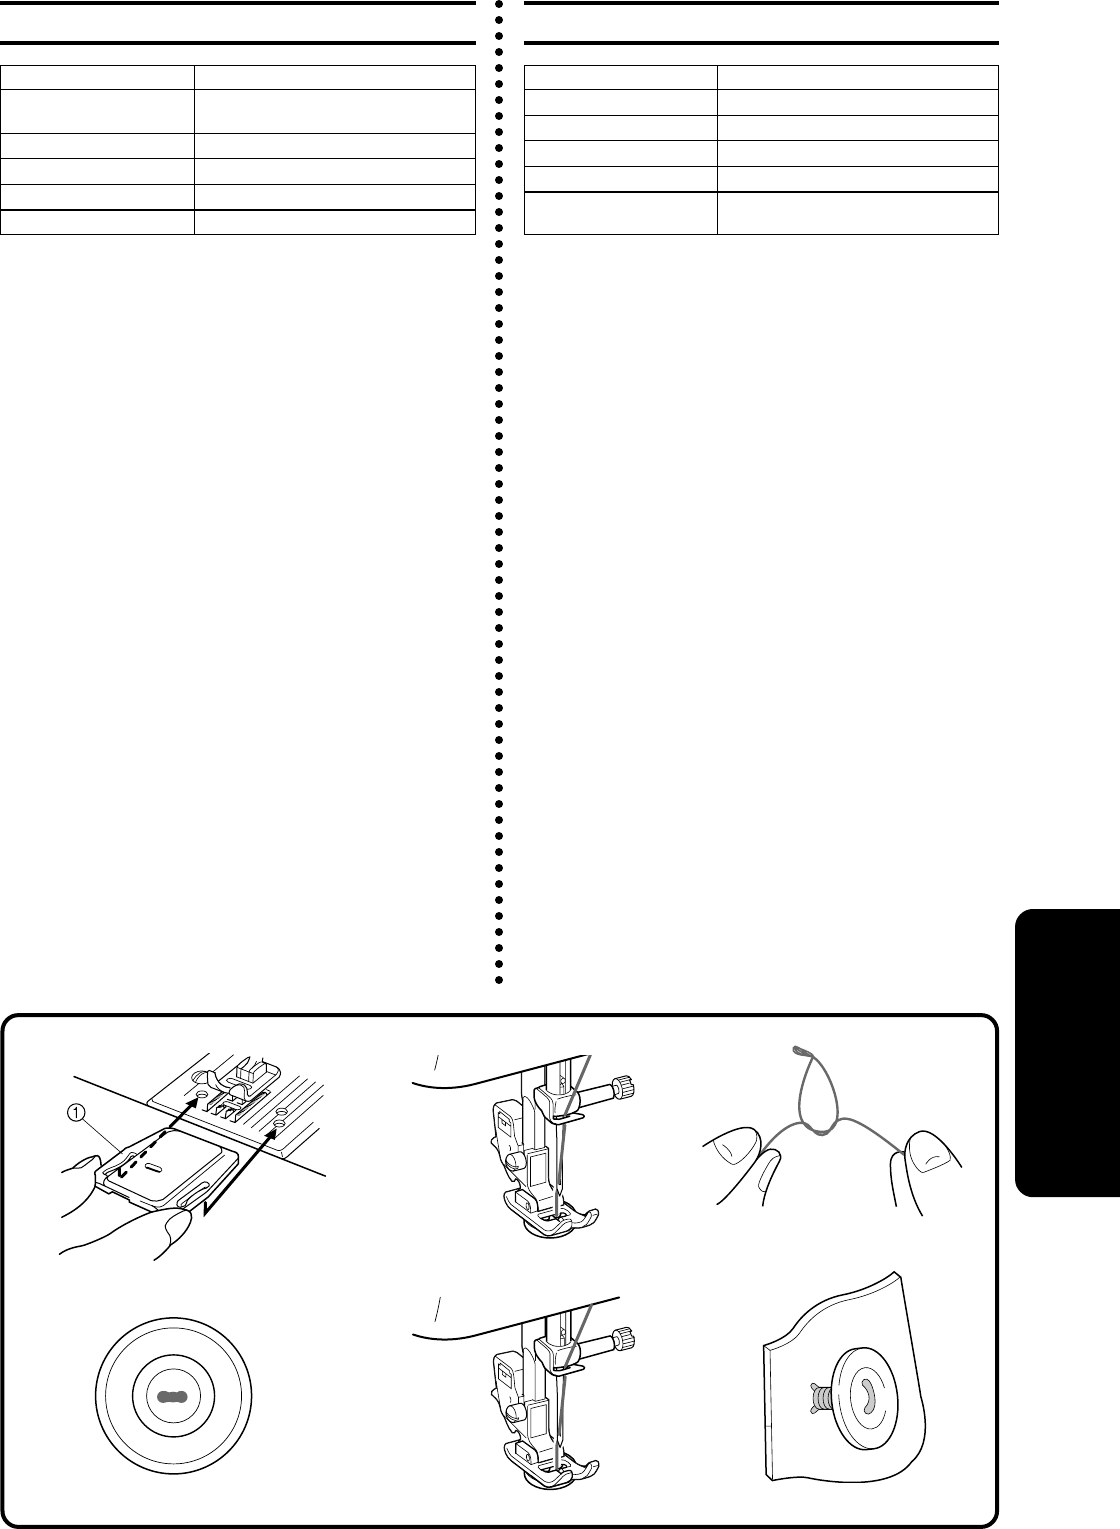
Button Sewing
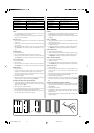
STITCH LENGTH 0
STITCH WIDTH Set according to the distance between the
holes.
NEEDLE POSITION L or R
PRESSER FOOT Zigzag
NEEDLE Single
OTHER Darning Plate
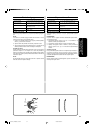
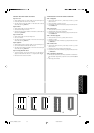
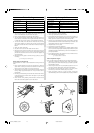
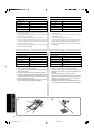
1. Set the darning plate on the needle plate over the feed dogs as
shown in the illustration and press down into place.
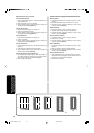
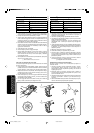
2. Place a button between the presser foot and the fabric.
3. You will need to adjust the stitch width to match the distance be-
tween the holes in the button. Turning the width knob will narrow
or widen the "swing" of the stitch to accommodate most buttons.
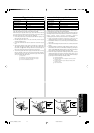
4. To check the width, move the balance wheel toward you while
observing the needle. Turn several times to make sure the needle
goes easily into the both holes on the button without touching the
button.
5. Slowly sew about 10 stitches.
6. Stop the machine and raise the needle from the fabric.
7. Remove the fabric from the machine and cut the upper and lower
threads leaving at least 10 cm (4"). With a normal sewing needle,
pull the threads to the back of the fabric and tie them together to
secure the button.
8. Remove the darning plate for normal sewing by pulling up on the
front edge.
1 Front edge slot on darning plate
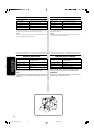
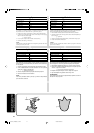
Button Fitting with Thread Shank
The thread shank of a button is often needed when sewing on heavier
fabric.
1. Place a button between the presser foot and the fabric, adjust the
stitch width according to the distance between the holes in the
button and sew on the button as previously explained.
2. After sewing about 10 stitches, remove the fabric from the machine
leaving a longer upper thread (about 15 cm (6")) in order to form a
thread shank.
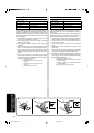
3. Pull the upper thread through one of the holes on the button until it
is between the button and the fabric and tightly wrap the thread
around the stitches.
4. With a normal sewing needle, pull the threads to the back of the
fabric and tie the ends together to secure the button.
Napin ompeleminen
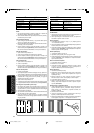
PISTON PITUUS 0
PISTON LEVEYS Aseta reikien etäisyyden mukaan.
NEULA-ASENTO L tai R
PAININJALKA Siksak
NEULA Tavallinen neula
MUUTA Syöttäjän peitelevy
1. Aseta syöttäjän peitelevy pistolevyn ja syöttäjän hampaiden päälle
kuvan mukaisesti ja paina se paikalleen.
2. Aseta nappi paininjalan ja kankaan väliin.
3. Joudut säätämään piston leveyttä, jotta se vastaa napin reikien vä-
listä etäisyyttä. Nupin kääntäminen kaventaa tai leventää piston
liikettä, jolloin se saadaan sopivaksi useimmille napeille.
4. Tarkasta leveys kääntämällä käsipyörää itseäsi kohden pitämällä
samalla silmällä neulaa. Käännä sitä useita kertoja varmistaen, että
neula kulkee molemman reiän läpi koskettamatta nappia.
5. Ompele hitaasti noin 10 pistoa.
6. Pysäytä kone ja nosta neula kankaasta.
7. Poista kangas koneesta ja katkaise ylä- ja alalanka jättäen ainakin
10 cm:n (4 tuuman) langanpäät. Vedä langanpäät kankaan nurjalle
puolelle tavallisella ompeluneulalla ja solmi ne kiinnittääksesi na-
pin lujasti paikalleen.
8. Irrota syöttäjän peitelevy, jotta koneella voi taas ommella normaa-
listi, nostamalla sitä sen etureunasta.
1
Syöttäjän peitelevyn etureuna
Kaulan ompeleminen nappiin
Kaula on joskus tarpeen ommeltaessa nappia paksuun kankaaseen.
1. Aseta nappi paininjalan ja kankaan väliin, säädä piston leveyttä,
jotta se vastaa napin reikien välistä etäisyyttä, ja ompele nappi edel-
listen ohjeiden mukaan.
2. Poista kangas koneesta noin 10 piston jälkeen ja jätä noin 15 cm:n
(6 tuuman) pituinen ylälanganpää, jolla kaula muodostetaan.
3. Vie ylälanka napin toisen reiän läpi, kunnes se on napin ja kan-
kaan välissä, ja kierrä lanka tiukasti pistojen ympärille.
4. Vedä langanpäät kankaan nurjalle puolelle tavallisella
ompeluneulalla ja solmi ne kiinnittääksesi napin lujasti paikalleen.
08C713_XE4683-001_P36-41 2008.04.02, 09:3240