


7
KNOWING YOUR SEWING MACHINE
OMPELUKONEESEEN TUTUSTUMINEN
CONOZCA SU M
ÁQ
UINA DE COSER
СВЕДЕНИЯ О ШВЕЙНОЙ МАШИНЕ
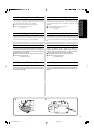
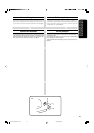
Changing the Presser Foot
It may be necessary to change the presser foot according to your sew-
ing needs.
SNAP-ON TYPE
Turn power switch to “O”.
1. Raise the needle to its highest position by turning the balance wheel
toward you (counterclockwise), and raise the presser foot lever.
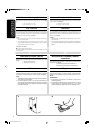
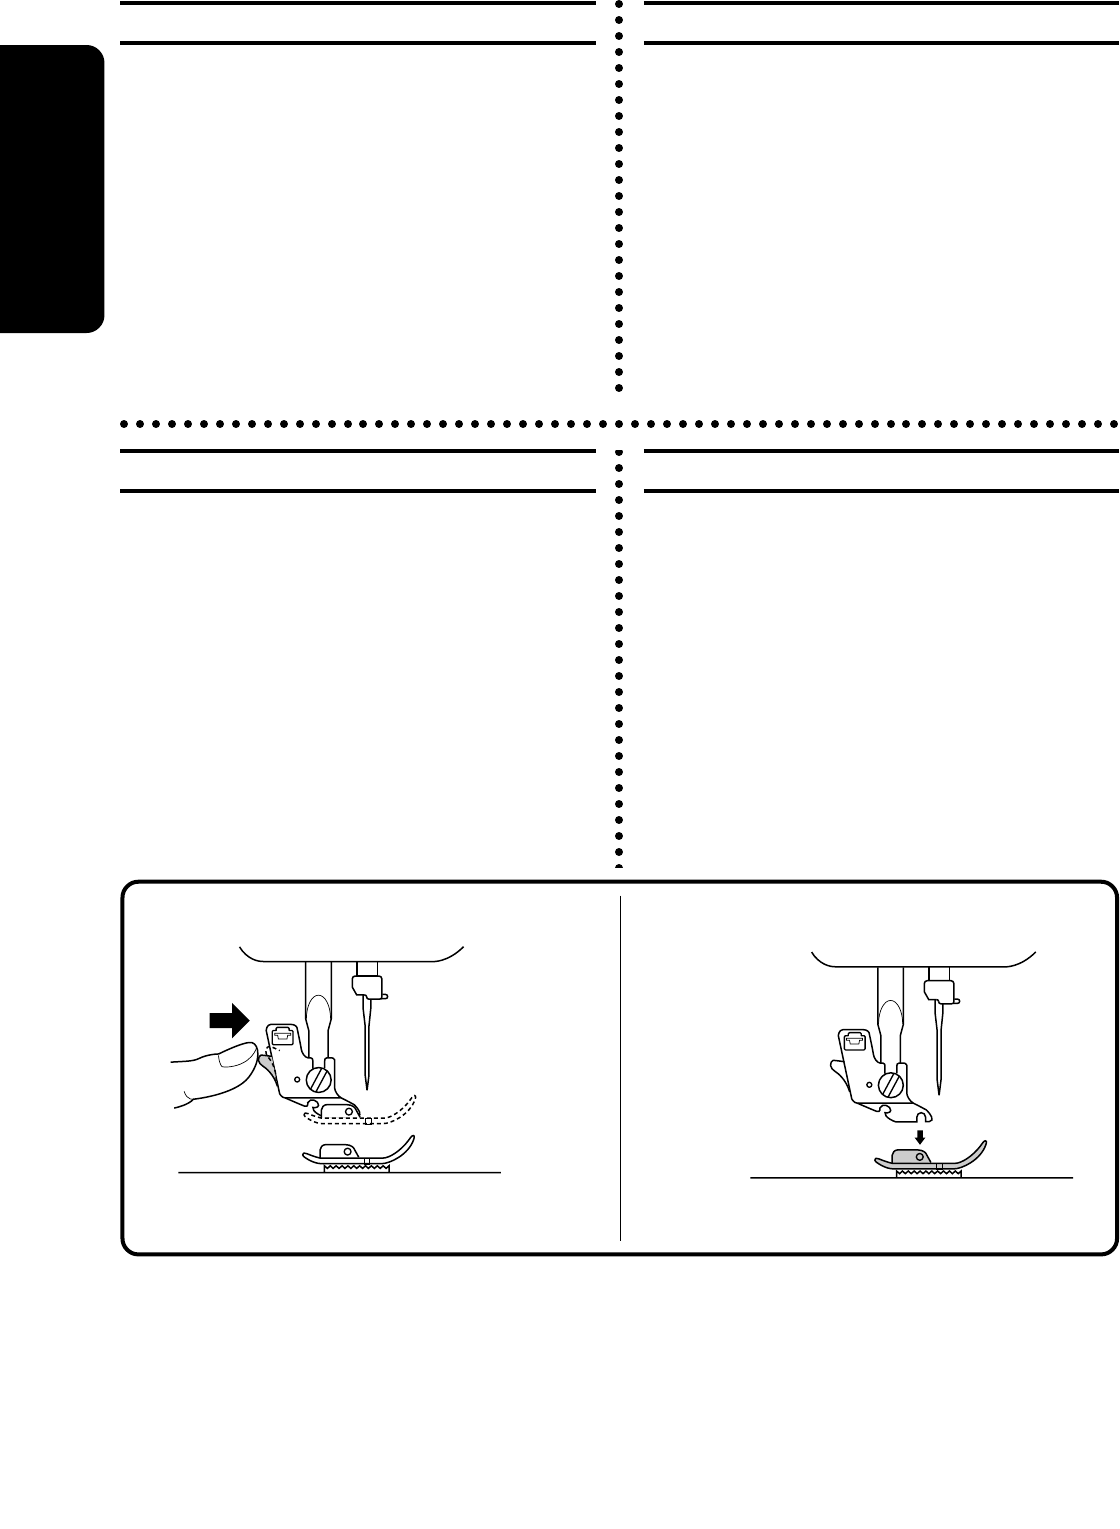
2. Release the foot by raising the lever located at the back of the presser
foot holder assembly.
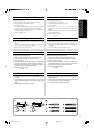
3. Place a different presser foot on the needle plate so that the bar on
the presser foot is in line with the slot on the shank.
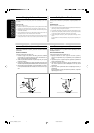
4. Lower the presser foot lever and fix the presser foot onto the shank.
If the presser foot is in the correct location, the bar should snap in.
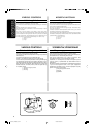
Paininjalan vaihtaminen
Saatat joutua vaihtamaan paininjalkaa ompelutarpeidesi mu-
kaan.
PIKAKIINNITYS
Käännä virtakytkin asentoon "O".
1. Nosta neula yläasentoon kääntämällä käsipyörää itseäsi kohti (vasta-
päivään) ja nosta paininjalan nostovipu.
2. Irrota jalka nostamalla paininjalan runko-osan takana olevaa vipua.
3. Aseta toinen paininjalka pistolevylle siten, että paininjalan tanko
on samassa linjassa paininjalan runko-osan uran kanssa.
4. Laske paininjalan nostovipu, jolloin paininjalka kiinnittyy runko-
osaan.
Jos paininjalka on oikeassa kohdassa, tangon pitäisi napsahtaa pai-
kalleen.
Cambio del prensatelas
Según sus necesidades de costura, puede ser necesario cambiar el
prensatelas.
MODELO A PRESIÓN
Coloque el interruptor principal en “O”.
1. Levante la aguja a su posición más alta, girando la ruedecilla
hacia usted (en el sentido contrario al de las manecillas de un
reloj) y levante la palanca del prensatelas.
2. Suelte el prensatelas levantando la palanca que hay en la parte
trasera del soporte.
3.
Coloque otro prensatelas en la placa de agujas de tal forma que
la barra del prensatelas quede alineada con la ranura del soporte.
4. Baje la palanca del prensatelas y fije el prensatelas en el sopor-
te. Si el prensatelas está bien colocado, la barra se entra a pre-
sión.
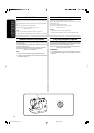
Замена прижимной лапки
Иногда в зависимости от условий шитья прижимную лапку
необходимо менять.
БЫСТРОСЪЕМНЫЕ ЛАПКИ
Установите выключатель питания на “O”.
1. Вращая маховик на себя (против часовой стрелки),
полностью поднимите иглу и поднимите рычаг прижимной
лапки.
2. Поднимите рычаг с задней стороны держателя прижимной
лапки и освободите лапку.
3. Положите на игольную пластину другую прижимную лапку
так, чтобы стержень на лапке находился точно под пазом
держателя.
4. Опустите рычаг прижимной лапки и зафиксируйте лапку в
держателе.
Если прижимная лапка расположена правильно, стержень
зафиксируется в пазу.
08C713_XE4683-001_P01-24 2008.04.02, 09:297