


80
THREAD TENSION
Set thread tension according to the fabric you are using with the tension dial.
When doing machine embroidery, the tension dial should be set
somewhere between 2-6.
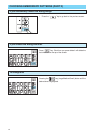
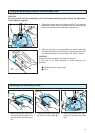
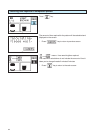
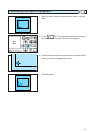
1 Upper thread tension setting
2 Loose (Decrease thread tension)
3 Tight (Increase thread tension)
4 Upper thread tension dial
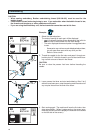
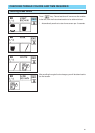
* Use the following chart as a guide for tension dial settings.
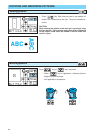
Turn the dial to the right to increase tension.
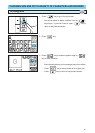
Turn the dial to the left to reduce tension.
* If the tension dial is set extremely low, the machine may stop
stitching during sewing. This is not a sign that anything's bro-
ken. It only indicates that your tension is set extremely low.
Simply increase the tension slightly to continue sewing.
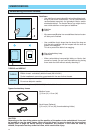
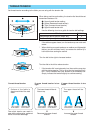
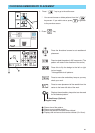
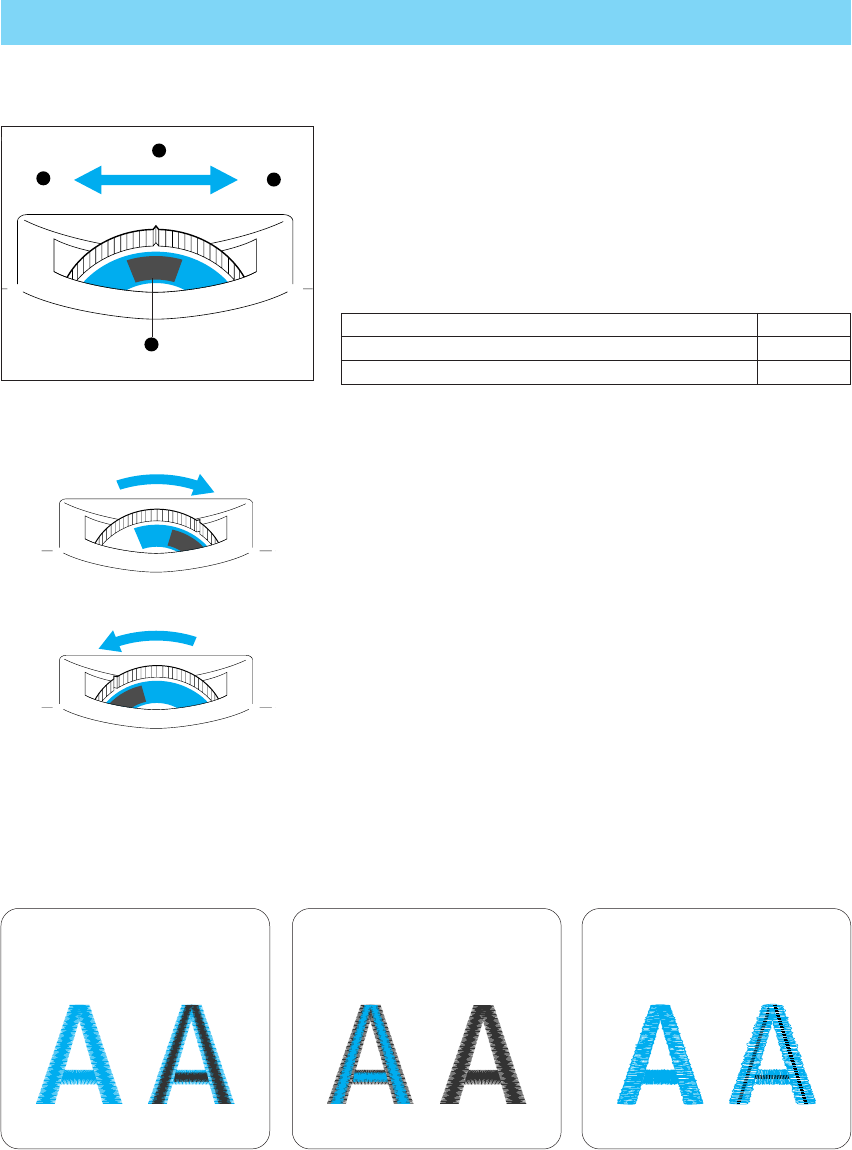
Correct thread tension
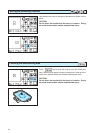
Poor stitch tension can result in
poor stitch conformation, puckered
fabric and thread breakage.
▼
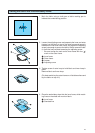
Decrease the upper thread
tension.
▼
Increase the upper thread
tension.
Surface of the fabric is
about one-third of the total
width.
<Reverse side
of the fabric>
If upper thread tension is too
tight
The lower thread will be vis-
ible on top.
If upper thread tension is too
loose
The upper thread will be
loose
<Top surface
of the fabric>
<Reverse side
of the fabric>
<Top surface
of the fabric>
<Reverse side
of the fabric>
<Top surface
of the fabric>
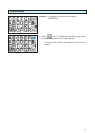
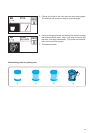
Fabric
Dial Setting
Heavyweight fabrics (denim, fleece, felt) 5
Medium and lightweight fabrics (broadcloth, jersey) (3~4)
* If the stitches appear loose, turn the tension up one notch and
resew.
* When stitching one-point patterns on medium and lightweight
fabrics, you can do better work if you reduce the tension by a
half notch when sewing the outline.