


62
BEFORE YOU BEGIN
EMBROIDERING
J
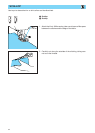
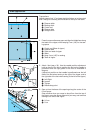
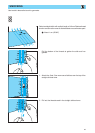
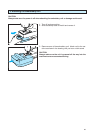
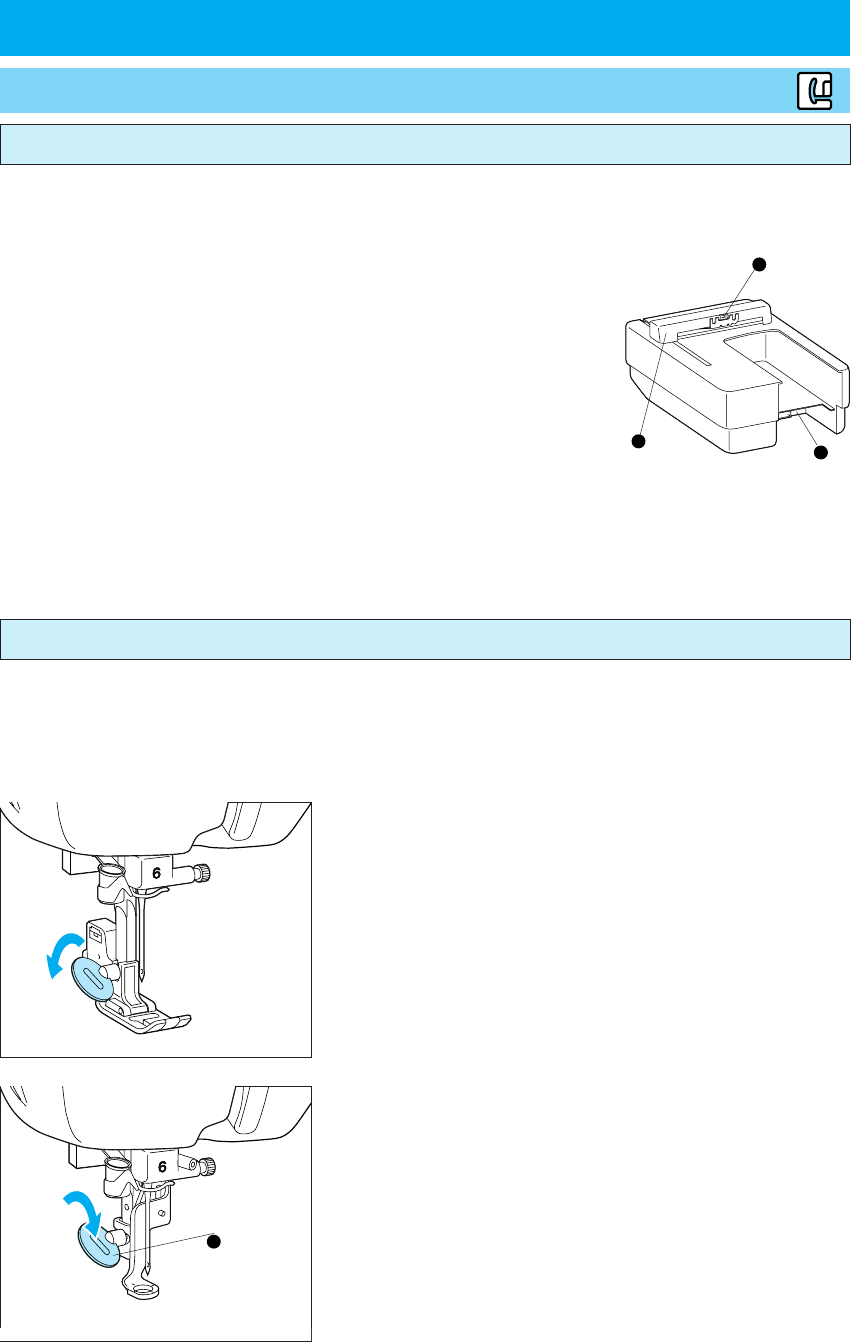
1. Raise needle with the up-needle button. Turn power off.
2. Loosen the screw on the foot holder and remove foot holder.
3. Attach the embroidery foot. Screw back on tightly.
1 Screw
* Make sure the needle clamp screw is also tightened.
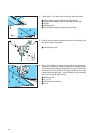
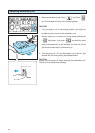
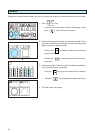
1. Embroidery unit and memory cards (optional).
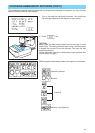
CAUTION
– Do not touch the embroidery unit connectors. Doing so could cause damage to the machine.
– Do not move the sewing machine while the embroidery unit is attached.
The embroidery unit could fall and cause injury.
– Do not carry embroidery unit by the carriage or apply excessive
force to it, or you could cause damage.
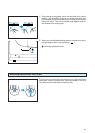
– Keep hands and other items away from the embroidery unit
carriage and embroidery hoop while they are in motion. Injury
could result.
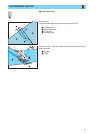
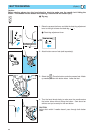
1 Hoop holder
2 Carriage
3 Connector
– Always store memory cards in the accessory case.
– Always turn machine off before removing the embroidery unit or memory cards.
– Please note that the small embroidery hoop (optional) will not work with certain pattern sizes and
sewing positions.
– Please note that memory cards will not work with certain pattern sizes, and some memory cards are
not compatible with this machine.
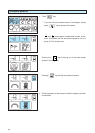
2. Attaching the embroidery foot “Q”
CAUTION
– Always make sure the power is off before changing feet.
Injury could result if the “START/STOP” button is accidentally pushed and the machine starts
running during this operation.
– Do not use the embroidery foot “Q” for anything other than embroidery.