


SEWING THE STITCHES
82
d
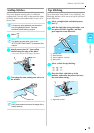
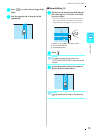
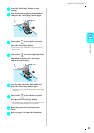
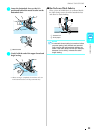
Align the presser foot with the mark on the
fabric, and lower the presser foot.
a Mark on the fabric
b Marks on the presser foot
e
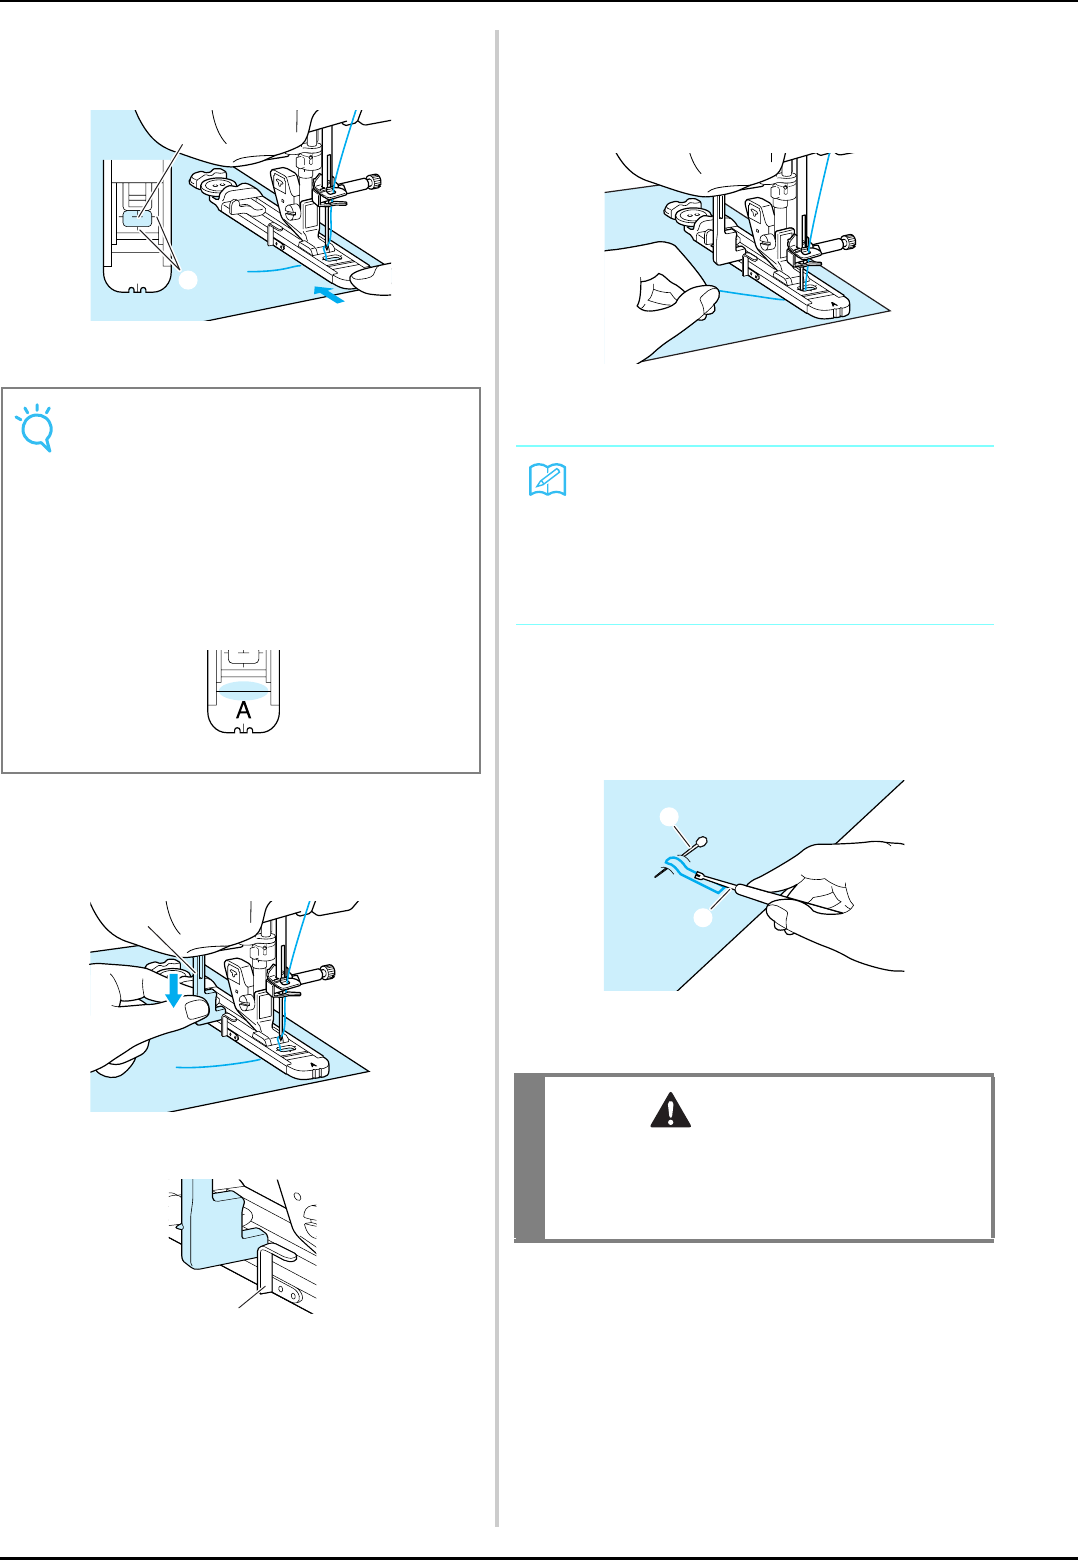
Lower the buttonhole lever so that it is
positioned behind the metal bracket on the
buttonhole foot.
a Buttonhole lever
a Metal bracket
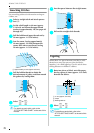
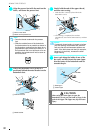
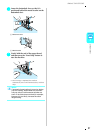
f
Gently hold the end of the upper thread,
and then start sewing.
* Feed the fabric carefully by hand while the
buttonhole is sewn.
→ Once sewing is completed, the machine
automatically sews reinforcement stitches, and then
stops.
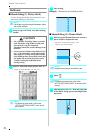
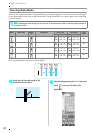
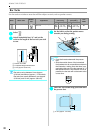
g
Insert a pin along the inside of one of the
bar tacks, and then insert the seam ripper
into the center of the buttonhole and cut
towards the pin.
a Basting pin
b Seam ripper
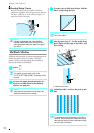
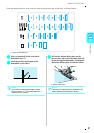
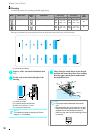
Note
• Pass the thread underneath the presser
foot.
• Slide the outside frame of the buttonhole
foot backward as far as possible as shown in
the illustration, making sure that there is no
gap behind the part of the foot marked “A”. If
the buttonhole foot is not slid back as far as
possible, the buttonhole will not be sewn at
the correct size.
A
a
b
a
a
Memo
If automatic thread cutting is turned on before
you start sewing, both threads are automati-
cally cut after the reinforcement stitches are
sewn. If the fabric does not feed (for example,
because it is too thick), increase the stitch
length setting.
CAUTION
When using the seam ripper to open the
buttonhole, do not put your hand or finger in the
path of the ripper. The ripper may slip and cause
injury.
a
b