SEWING STITCH PATTERNS
Character/Decorative Stitches
103
4
e
Press the “Start/Stop” button to stop
sewing.
f
Press the “Reverse/Reinforcement Stitch”
button to sew reinforcement stitches.
Making Adjustments
Your stitch pattern may sometimes turn out poorly,
depending on the type or thickness of fabric, the
stabilizer material used, sewing speed, etc. If your
sewing does not turn out well, sew trial stitches
using the same conditions as the real sewing, and
adjust the stitch pattern as explained below. If the
pattern does not turn out well even after making
adjustments based on the pattern, make
adjustments for each pattern individually.
a
Press and select on P.10.
b
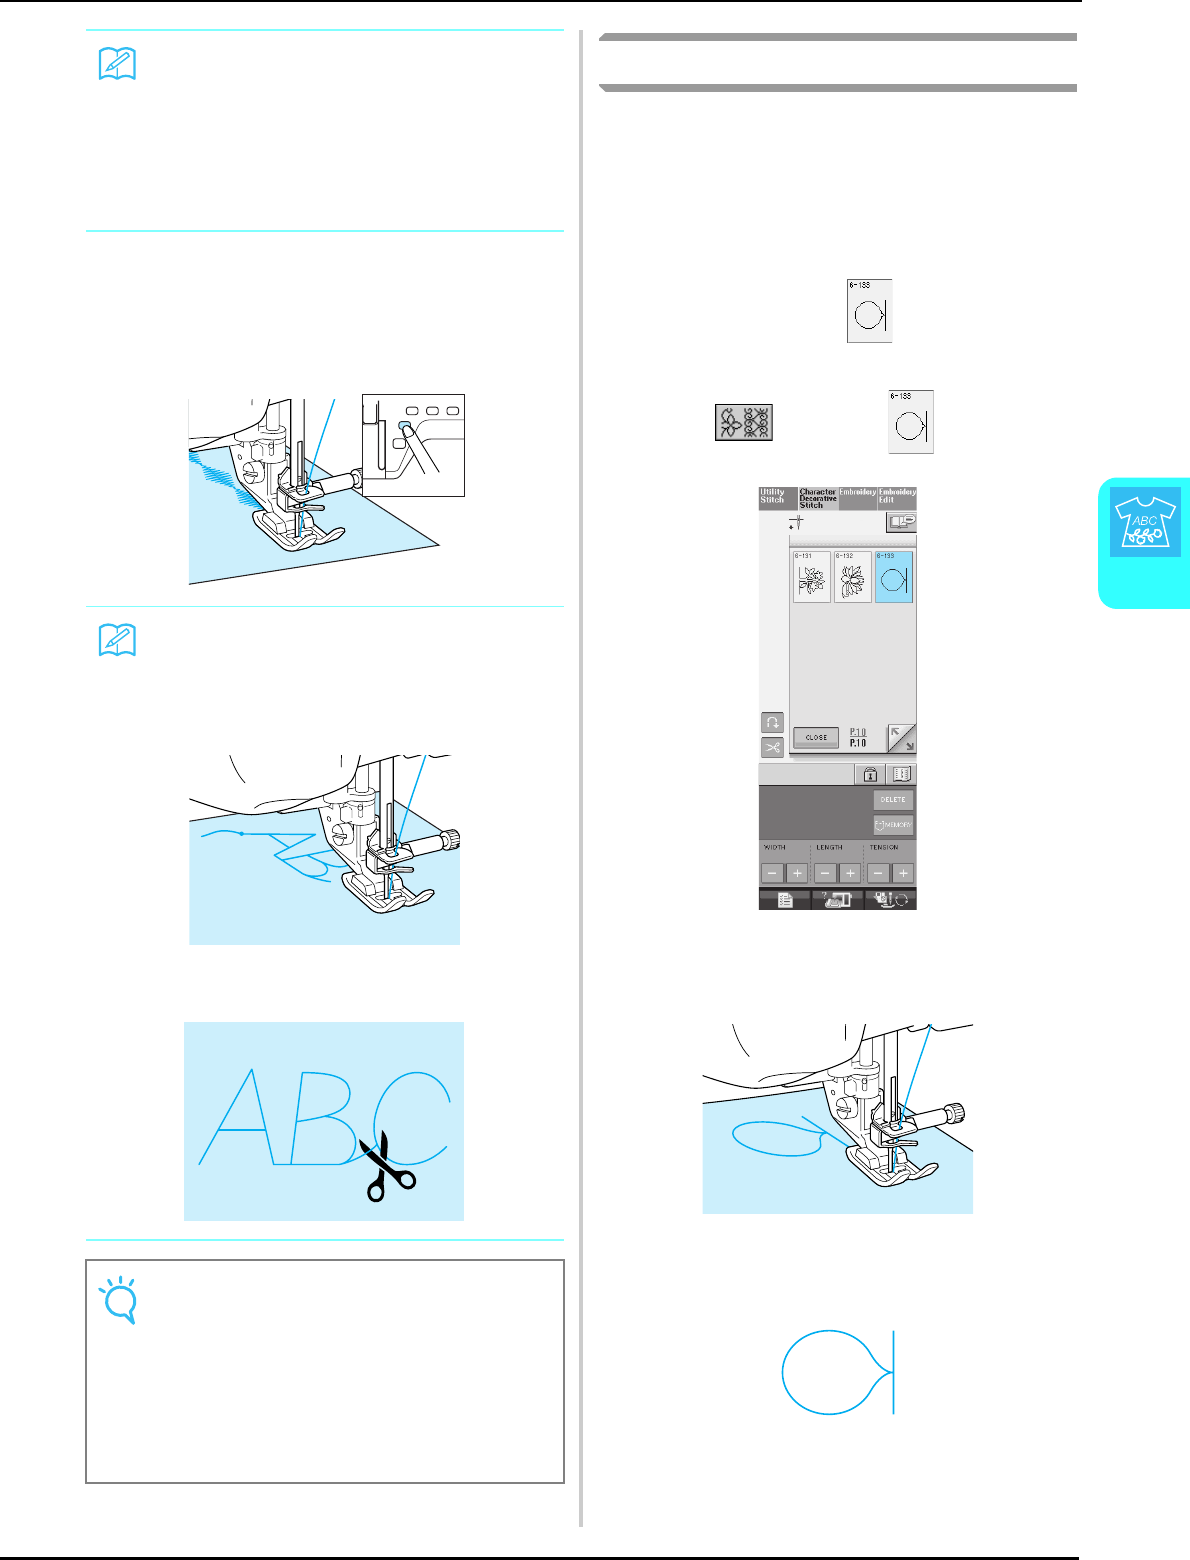
Attach monogramming foot “N” and sew
the pattern.
c
Compare the finished pattern to the
illustration of the correct pattern below.
Memo
If the fabric is pulled or pushed during sewing,
the pattern may not turn out correctly. Also,
depending on the pattern, there may be move-
ment to the left and right as well as front and
back. Guide the fabric with your hand to keep
the fabric feeding straight and even during
sewing.
Memo
• When sewing character stitches, the
machine automatically sews reinforcement
stitches at the beginning and end of each
character.
• When sewing is completed, trim any excess
thread.
Note
• When sewing some patterns, the needle will
stop in the raised position while the fabric is
fed due to the operation of the needle bar
separation mechanism which is used in this
machine. At such times, a clicking sound dif-
ferent from the sound generated during sew-
ing will be heard. This sound is normal and
is not the sign of a malfunction.


