4
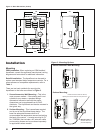
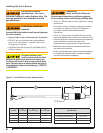
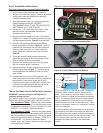
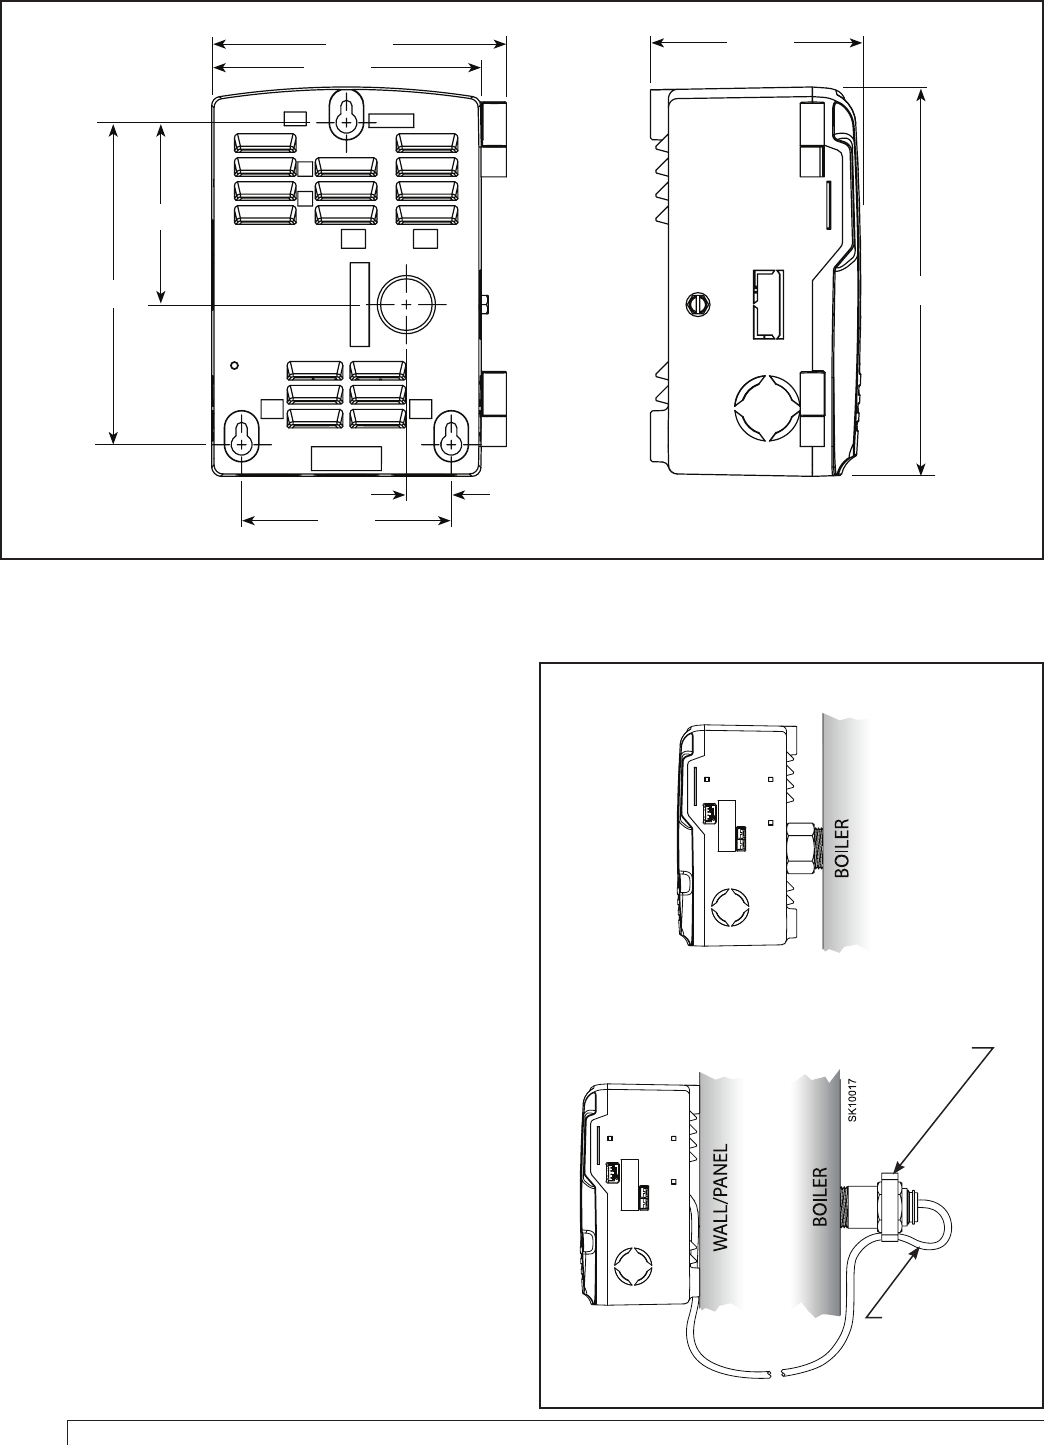
Figure 2 - Basic Dimensions (inches)
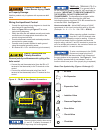
Mounting
OEM Installation: When replacing an OEM-installed
AquaSmart, consult the appliance manufacturer’s wiring
diagrams and instructions for additional information.
Retrofi t Installation: The AquaSmart can be used to
replace most standard boiler temperature controls. For a
cross-reference of compatible replacements, refer to
Table 1.
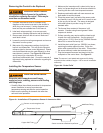
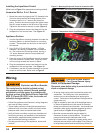
There are two basic methods for mounting the
AquaSmart to the boiler as outlined in Figure 3.
Sensor/Immersion Well Mounting – This is the
most common method. If the existing well is not
suitable for any reason, a standard design
aftermarket immersion well with the proper
dimensions can be purchased from a HVAC
distributor. The AquaSmart can then be mounted in
the typical way.
Surface Mounting – This is sometimes required
and is part of the AquaSmart base design. The
base has adequate clearance built-in to
accommodate the temperature sensor lead exiting
the back of the control.
A remote mounting kit (Pt.
No. 7600RMU) that includes a 48” extension cable
and mounting screws can be purchased separately
for applications where needed.
1.
2.
Installation
Figure 3 - Mounting Options
Surface Mounting:
Sensor/Immersion Well Mounting:
Position the strain relief over the hex,
capturing the sensor cable and crimp to secure.
4.92
4.50
3.51
3.04
5.38
.75
3.50
SK10013
6.50
Sensor Lead
(a 48”
extension cable can be
purchased separately)


