INSERT INSTALLATION - For qualified installers only! PAGE 9
Installation Preparation
! This appliance must be installed in accordance with all local codes, if any; if not, follow
ANSI Z223.1 and the requirements listed in this manual. Failure to follow all of the
requirements may result in property damage, bodily injury, or even death.
! Notify your insurance company before hooking up this heater.
! The requirements listed below are divided into sections. All requirements must be met
simultaneously. The order of installation is not rigid Ð the qualified installer should follow
the procedure best suited for the installation.
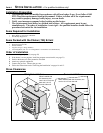
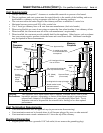
Items Packed with the Heater
¥ Propane Conversion Kit
¥ Owner's Manual
¥ Log Set (2 Logs, 2 Twigs, Embers)
¥ Gas Inlet (3/8" Pipe)
¥ 2 Leveling Bolts (3/8"-16 x 3" Carriage Bolts - used to level the heater in fireplaces with stepped-up hearths)
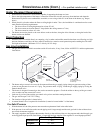
Order of Installation
1 If the heater is to use propane, install the propane conversion kit (see page 31)
2 Connect the gas inlet (see page 12)
3 Re-route the power cord (if desired - see below)
4 Position the heater (see "Heater Placement")
5 Connect the gas line. Connect the gas vent.
6 Follow the instructions under "Finalizing the Installation" on pages 14 and 15.
7 Install the surround panel kit.
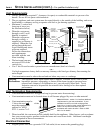
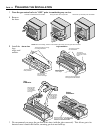
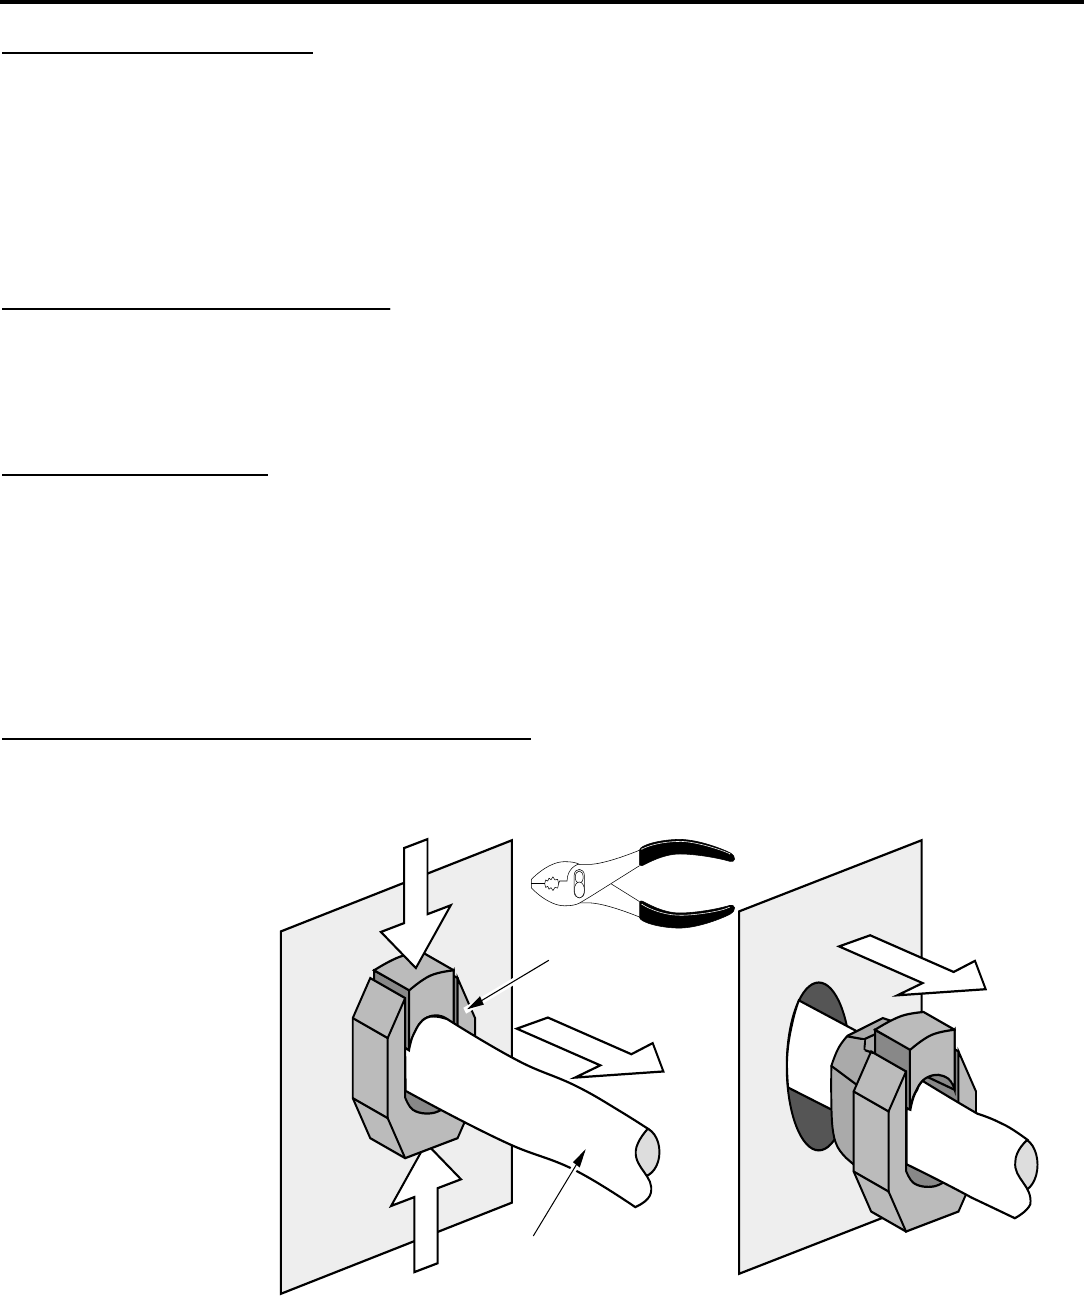
Re-Routing the Power Cord to the Front
The power cord may be re-routed to the front of the heater if desired (see the directions below).
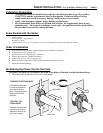
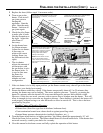
1 Disconnect the strain relief at the rear of the heater.
Strain Relief
Power Cord
Compress the strain relief
from the top and bottom
with a pair of slip joint
pliers. Once compressed,
the strain relief can be
pulled out.
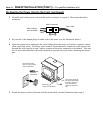
TO REMOVE THE STRAIN RELIEF
Compress the strain relief
from the top and bottom
and insert it into the hole
until it locks in place.
TO INSTALL THE
STRAIN RELIEF


