PAGE 26 OPTIONAL EQUIPMENT
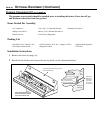
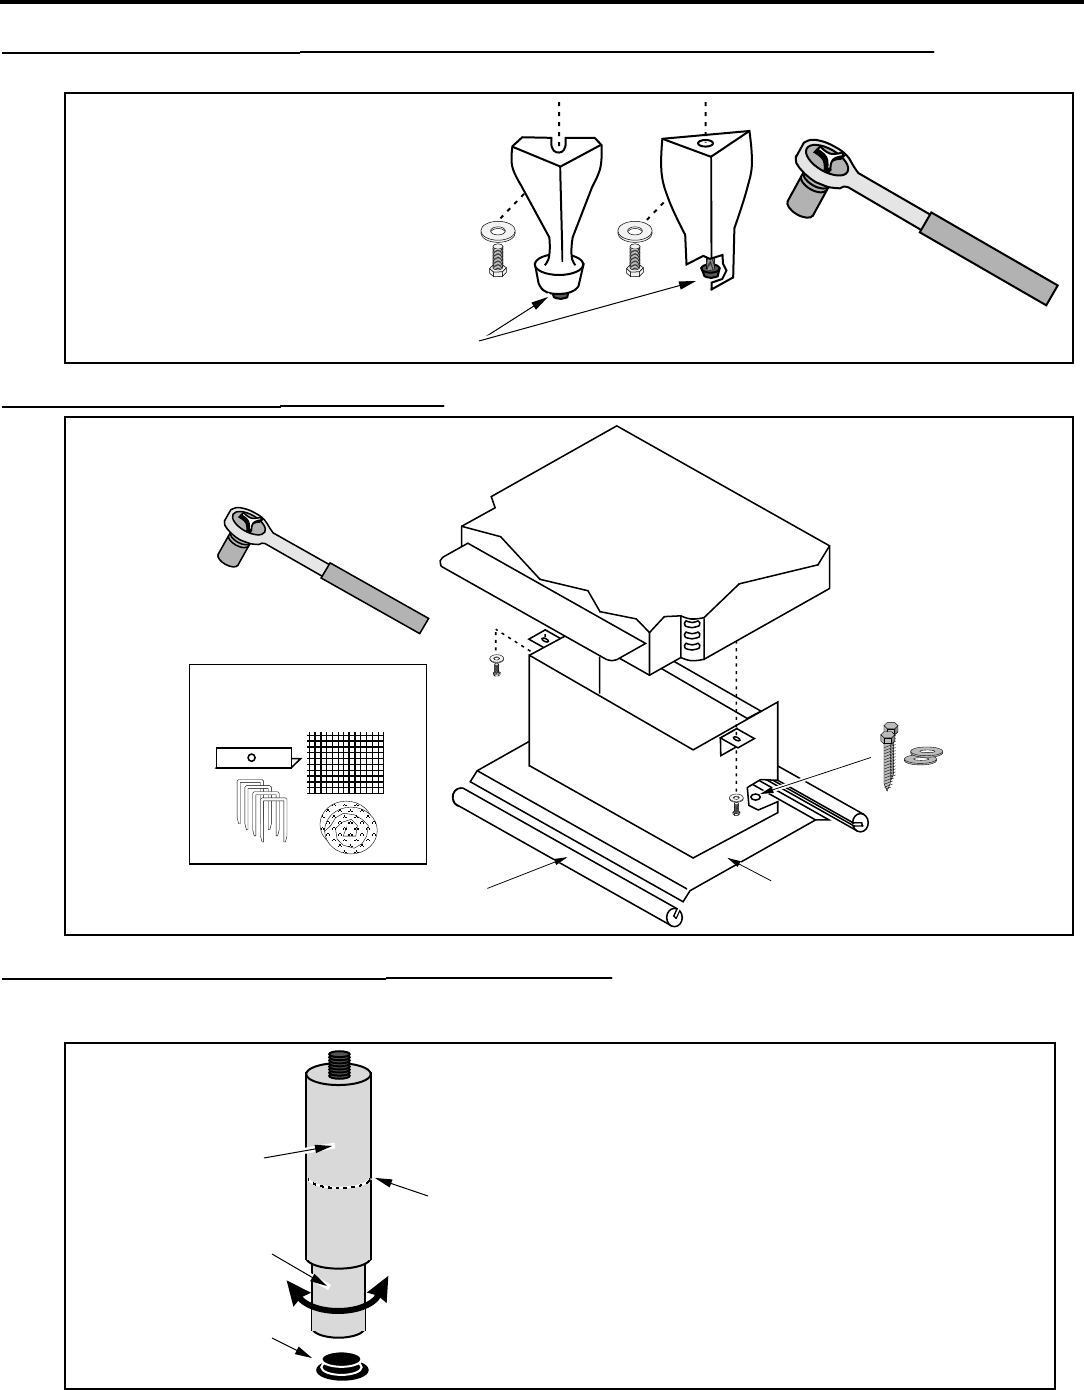
Stove Leg Installation
(Brass # 99200500, Cast Black # 99200800, Black Steel # 99200100)
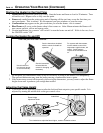
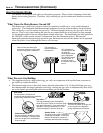
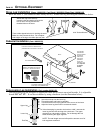
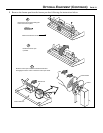
Raise the stove 8" (use lumber or other sturdy device). Attach each leg following the instructions below.
Attach each leg to the stove by
inserting a bolt and washer through the
hole or slot in the leg and into the
threaded hole on the stove.
9/16" Socket Wrench
These rubber-tipped bolts are for leveling the stove.
Make sure they contact the floor. Do not adjust
with weight on the legs, the rubber tips may tear.
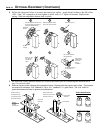
Pedestal Installation
(Part # 99200109)
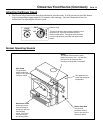
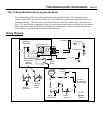
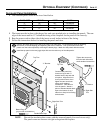
The dowels insert onto the front and
back edge of the pedestal base.
Use a 9/16" wrench to attach the two
pedestal bolts to the bottom of the stove.
Pedestal
The lag bolts
and washers
may be inserted
through the
holes in the
base of the
pedestal to
anchor the
pedestal to the
floor (required
for mobile
homes).
The cover plates, screen,
insulation, and staples are used for
wood stoves - discard these items.
9/16" Socket Wrench
Stove
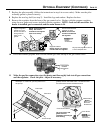
Telescoping Leg Installation
(Part number 99200120)
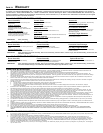
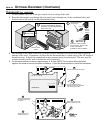
The telescoping legs are designed to support the front end of inserts on raised hearths. It is adjustable
from 4 5/8" to 7 1/2". It can be cut shorter by using a hacksaw (see the illustration below).
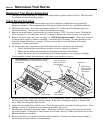
If the telescoping leg needs to be less than 4 5/8", unscrew the
lower leg and shorten each leg with a hack saw. The upper
segment has a threaded rod inside. Do not damage this rod
while shortening the upper segment.
NOTE: The total length removed will equal the amount cut off of
both segments combined.
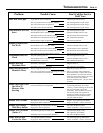
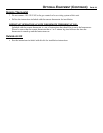
End Cap
A Insert the end cap into the lower leg
B Thread the upper and lower leg together.
C Thread the bolt on the top leg into the front corners of the insert.
D Adjust the lower leg down until it contacts the hearth.
Upper Leg
Lower Leg


