20
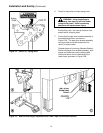
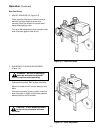
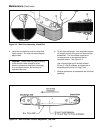
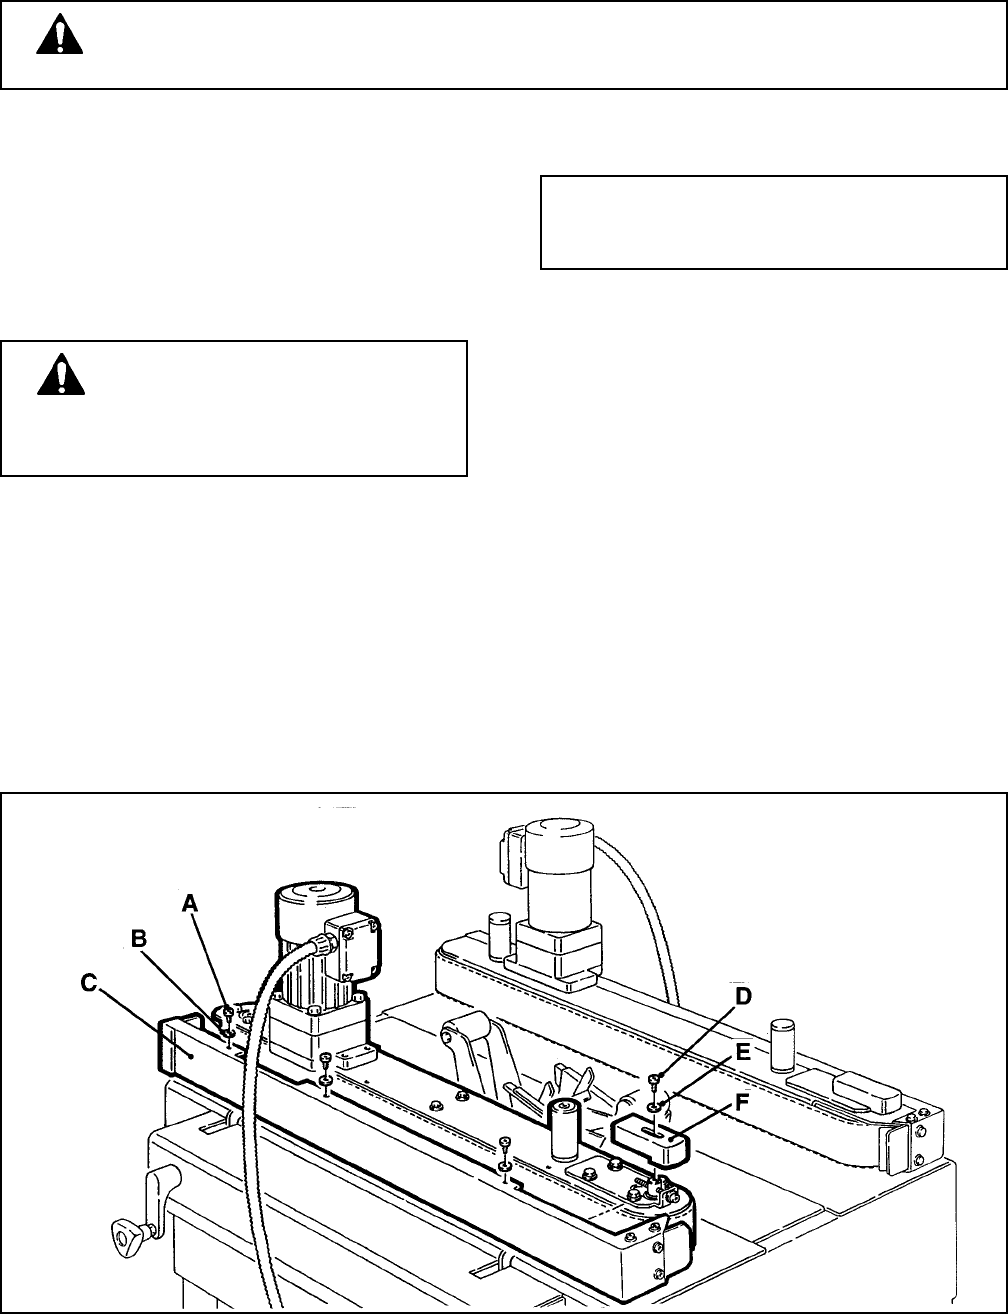
Figure 4-2 – Box Drive Belt (Left Side View – Infeed End)
Maintenance (Continued)
WARNING – Turn off electrical power and disconnect power cord from electrical supply
before beginning maintenance. If power cord is not disconnected, severe injury to personnel
could result.
1. Remove and retain the three screws (A), three
washers (B) and side cover (C). See Figure 4-2.
2. Remove and retain the screw (D), washer (E)
and belt tensioner cover (F).
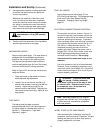
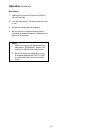
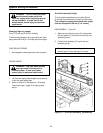
3. Turn belt adjustment screws (G)
counterclockwise on both the upper and lower
tension assemblies until belt is loose. See
Figure 4-3.
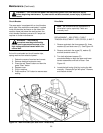
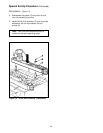
4. Locate the belt lacing (joint) by turning the belt
manually. Remove the pin with pliers. Remove
and discard old belt.
Note – 3M recommends the replacement of
drive belts in pairs, especially if belts are
unevenly worn.
REPLACEMENT – SEE STEPS 1 THRU 7
TENSION ADJUSTMENT – SEE STEPS 2, 6 AND 7
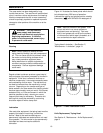
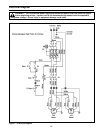
Circuit Breaker
The case sealer is equipped with a circuit breaker
which trips if the motors are overloaded. Located
inside the electrical enclosure on the side of the
machine frame just below the machine bed, the
circuit breaker has been pre-set at 2.2 amps and
requires no further maintenance.
WARNING – The following
procedure must be performed by
trained service personnel because of the
high voltage electrical hazard within the
control box.
Drive Belts
If circuit is overloaded and circuit breaker trips,
unplug machine from electrical power:
1. Determine cause of overload and correct.
2. Remove electrical enclosure cover.
3. Press the red "Reset" button and then the
green "Start" button.
4. Replace cover.
5. Plug in machine.
6. Press machine "On" button to resume case
sealing.


