12
Installation and Set-Up (Continued)
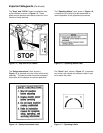
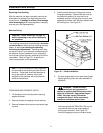
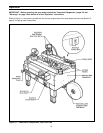
Figure 2-2 – Cable Tie, Taping Head
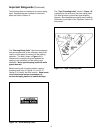
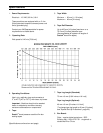
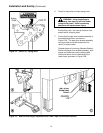
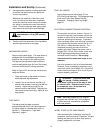
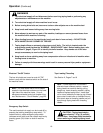
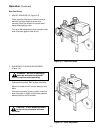
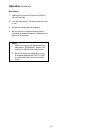
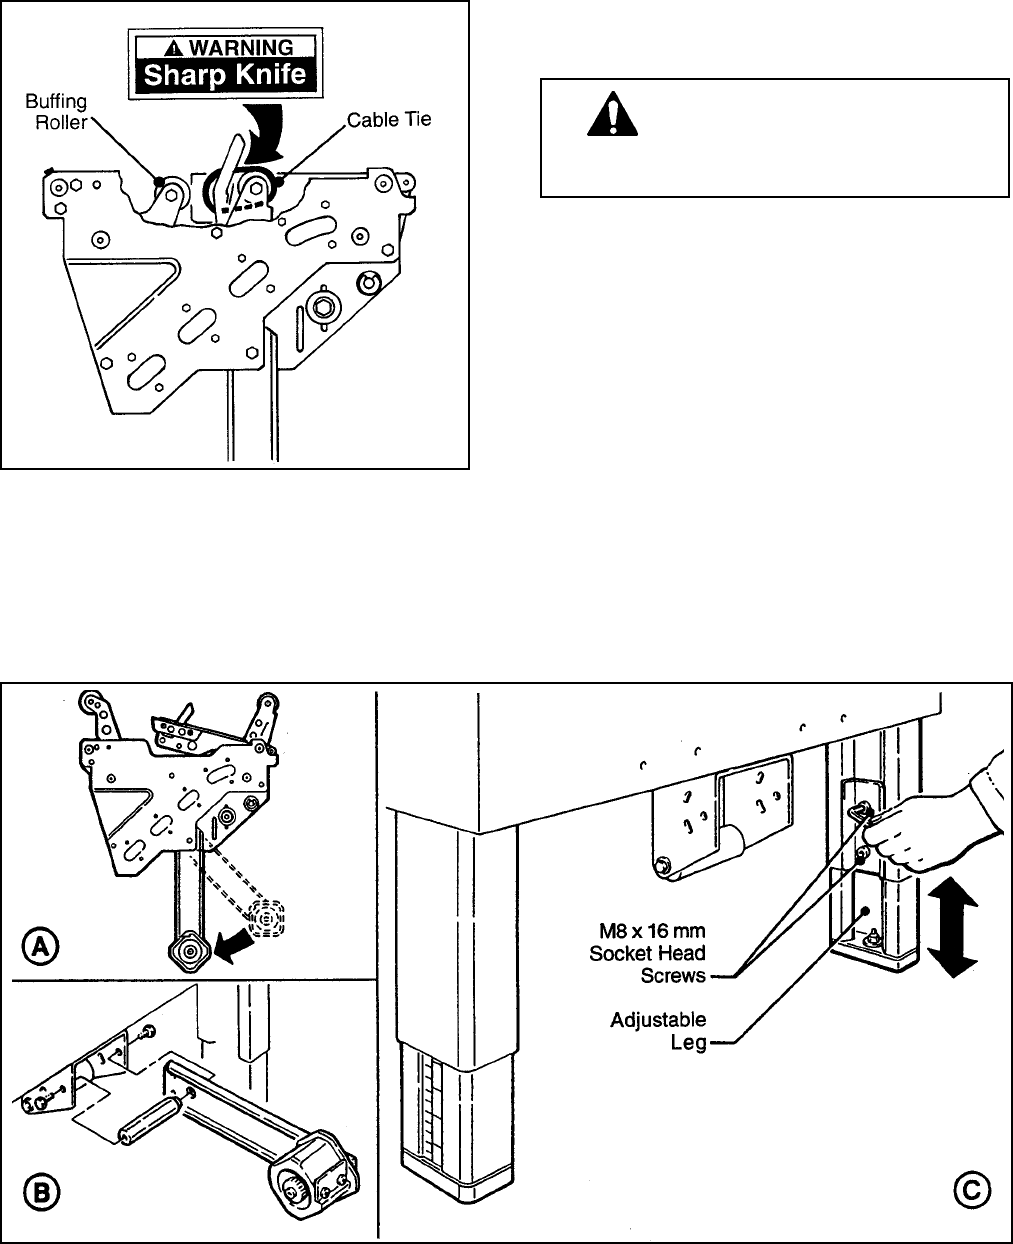
Figure 2-3 – Machine Bed Height Adjustment and Lower Tape Drum Bracket Position
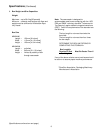
6. Check for free action of lower taping head.
WARNING – Keep hands/fingers
away from tape cut-off knife under
orange knife guard. Knife is extremely
sharp and can cause severe injury.
7. Ensure that the tape drum bracket assembly is
mounted straight down, as shown in
Figure 2-3A. The tape drum bracket assembly
can be pivoted to provide clearance or for
retrofit in certain cases.
Outboard tape roll mounting
(Alternate Position)-
Remove the tape drum bracket assembly, stud
spacer and fasteners from the taping head.
Install and secure on the infeed end of the
lower frame, as shown in Figure 2-3B.
Push buffing roller into head to check for free,
smooth action of taping head.


