LX and LT Pool Heaters
Page 3
2D. Outdoor Installation
The LX and LT heaters can be installed in the
outdoor configuration as received from the factory.
Locate the heater in an open, unroofed area. Do not
install the heater under a deck. Do not locate the heater
below or adjacent to any doors, windows, louvers, grills,
etc., which connect in any way with an inhabited area of a
building, even though the access might be through another
structure (e.g., a garage or utility room. In the United
States there must be a minimum of 4 feet (1.22 m)
horizontally or vertically between the heater and any door,
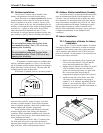
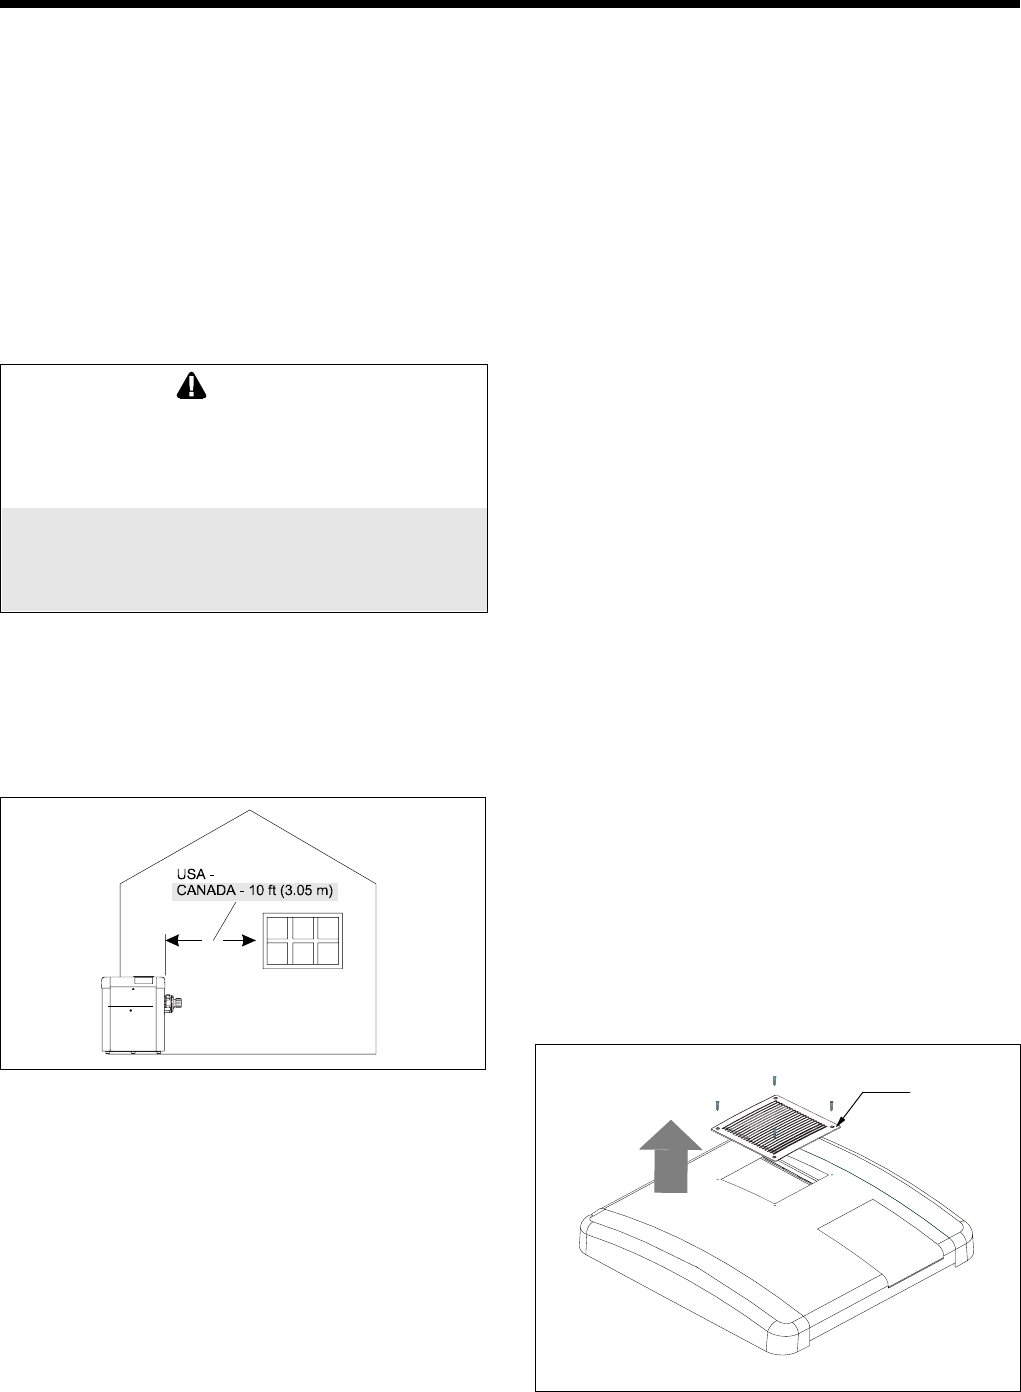
glass opening, or gravity inlet to a building (see Figure 2).
DANGER
United States
Do not install the heater with the top of the
vent assembly within 4 feet (1.22 m) of any
opening into a building.
Canada
Do not install the heater with the top of the
vent assembly within 10 feet (3.05 m) of any
opening into a building.
If the heater is installed under an overhang, there
must be a minimum clearance of 5 feet (1.5 m) above the
top of the heater and the structure should not overhang the
heater more than 12 inches (0.30 m). The area under the
overhang must be open on three sides.
If the heater is installed close to a structure, protect it
2E. Outdoor Shelter Installation (Canada)
An outdoor shelter is an unoccupied enclosure which
does not communicate directly with occupied areas. The
LX and LT may be installed in such a shelter only when
the installation is in accordance with local codes and the
most recent edition of Standard CAN/CGA B-149. These
codes and standards and Waterpik Technologies require
that the heater be properly vented as outlined in this
manual. Other requirements also apply, such as provision
of ample uncontaminated air for combustion and
ventilation.
2F. Indoor Installation
2F-1. Preparation of Heater for Indoor
Installation
If the LX or LT is to be installed indoors, its exhaust
discharge grill must be converted to a collar for vent pipe
connection. The necessary vent collar, gasket and screws
can be ordered as parts kit R0331403 or R0331405 (see
parts list in Section 5 of this manual). The conversion can
be done quite simply as follows:
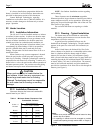
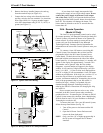
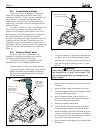
1. Remove the vent exhaust grill by removing the
four screws which retain it. The grill and the
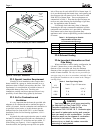
screws may be discarded (See Figure 3).
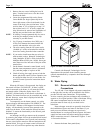
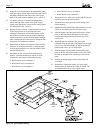
2. Replace the grill with the vent collar (see section
4 for kit number). Place the vent collar and
gasket over the hole and fasten it in place with
the 4 screws provided. Be sure that all
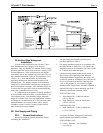
components are properly aligned (See Figure 4).
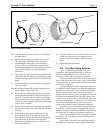
3. Install the vent pipe on the indoor vent collar.
The collar will accommodate vent piping of
nominal 7" or 9" diameter, depending upon the
model of your heater (See Figure 5). See vent
installation section for important information on
selecting proper pipe size.
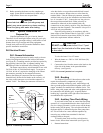
Figure 2. Outdoor Heater Installation.
from rain water runoff by means of gutters, roof water
diverters or similar measures. Do not locate the heater
close to irrigation sprinklers. Water from sprinklers may
damage controls and electronic components.
Avoid locations where wind deflection off nearby
structures might cause wind loading and downdraft
conditions. Where downdraft conditions exist, locate the
heater at least 3 feet (0.91 m) from vertical surfaces (e.g.,
nearby buildings and walls).
Install the heater at least 5 feet (1.52 meters) from
the inside wall of the pool or spa unless the heater is
separated from the pool or spa by a five-foot (1.52meter)
high solid fence, wall or other permanent barrier.
4 ft (1.22 m)
Figure 3. Removal of Outdoor Exhaust Grill.
OUTDOOR
VENT GRILL


