:SetUp the Machine (Continued)
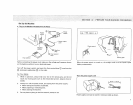
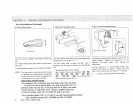
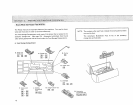
• Set the Foot Control
Foot control
The foot controi regutates the speed at which you
Sew.
"To increase speed, gently press down with the bail of
your foot.
To decrease speed, release your foot pressure slightly.
NOTE:
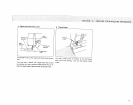
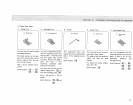
e Check the Feed Balance Dial
f
For most sewing, thegroove in the Feed Balance Dial
should point to the arrow (" _ ").
You wifl rarely need to adjust the dial. But, if
necessary, use this dial to regulate the feed balance
for:
The foot control is sensitive and will increase
or decrease your sewing speed immediately.
Practice on a scrap of fabric to regulate your
sewing speed to your taste and needs.
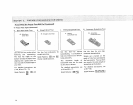
Buttonholes (See p. 70 for details).
Any "stretch" stitch such as patterns _[_, [],
[] _ _ ,[_ _ [_ and monogramm,ng
when sew_ng on special fabrtcs.
OPERATING INSTRUCTIONS
"For appliances with a polarized plug (one blade wider than the other).
To reduce the risk of electric shock, this plug is intended to fit in a
polarized outlet only one way. If the plug does not fit fully in the outlet,
reverse the plug. If it still does not fit, contact a qualified electrician
to install the proper outlet. Do not modify the plug in any way."
"Foot Controller Model 21371 or YC-542 for use with Sewing Machine Models
385. 19150000 through 385. 19150999 and 385. 19153690."
(For U.S.A. market only)
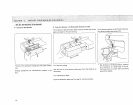
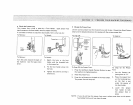
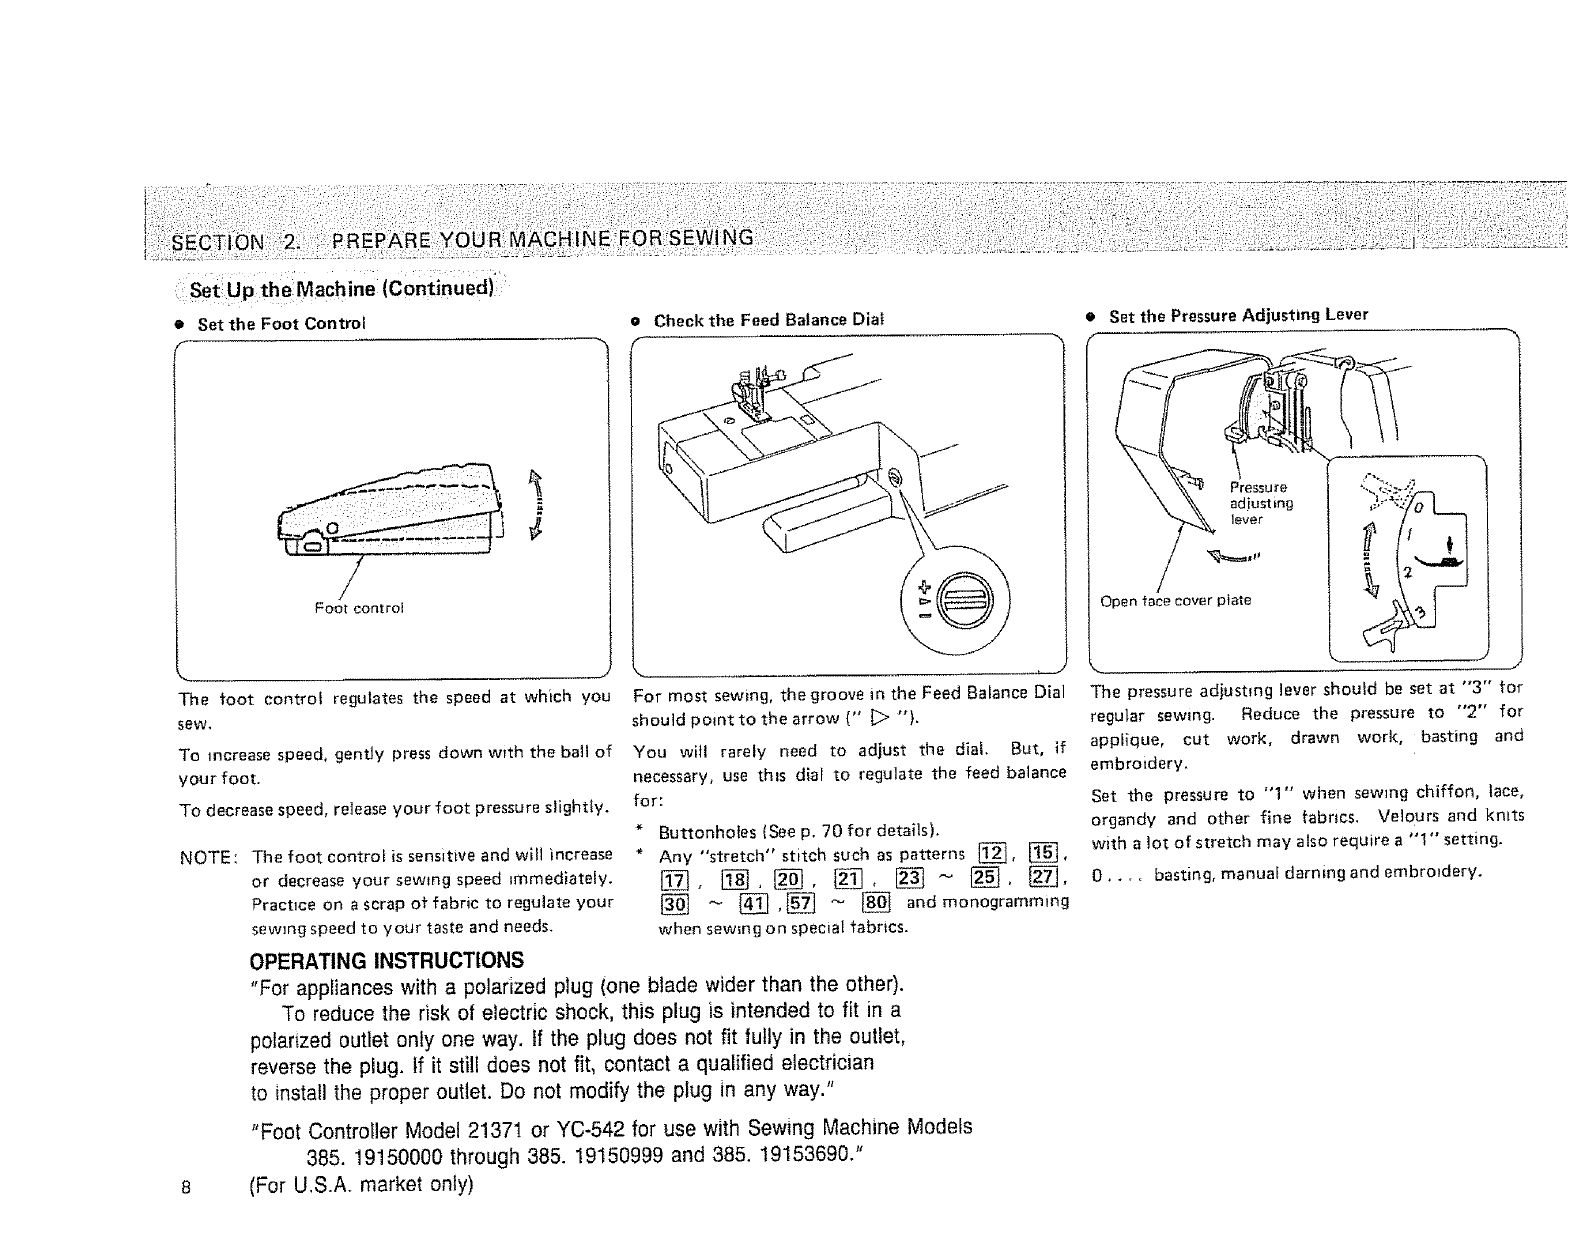
• Set the Pressure Adjusting Lever
Pressu re
adjustin#
lever
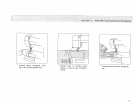
Open race cover plate
The pressure adjusting lever should be set at "3" for
regular sewing. Reduce the pressure to "2" for
applique, cut work, drawn work, basting and
embroidery.
Set the pressure to "1" when sewing chiffon, lace,
organdy and other fine fabrics. Velours and knits
with a lot of stretch may also require a "1" setting.
0 .... basting, manual darning and embroidery.


