


1210 Oil-less Threading Machine
Ridge Tool Company 13
Maintenance Instructions
WARNING
Make sure machine is unplugged from power
source before performing maintenance or making
any adjustments.
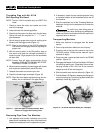
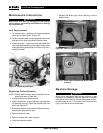
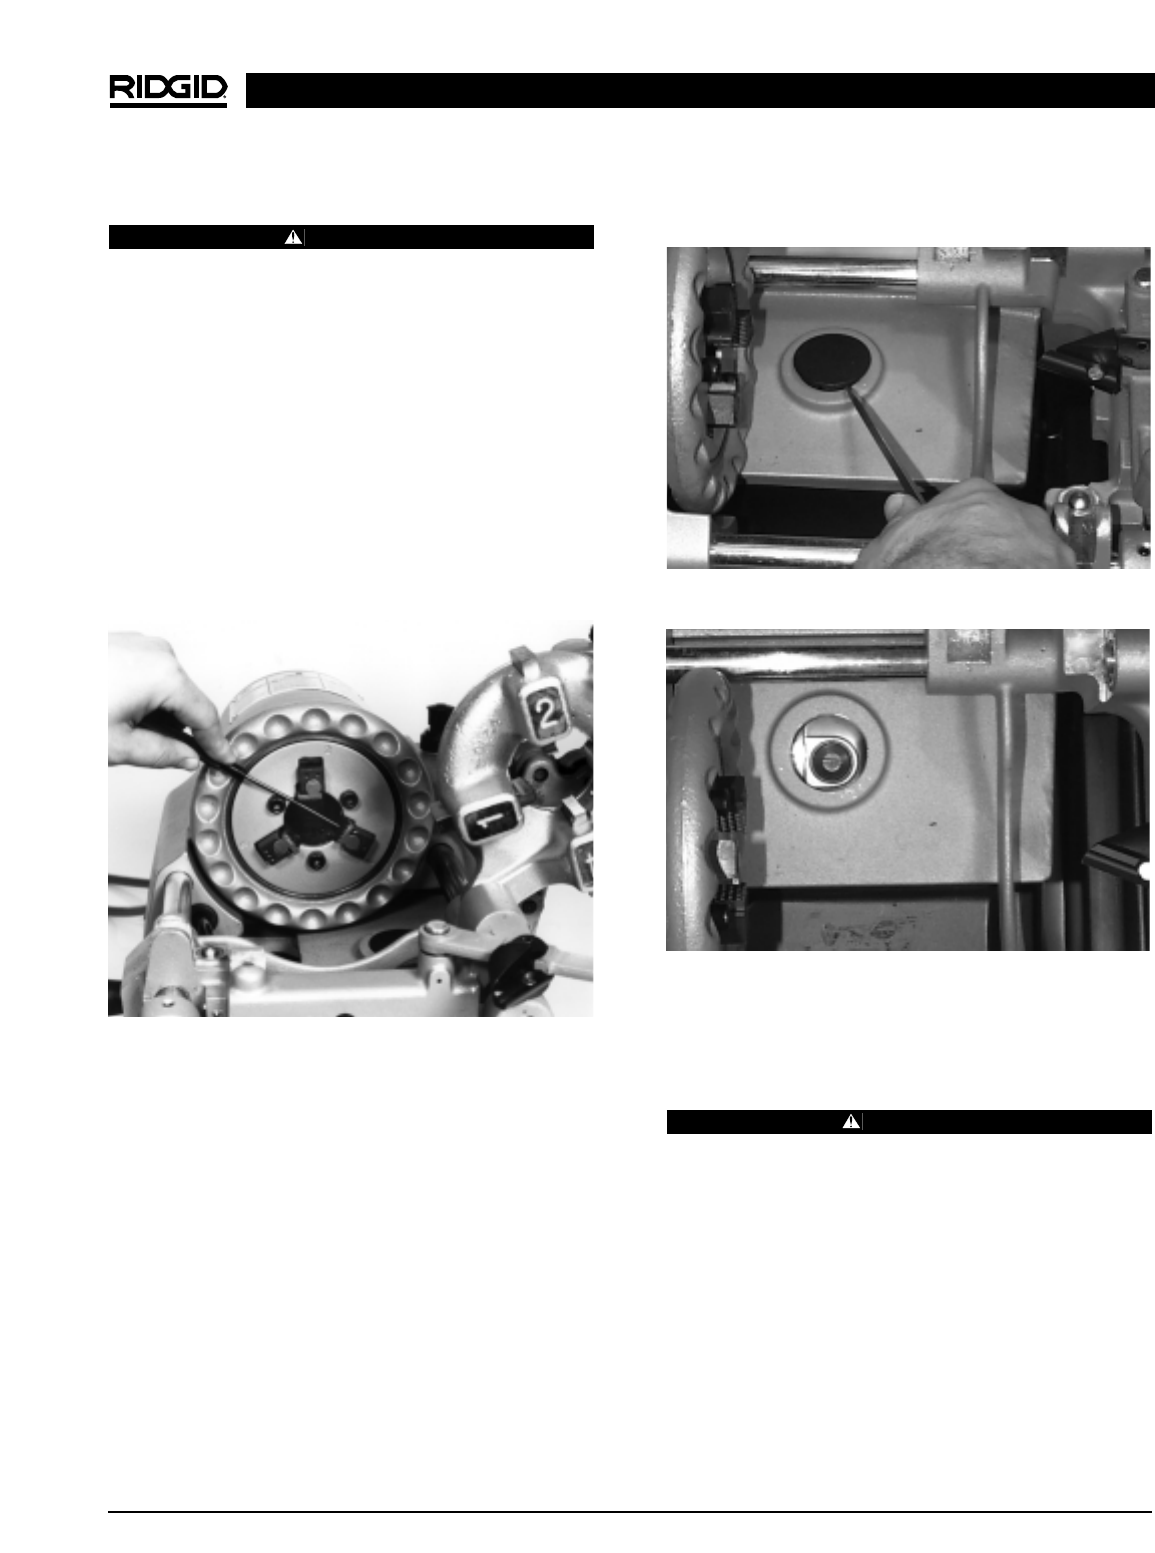
Jaw Replacement
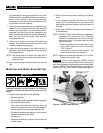
1. To remove insert — place punch into spring detente
slot of jaw and push down. (Figure 19)
2. Continue to push down on spring detente and slowly
slide jaw out of chuck jaw holder. Remove insert.
3. Install new insert — place into chuck jaw holder and
with finger depress spring and plunger. Slowly move
insert past spring and plunger until insert fully sits in
chuck jaw holder.
Figure 19 – Replacing Jaw Inserts
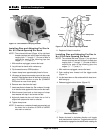
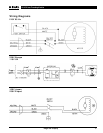
Replacing Carbon Brushes
NOTE! Check motor brushes every 6 months and re-
place when worn to less than
1
/
2
″.
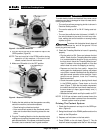
1. Unplug machine from power source.
2. Using a screwdriver, remove the brush cap plug from
the machine housing (Figure 20) exposing the first
brush cap (Figure 21).
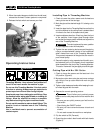
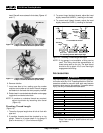
3. Remove the bottom cover screws and bottom cover,
exposing the second brush cap.
4. Remove the brush caps.
5. Carefully remove the carbon brushes.
6. Install new carbon brushes.
7. Reinstall the brush caps, brush cap plug, and the
bottom cover.
Figure 20 – Removing Brush Cap Plug
Figure 21 – Brush Cap Plug Removed, Brush Holder
Exposed
Machine Storage
WARNING
Motor-driven equipment must be kept indoors or well
covered in rainy weather. Store the machine in a locked
area that is out of reach of children and people unfamil-
iar with power drives. This machine can cause serious
injury in the hands of untrained users.