


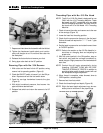
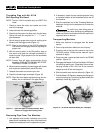

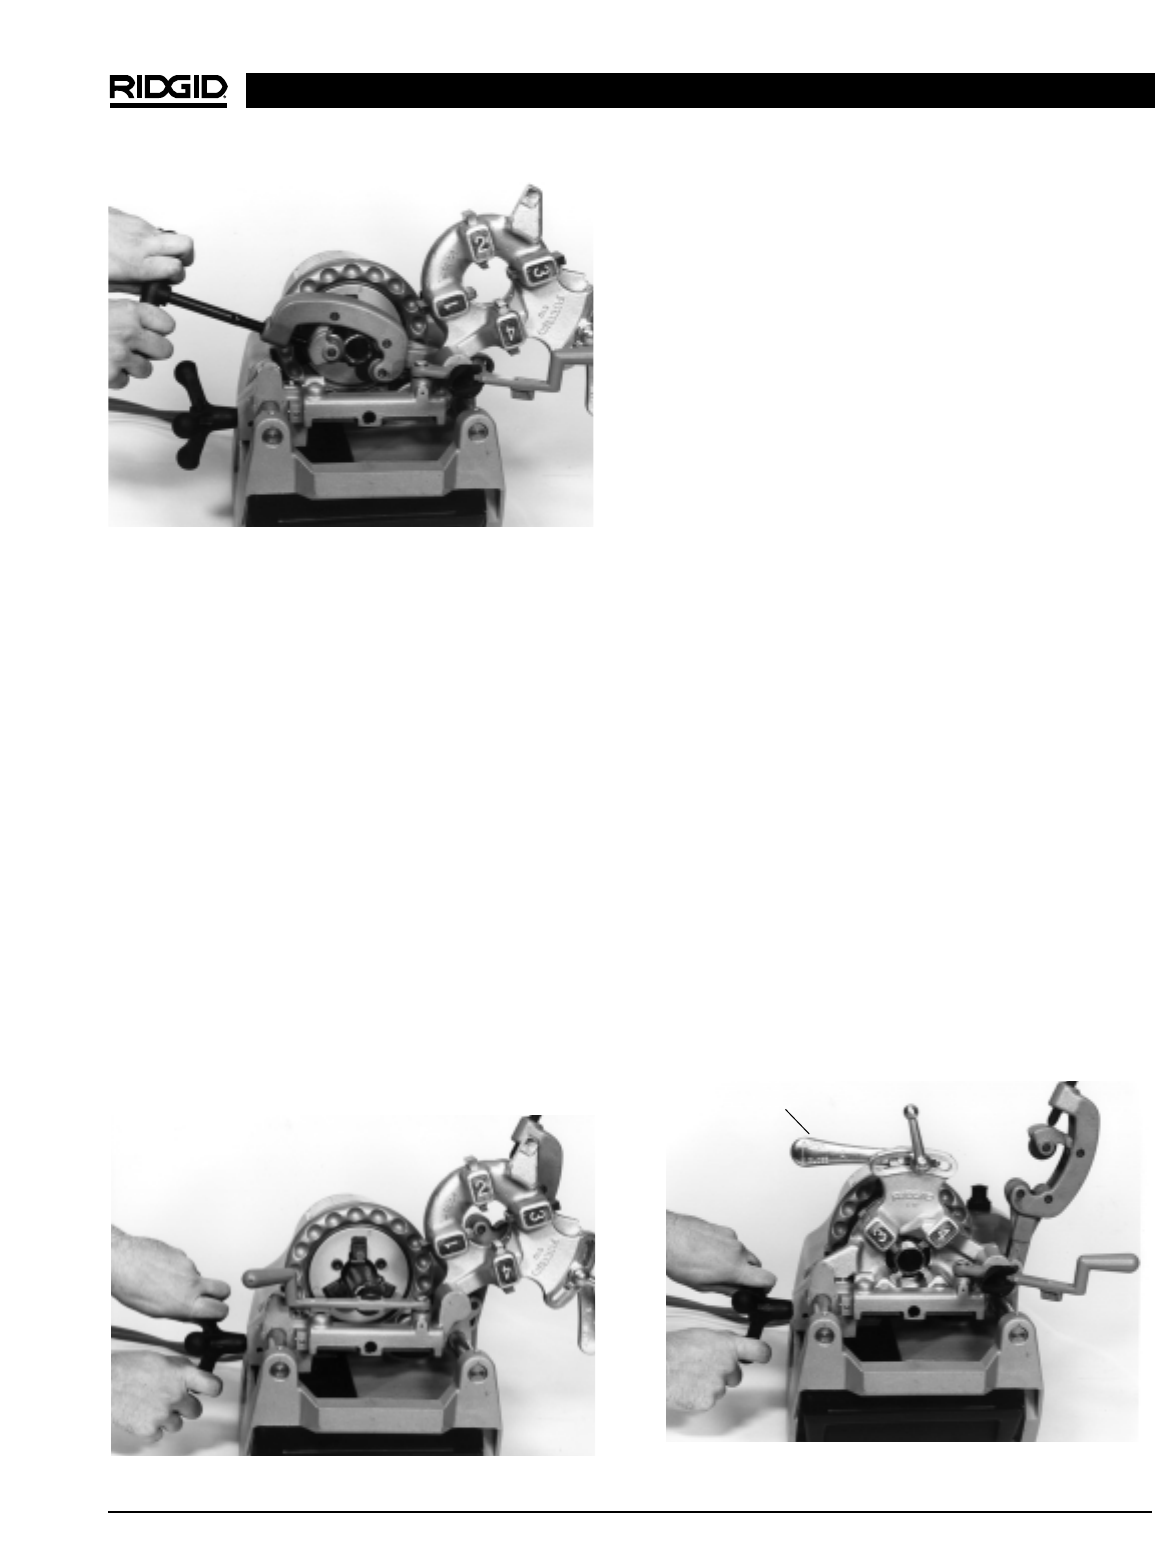
Threading Pipe with No. 610 Die Head
NOTE! The 610 or 610A Die Head is designed for use
ONLY with the 1210 Threading Machine. These
die heads are NOT compatible with any other
RIDGID threading equipment. No other RIDGID
die heads will fit on the Model 1210 Threading
Machine.
1. Check to insure the cutter and reamer are to the rear
of the carriage (Figure 10).
2. Lower die head into threading position.
3. Check that the proper size dies are in the die head.
Distinct die sets are required for
1
/
2
″ –
3
/
4
″ and 1″ pipe
diameters.
4. Set die head to proper size and rotate throwout lever
to CLOSED position.
NOTE! Refer to the section on the 610 Die Head for in-
structions on changing dies and adjusting for
proper size.
5. With the control switch in the ON position, step on
foot switch and feed the carriage handwheel to-
wards the pipe. Slight pressure on the handwheel will
start dies.
NOTE! Coolant flow will begin automatically during
threading. COOLANT FLOW WILL BE CON-
TINUOUS STREAM OF DROPS! In addition to
producing better quality threads, coolant will cool
the workpiece through evaporation.
6. When thread is complete, rotate throwout lever to
OPEN position, retracting dies.
7. Remove foot from foot switch.
8. Check the thread length and depth (Figure 18).
NOTE! Slight die head depth adjustment may be nec-
essary due to variations in the pipe fittings.
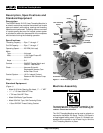
Figure 10 – Threading Pipe with No. 610 Die Head
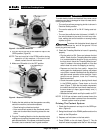
Figure 8 – Cutting Pipe with No. 354 Cutter
7. Depress and hold down the foot switch with the left foot.
8. Tighten the feedscrew handle slowly and continu-
ously until the pipe is cut. Do not force the cutter into
the workpiece.
9. Release the foot switch and remove your foot.
10. Swing pipe cutter back to the UP position.
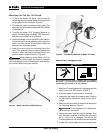
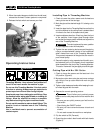
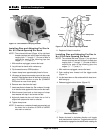
Reaming Pipe with No. 334 Reamer
1. With cutter and die head in their UP position, swing
reamer into its operating position (Figure 9).
2. Check the ON/OFF switch to insure it is in the ON po-
sition. Depress and hold the foot switch down.
3. Feed the carriage handwheel towards the pipe
(Figure 9).
4. With slight handwheel pressure, feed reamer into
pipe to achieve desired ream.
5. Release foot switch and return the reamer to its UP
position.
Figure 9 – Reaming Pipe with No. 334 Reamer
1210 Oil-less Threading Machine
Ridge Tool Company 9
Throwout Lever (in CLOSED position)