


C1621M-E (9/08) 21
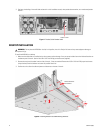
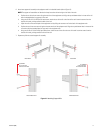
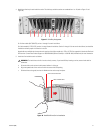
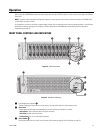
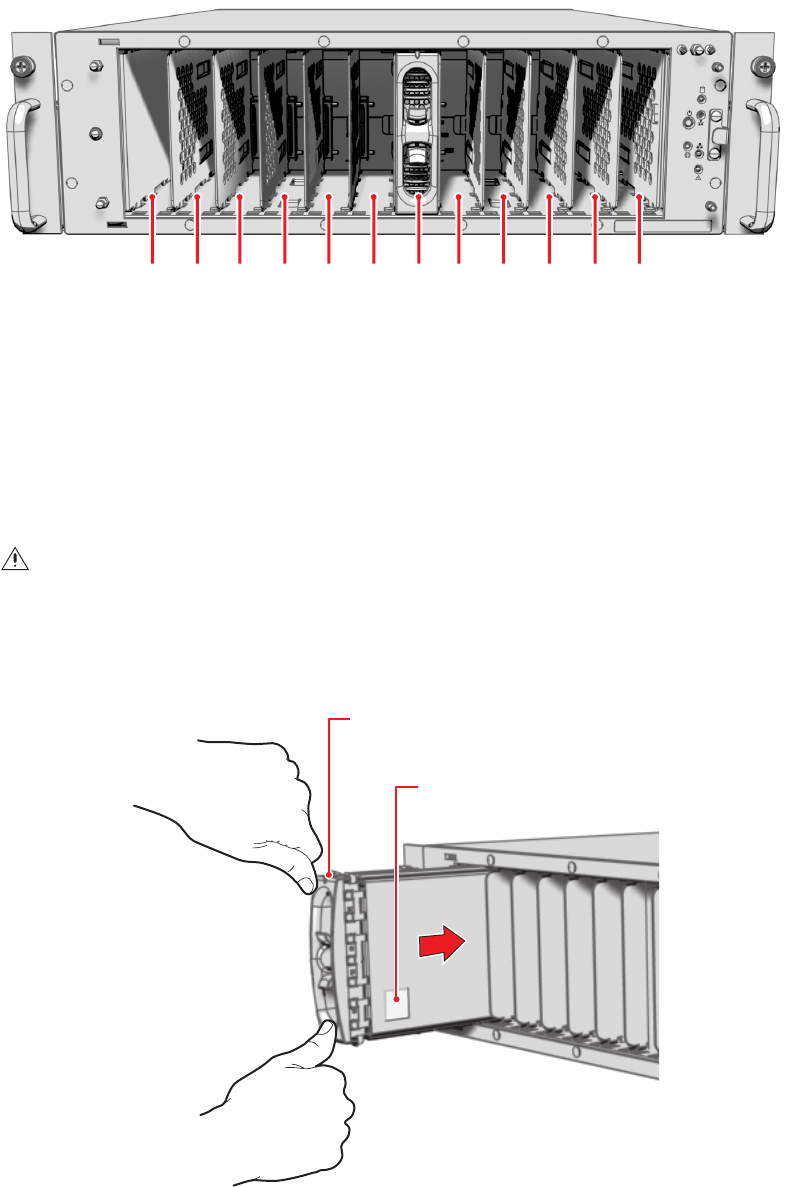
4. Identify the drive bay for each hard drive carrier. The drive bays and drive carriers are numbered from 1 to 12 (refer to Figure 17 and
Figure 18).
Figure 17. Drive Bay Assignment
On 12-drive models (6.0 TB/9.0 TB), carriers 1 through 12 contain hard drives.
On 6-drive models (1.5 TB/3.0 TB), carriers 1 through 6 contain hard drives. Carriers 7 through 12 do not contain hard drives, but should be
installed to maintain proper air circulation in the unit.
Upgrade kits are available that increase the unit capacity of the 6-drive models by 1.5 TB or 3.0 TB. Each upgrade kit includes six filled hard
drive carriers. Contact Pelco Product Support at 1-800-289-9100 (USA and Canada) or 1-559-292-1981 (international) for more information.
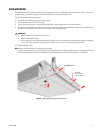
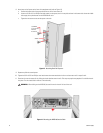
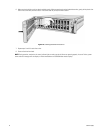
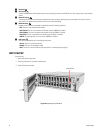
5. Install the first hard drive carrier as follows:
a. Orient the drive carrier so that the drive status indicator is facing up.
b. Align the tapered ends of the carrier rails with the correct drive slot opening.
c. Slide the drive carrier gently into the unit. Make sure the carrier snaps into place.
Figure 18. Hard Disk Drive Carrier Installation
WARNING: The hard drive carrier fits into the unit only one way. If you have difficulty inserting a carrier, remove it and check its
orientation.
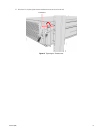
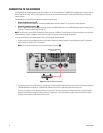
1
2
3 4 5 6 7 8 9 10 11 12
DRIVE STATUS INDICATOR
DRIVE NUMBER LABEL