


18 C1621M-E (9/08)
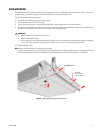
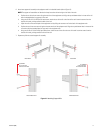
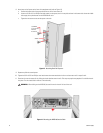
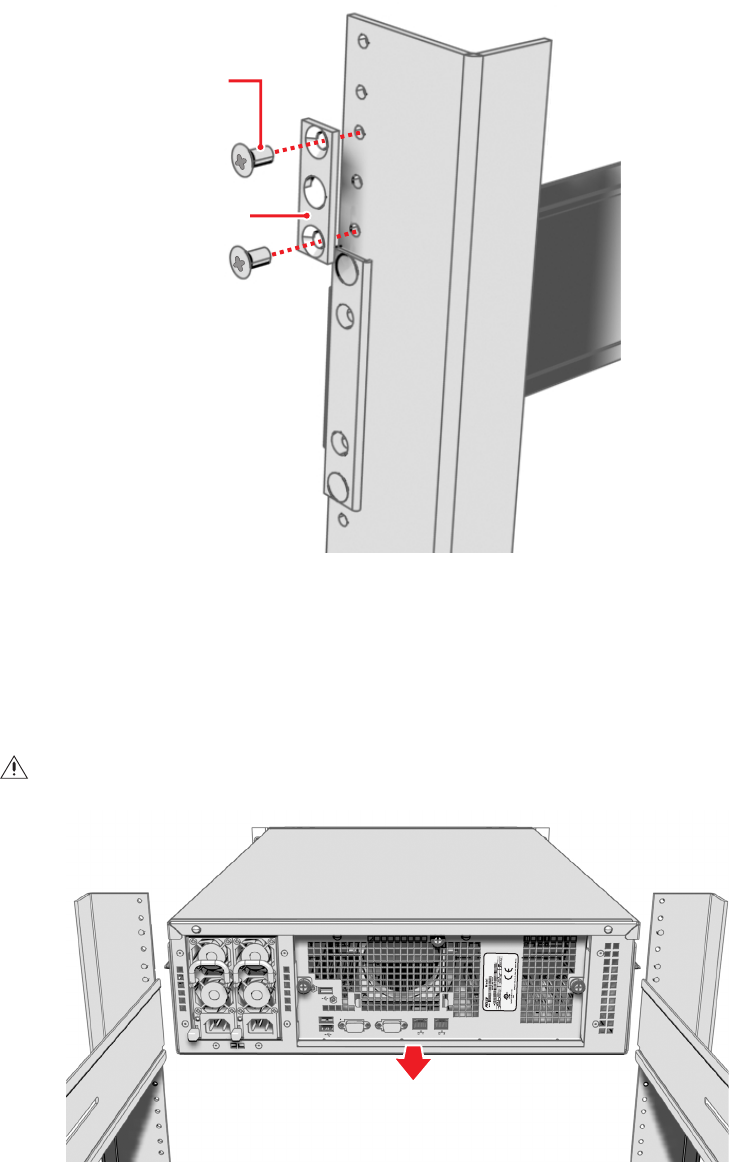
8. Attach one rack rail spacer to the front of the equipment rack (refer to Figure 13):
a. Position the bottom hole of the spacer above the ear of the front-mount rail.
b. Insert two 10-32 x 0.5-inch Phillips flat head screws into the spacer, one in the top hole and one in the bottom hole. Leave the middle
hole empty; the top thumbscrew on the NVR5100 will use it.
c. Tighten the two screws to secure the spacer to the rack.
Figure 13. Attaching Rack Rail Spacers
9. Repeat step 8 for the second spacer.
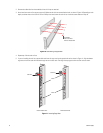
10. Tighten the 8-32 x 0.375-inch Phillips truss head screws that were attached to the front- and rear-mount rails in steps 3 and 4.
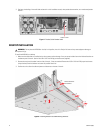
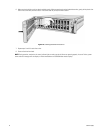
11. Place the unit onto the mount rails by sliding the chassis brackets onto the rails. This step may require two people to lift and slide the unit
into place. The unit should slide in and out of the rack easily.
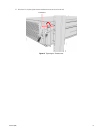
Figure 14. Mounting the NVR5100 into the Rack
WARNING: When sliding out the NVR5100, be careful not to let the unit fall out of the rack.
SPACER
(2) SCREWS
10-32 X 0.5-INCH
PHILLIPS
FLAT HEAD