C1621M-E (9/08) 15
RACK MOUNTING
The NVR5100 mounts into an industry-standard 19-inch (48 cm) equipment rack. The NVR5100 occupies three rack units (5.25 in. or 13.3 cm) of
vertical rack space. The hardware necessary to mount the NVR5100 into a rack is supplied with the unit.
The rack must meet the following requirements:
• 19-inch (48 cm) EIA-310-D compliant (rear column required)
• Rack column depth: 24 to 30 inches (61 to 76 cm)
• Column mounting hole provisions: 10-32 UNF-2B threaded holes or square window holes on front and rear columns
• Door systems are acceptable. Front doors must have at least 2 inches (5.1 cm) between the NVR5100 front bezel and the inside of the door.
Rear doors may only be used on rack columns that are more than 26 inches (66 cm) deep.
To install the NVR5100 in a rack:
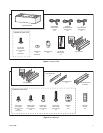
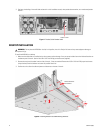
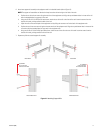
NOTE: Figure 4 identifies each piece of hardware for this procedure.
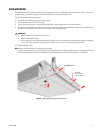
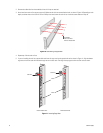
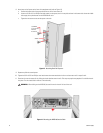
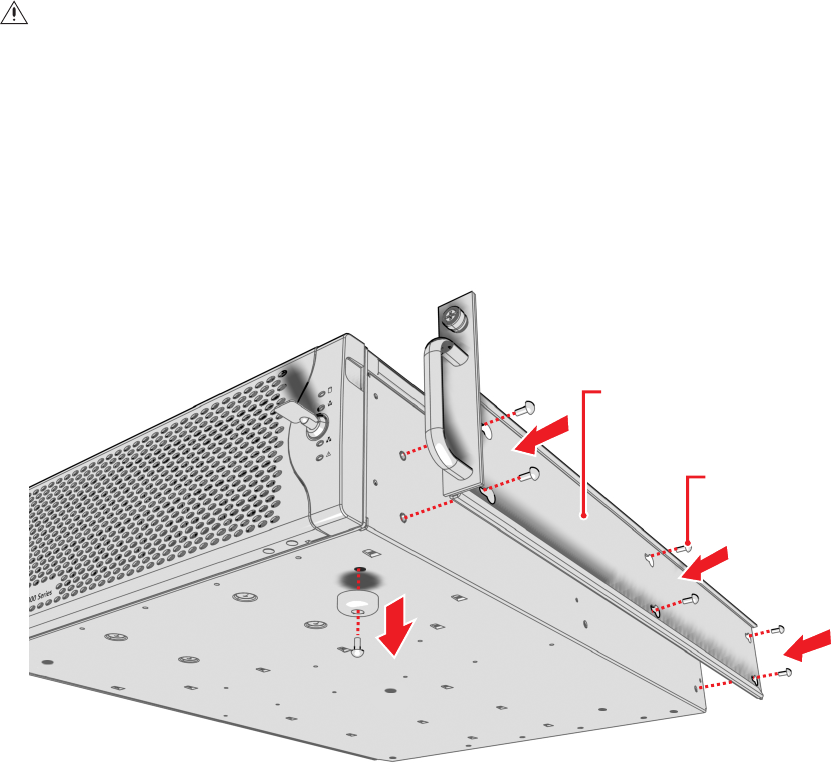
1. If chassis mounting brackets are not attached: Attach one mounting bracket to each side of the NVR5100. Use six 10-32 x 0.25-inch Phillips
pan head screws for each bracket. Attach the brackets so that the tapered ends are positioned toward the rear of the NVR5100.
Figure 9. Fastening Mounting Brackets to Chassis
WARNINGS:
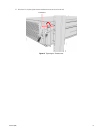
• Secure the front and rear screws to the support rails.
• Make sure the NVR5100 is level.
• Slots and openings in the cabinet provide ventilation to prevent the unit from overheating. Do not block these openings. Never place
the unit near or over a radiator or heat register. When placing the unit in a rack, be sure to provide proper ventilation.
ATTACHATTACH BRACKETS
(6) SCREWS
10-32 X 0.25-INCH
PHILLIPS PAN HEAD


