


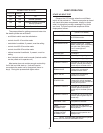
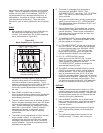


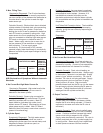
messages, instead of two, as summarized in
Figure #14.
5. When both the yellow and the green status lamps
are on, the water level is detected as being at the
top of the cylinder. This is normal on start-up, but
as the contained water concentrates, the water will
stabilize at a lower water level and the yellow lamp
will be off.
6. When the cylinder is fully used, the water level will
have returned to the top of the cylinder. Since
there is no longer any clean electrode surface
available at end-of-cylinder-life, the required steam
output rate can no longer be maintained.
7. At this stage, the yellow lamp flashes and the
green lamp is on, telling the user that the cylinder
is reaching the end of its life and will need to be
replaced shortly. The humidifier continues to
operate.
8. The NHB relay for remote indication is not
intended to indicate end-of-cylinder-life. It is
intended to indicate other detected faults
explained later in this manual.
9. The NHP at end of cylinder life will not operate,
the yellow lamp will “flash
”, and the green lamp will
be “off”.
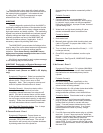
HOW TO REMOVE THE STEAM CYLINDER
1. (It is advisable to keep a spare cylinder in stock
throughout the humidification season.) When
ordering a replacement steam cylinder, always
quote the three or five digit model number on the
label applied to the cylinder or quote the unit’s
serial number, model and voltage located on the
spec label (nameplate).
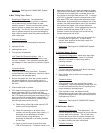
2. Turn off water supply to unit.
3. The used cylinder must be drained completely
before removal. If the water has just been boiling,
allow it to cool before draining. Push the
ON/OFF/DRAIN switch to the MANUAL DRAIN
position. Leave it in this position just long enough
to drain the cylinder (usually less than 10
minutes).
4. When completely drained, push the main
ON/OFF/DRAIN switch back to the OFF position.
5. Once drained, open
the main electrical disconnect
during the entire cylinder change operation.
6. Open plumbing door.
7. Cylinder plugs are attached to the primary voltage
cylinder wires. (The plugs remain attached to the
wires unless they have to be replaced due to
damage.) The plugs are press-fitted over the
electrode pins protruding from the top of the
cylinder. Remove cylinder plugs from cylinder by
pulling vertically.
8. Using slot screwdriver, loosen the steam hose
clamp(s) and pull steam hose off the cylinder
vertically.
9. Using a small slotted screwdriver, depress tab on
the re-usable tie wrap, if present, around the
middle of the cylinder. This will loosen the tie
wrap to come apart for re-use later on.
10. Cylinder is now ready to be lifted out of the unit.
CAUTION: Cylinder and any undrained water
might still be HOT.
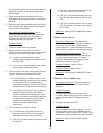
MANDATORY CLEANING OF THE DRAIN
VALVE
Always clean the drain valve before installing a
new cylinder since the valve port may be as dirty as
the used cylinder.
1. Remove used cylinder as previously described.
NORTEC does not recommend the use of any
acid solutions to clean the used cylinder. Always
replace a used cylinder.
2. Note that ring terminal for drain valve green
ground wire is sandwiched between drain valve
body and drain pan.
3. Remove two screws securing drain valve body to
drain pan. Disconnect the two slip-on terminals
from the two tabs on the (24VAC) drain valve coil.
4. Remove hose clip and hose connection from drain
valve body.
5. Drain valve assembly is now free to be taken to a
sink for disassembly and cleaning.
-13-
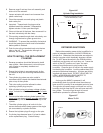
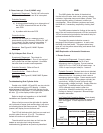
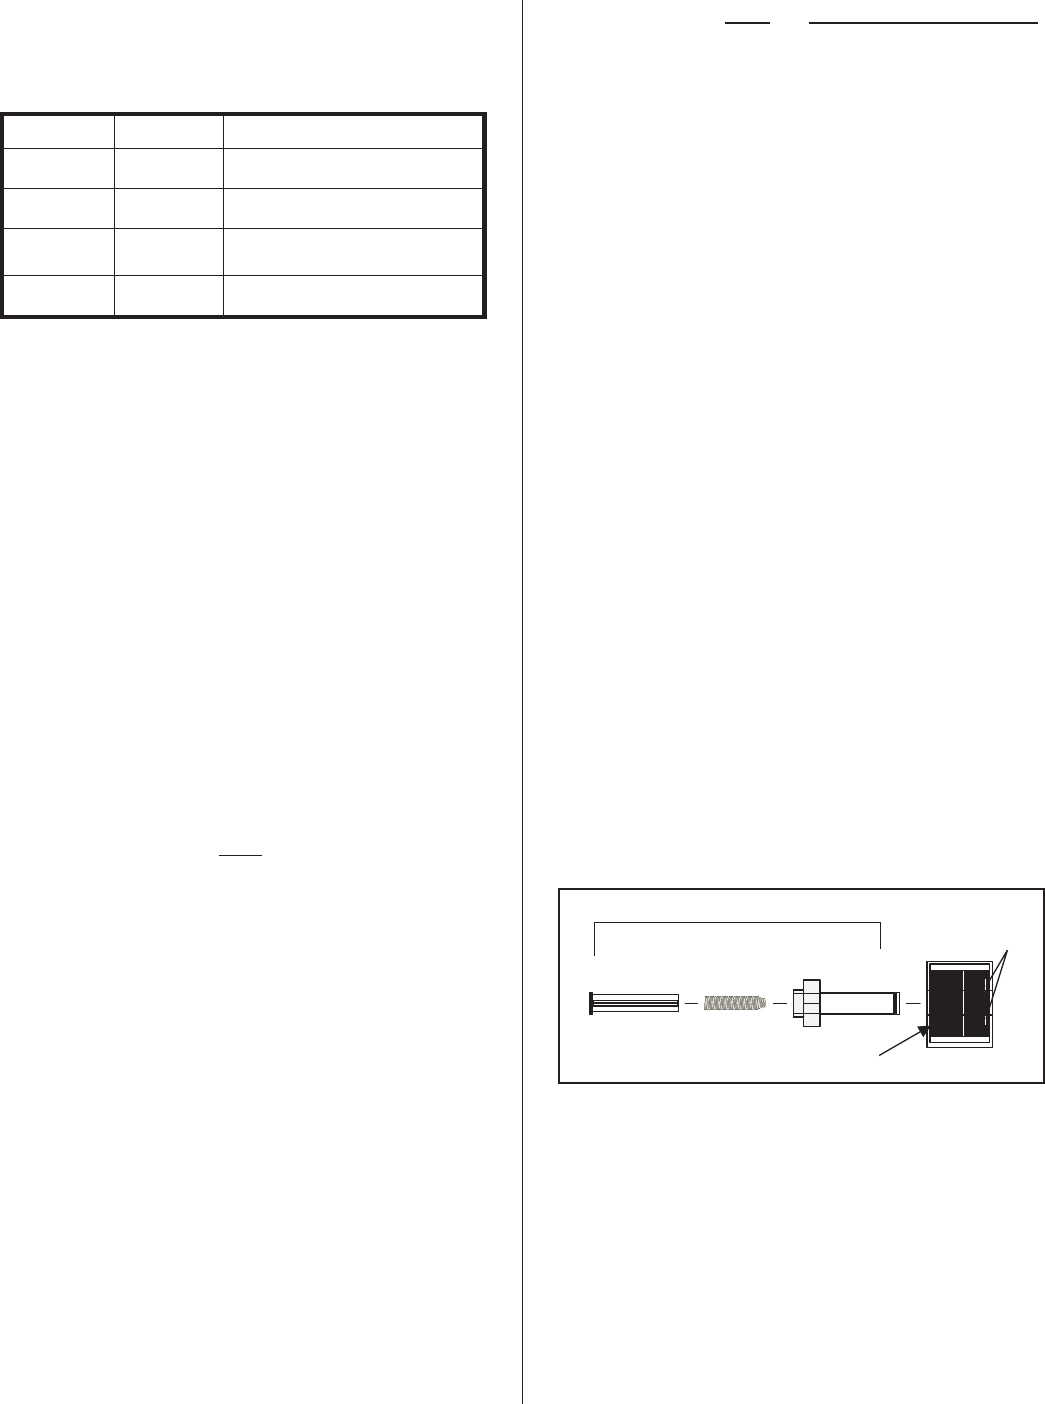
Plunger
Spring
Holdin
g
Coil
Sleeve
MaleSlip-on
ConnectionTabs
A
ctuator
Figure #15
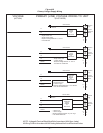
Reassembly of the Drain Valve and Fill Valve
YELLOW GREEN
OFF OFF
Off
OFF ON
Normal operation
ON ON
Replace cylinder or normal
start-up operation
ON OFF
Operation fault
Figure #14