


28
NOTE: DIAGRAMS & ILLUSTRATIONS ARE NOT TO SCALE.
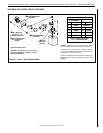
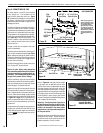
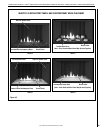
Install Tumbled River Stone (MTRS) -
IMPORTANT: Refractory panels should be
installed before any of the contemporary
media are installed.
1.Placestonesonthereboxsub-oor,in
any atheistically pleasing manner to suite
individual taste. See Figure 43 - Detail C
on Page 29 for an example.
IMPORTANT: Be sure stones do not im-
pinge on the burner outlet.
Install Crushed Glass And Sand (MCCG and
MBSK) -
IMPORTANT: Refractory panels should be
installed before any of the contemporary
media are installed.
1. Pour out glass or sand on firebox sub-
oor, completely covering the sub-oor.
See Figure 43 - Detail D on Page 29 for
an example.
IMPORTANT: Avoid letting glass or sand
fall into the burner outlet. Make sure
no glass or sand falls into the burner
ports.
Install Contemporary Facade -
1. Refer to the Facade Installation Instruc-
tions (P/N 506019-40) to install the Con-
temporary Facade.
WARNING
• DO NOT attempt to install the
contemporary media until the
appliance installation has been
completed, the gas line con-
nected and tested for leaks and
the initial burner operation has
been checked out.
• The size and position of the
contemporary media was engi-
neered to give the appliance
a safe, reliable and attractive
flame pattern. Any attempt to
use a different media in the
fireplace will void the warranty
and will result in incomplete
combustion, sooting, and poor
flame quality.
• Contemporary media get very
hot and will remain hot up to
one hour after gas supply is
turned off. Handle only when
contemporary media are cool.
• This appliance is not designed to
burn wood. Any attempt to do so
could cause irreparable damage
to the appliance and prove haz-
ardous to your safety.
• If contemporary media are
not installed according to the
installation instructions, flame
impingement and improper
combustion could occur and
result in soot and/or excessive
production of carbon monoxide
(CO), a colorless, odorless,
toxic gas.
• Only use materials listed here.
Only contemporary media
authorized have been tested
for use within the firebox and
its environment. Do not attempt
to use any different materials
in the fireplace. Doing so may
be dangerous and will void
the warranty and will result in
incomplete combustion, soot-
ing, and poor flame quality.
Step 8. INSTALLING CONTEMPORARY
MEDIA
NOTE: Turn off all electricity to the appliance
before you install contemporary floor media.
LENNOXHEARTHPRODUCTS•MERIT
®
SERIESDIRECT-VENTCONTEMPORARYDESIGNGASFIREPLACES•MODELMLDVTCD-35•INSTALLATIONINSTRUCTIONS
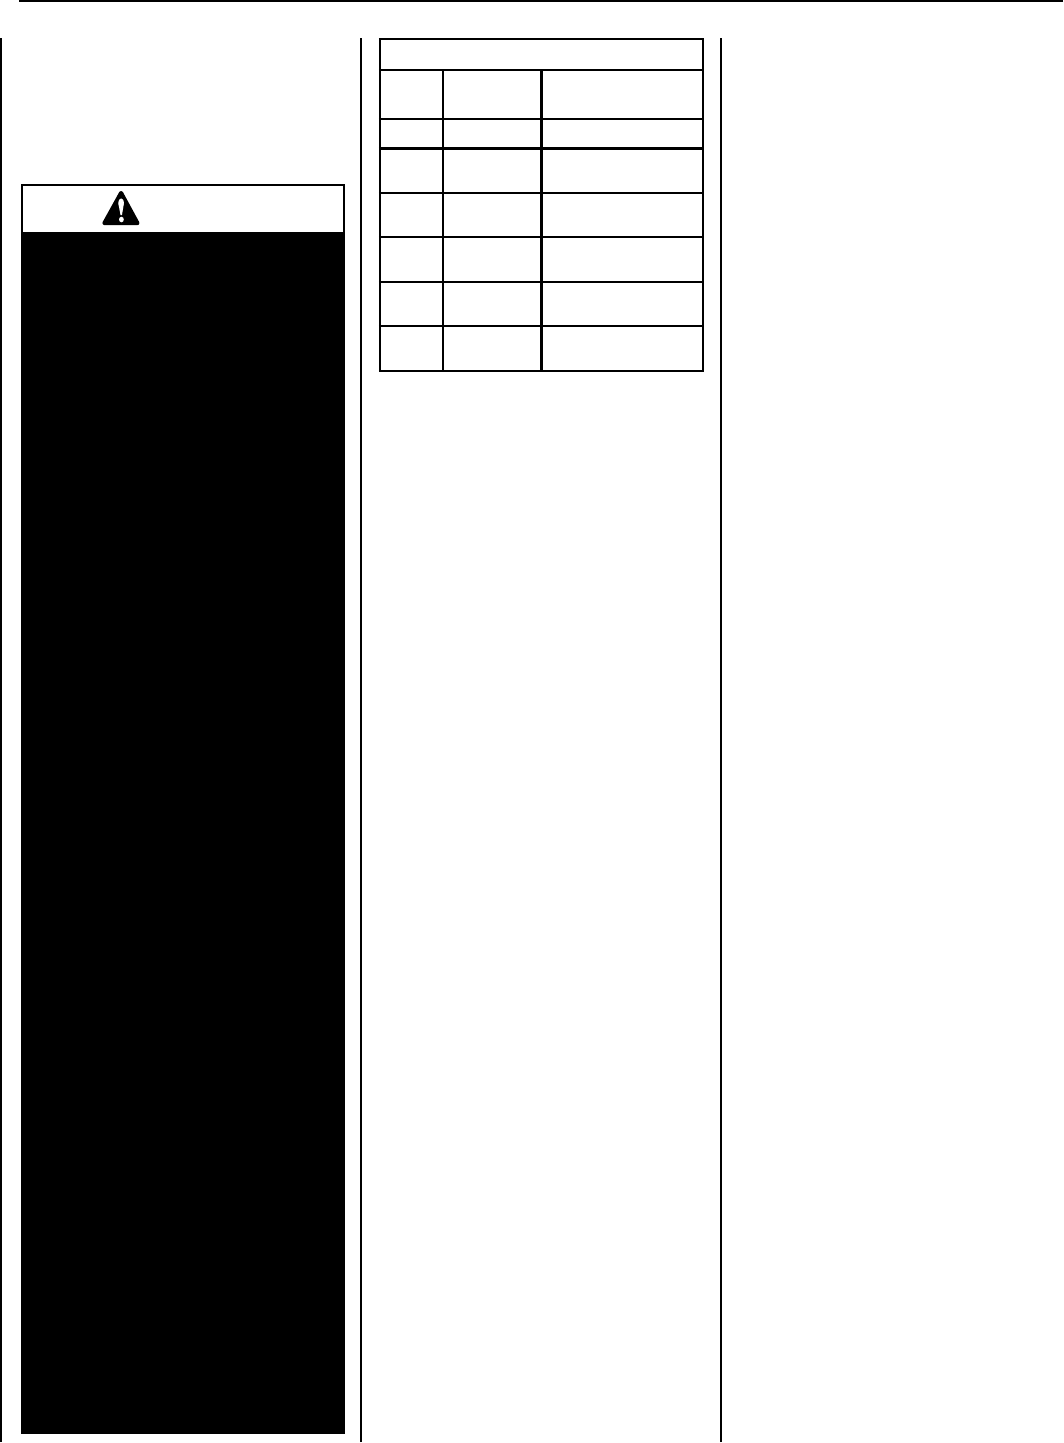
Table Of Contemporary Media
Cat.
No.
Model Contemporary Media
Name
H7536 MTRS Tumbled River Stone
H7537 MCCG-OB
Contemporary Glass
Obsidian Black
H7538 MBSK
Contemporary Beach
Sand
H7578 MCCG-DW
Contemporary Glass
Diamond White
H7579 MCCG-SB
Contemporary Glass
Deep Sea Blue
H7581 MBLPK-35ZG
Merit Liner Kit, Zen
Garden
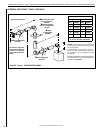
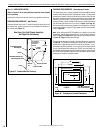
Remove the front glass enclosure panel
(see Removing Glass Enclosure Panels on
Page 30).
This fireplace is designed to accept a number
of alternate contemporary media options,
allowing the homeowner to customize this
product to fit any decor.
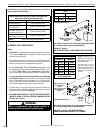
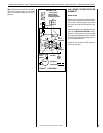
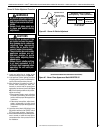
Install Zen Garden Refractory Panels
(MBLPK-35ZG) -
1. Porcelain panels come installed in the ap-
pliance. Remove them by bending the tab,
sliding the left and right side panels out
first, then removing the rear panel.
2. Install Zen Garden panels:
• Remove the lintel by removing two
screws.
• Inserttherearpanelintoreboxandpo-
sition against the rear wall of the firebox
(see Figure 43 - Detail A on Page 29).
• Carefully insert the left side panel into
firebox, at a slight angle away from the
sidewall. Position the side panel as far
back along the wall as it will go (until it
is against the rear panel) and lower it into
place, while standing it upright and press-
ing it down over the knife edge at the rear
ofthesub-oor.Thesub-oorknifeedge
will cut into the refractory panel. Repeat
the same procedure for the right side panel
(see Figure 43 - Detail B on Page 29).
• Re-installthelintel.