


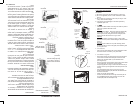
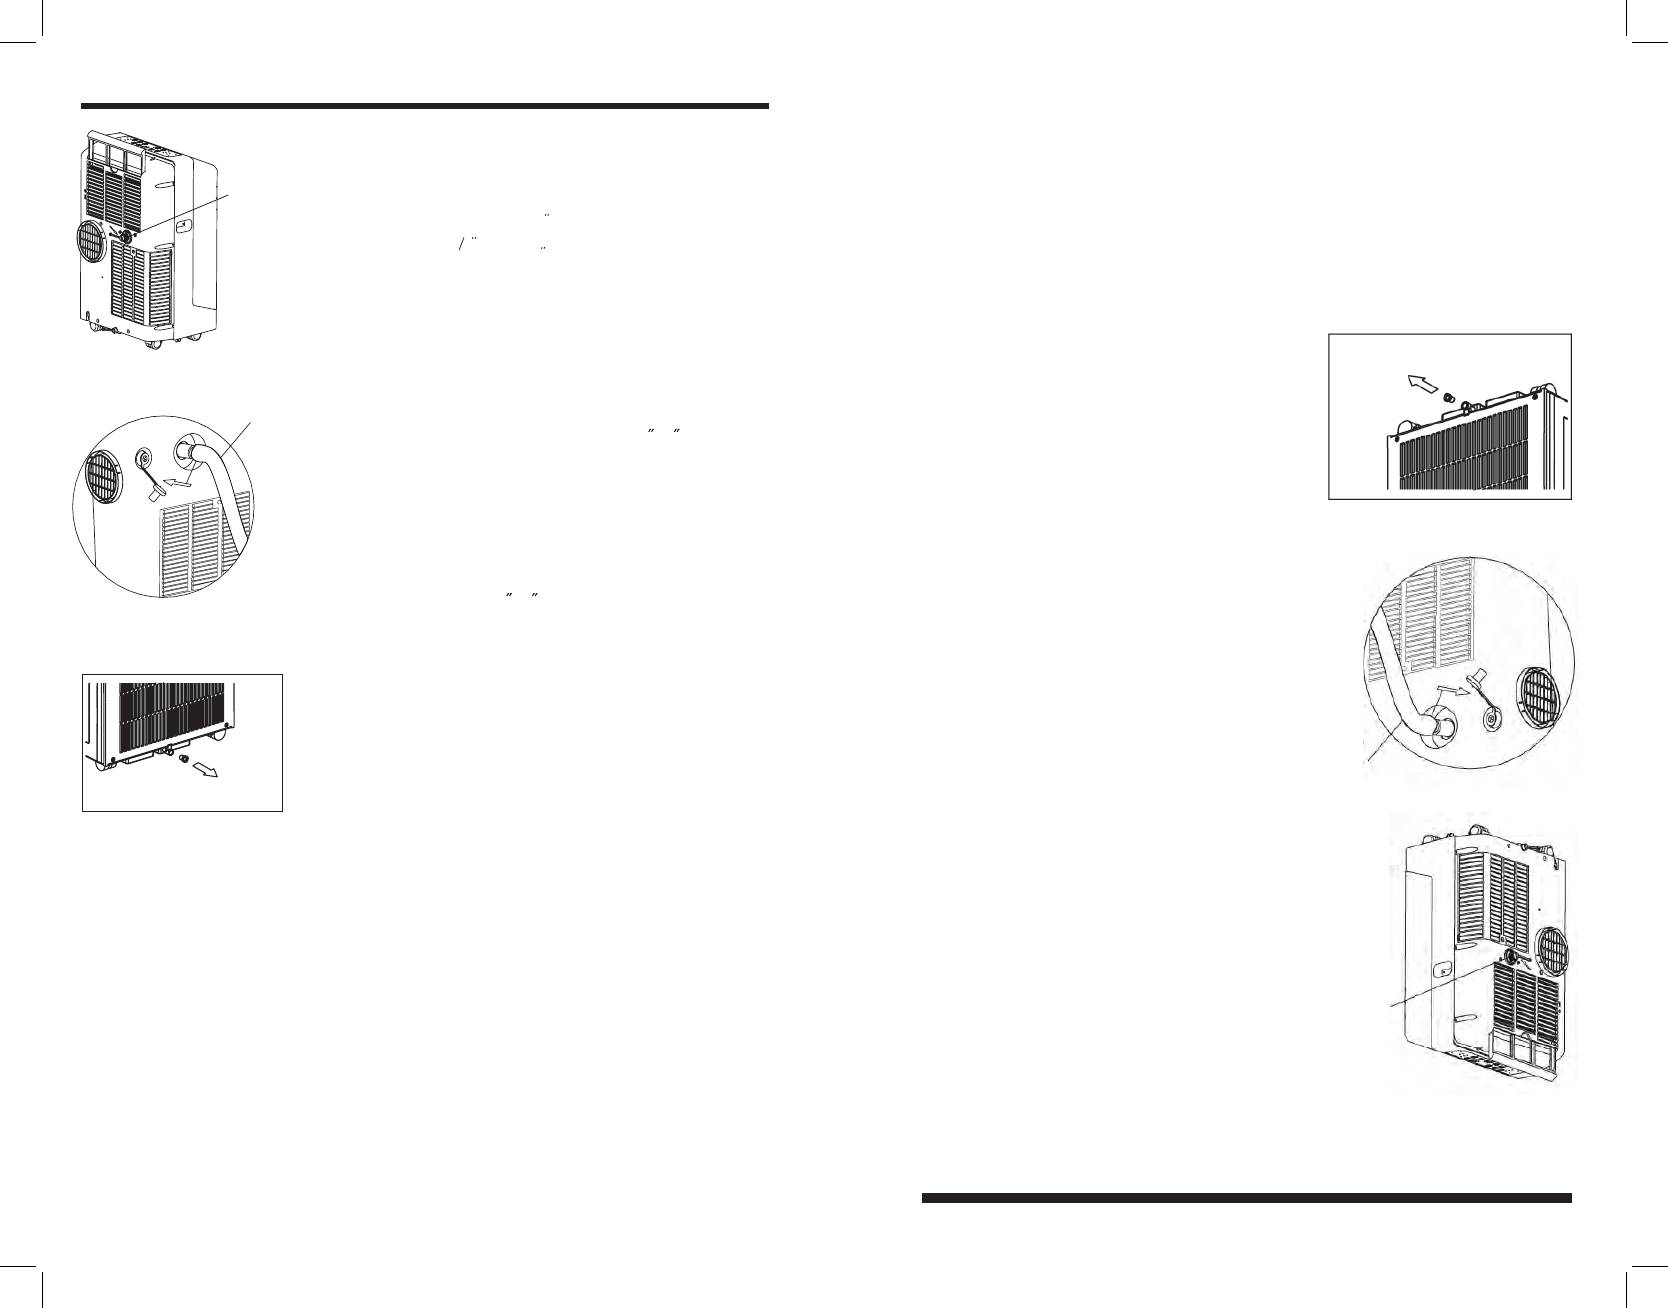
INSTALLATION INSTRUCTIONS
Water drainage:
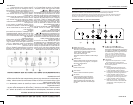
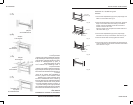
- During dehumidifying mode, remove the drain
plug from the back of the unit, install the drain
connector(5/8 universal female mender) with
3 4 hose(locally purchased). For the models
without drain connector, just attach the drain
hose to the hole. Place the open end of the
hose directly over the drain area in your
basement floor. Please refer to Fig.23 & 24.
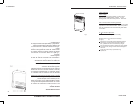
-
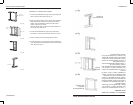
When the water level of the bottom tray reaches
a predetermined level,
Carefully move the unit to a drain location,
remove the bottom drain plug and let the
water drain away(Fig.25). Restart the machine
until the P1 symbol disappears. If the error
repeats, call for service.
the unit beeps 8 times,
the digital display area shows P1 . At this time
the air conditioning/dehumidification process will
immediately stop. However, the fan motor will
continue to operate(this is normal).
Remove the
drain plug
Continuous
drain hose
Fig.23
Fig.24
13
Fig.25
13 ENGLISH
INSTRUCCIONES DE INSTALACIÓN
Retire el tapón de drenaje
Figura 23
Manguera de
drenaje continuo
Drenaje del agua:
- Durante la opción de deshumedecedor, retire el
tapón de drenaje en la parte posterior del equipo.
Conecte el conector de drenaje (unión hembra
universal de 5/8”) con una manguera de 3/4”
(que se puede adquirir en cualquier tienda). Para
aquellos modelos sin conector de drenaje, sim-
plemente acople la manguera de drenaje al agu-
jero. Coloque el extremo abierto de la manguera
directamente sobre la zona de drenaje o un sum-
idero en el piso. Véase las guras 23 y 24.
- Cuando el nivel de agua de la bandeja infe-
rior alcance un nivel predeterminado, el equipo
emitirá unos sonidos “beep” 8 veces. La pantalla
mostrará “P1” y el proceso de enfriamiento o del
deshumedecedor se detendrá. Sin embargo, el
motor del ventilador continuará funcionando.
(Esto es normal).
Con cuidado traslade el equipo a la zona donde
se vaya a drenar el agua. Retire el tapón de
drenaje inferior y desagüe del agua (gura 25).
Reinicie el funcionamiento del aparato hasta que
el símbolo “P1” desaparezca. Si el error se repit-
iera, póngase en contacto con el servicio técnico.
Figura 24
Figura 25
13 ESPAÑOL