


Concord 4 Series Security Systems
20
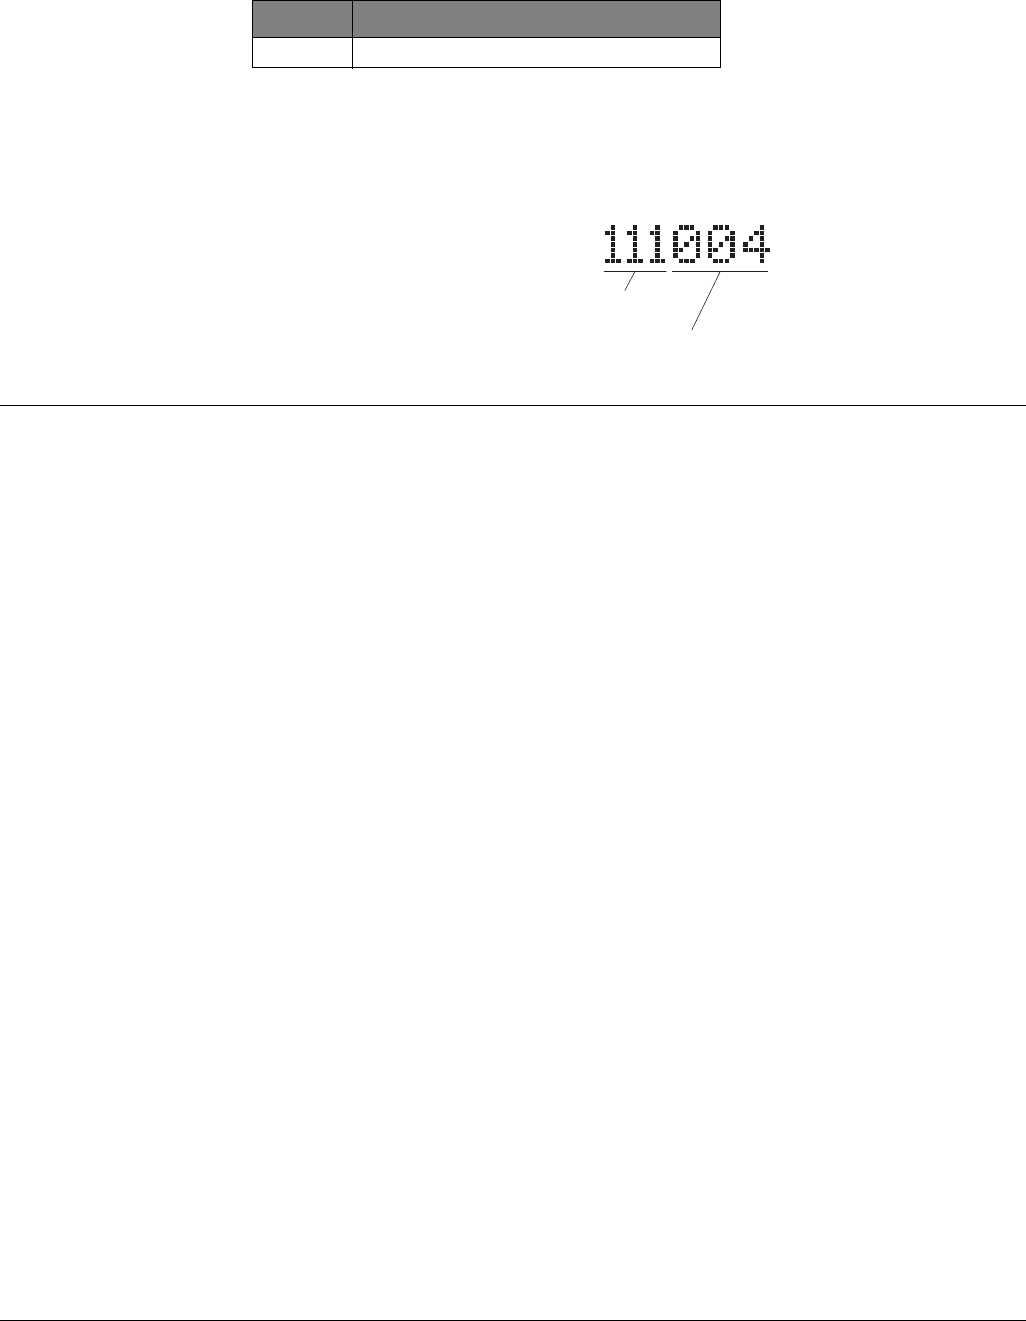
Account Number in Page
This number identifies where (which partition) the event is occurring.
Streamlining the Page Report
You can choose to have the four account number digits reported with every page, or to exclude
them. Each partition has its own account number, so seeing the digits is useful if multiple parti-
tions are reporting to one pager.
Ask your dealer or installer if you would like the Streamline feature turned on.
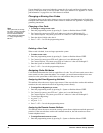
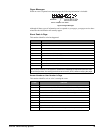
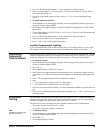
Figure 7. Pager Message with Streamline Feature On
Creating Time
Schedules
Time schedules are windows of time defined by a start time, a stop time, and the days of the week
these times are effective.
You can create up to 16 time schedules for setting up the following system features: light control,
output control, arming, Latchkey Paging, and Notify by Exception reports.
A Touchtone phone can be used to create time schedules, but alphanumeric or fixed display
touchpads work much better because of their extensive feedback. See Appendix C for phone pro-
gramming instructions.
To define a time schedule:
1. At an alphanumeric or fixed display touchpad, enter programming menus by pressing 9 +
System or Partition Master
CODE.
2. Press
05 nn 0 where nn is schedule 00 through 15.
3. Enter the start time in 24-hour format (00:00–23:59), then press
#.
The touchpad displays the new start time.
4. To display the current stop time for this schedule, press
B once.
5. Enter the stop time in 24-hour format, then press
#. The touchpad displays the new stop time.
6. Press
B until the touchpad displays a day of the week you wish to assign this schedule to.
7. Enter
2 + # to include the day in the schedule (“ON”).
1 +# to exclude the day in the schedule.
8. Press
B to move to the next day of the week or press * and repeat steps 2–8 to define another
time schedule.
9. When finished defining time schedules, press
* + 00 + # to exit the programming menus.
Scheduling Consecutive Days
There may be instances when you’d like to schedule a feature event to start one day and stop the
next day or a number of days later.
One Day Rollover
You can create a schedule that begins on one day, and stops the next day by using only one time
schedule. (The stop time must be within 24 hours of the start time.)
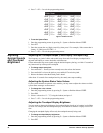
Code Indicates
XXXX 4-digits of account number
Event Code
Sensor number or user number