35
Secondary Installation
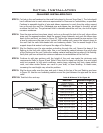
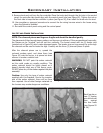
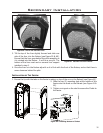
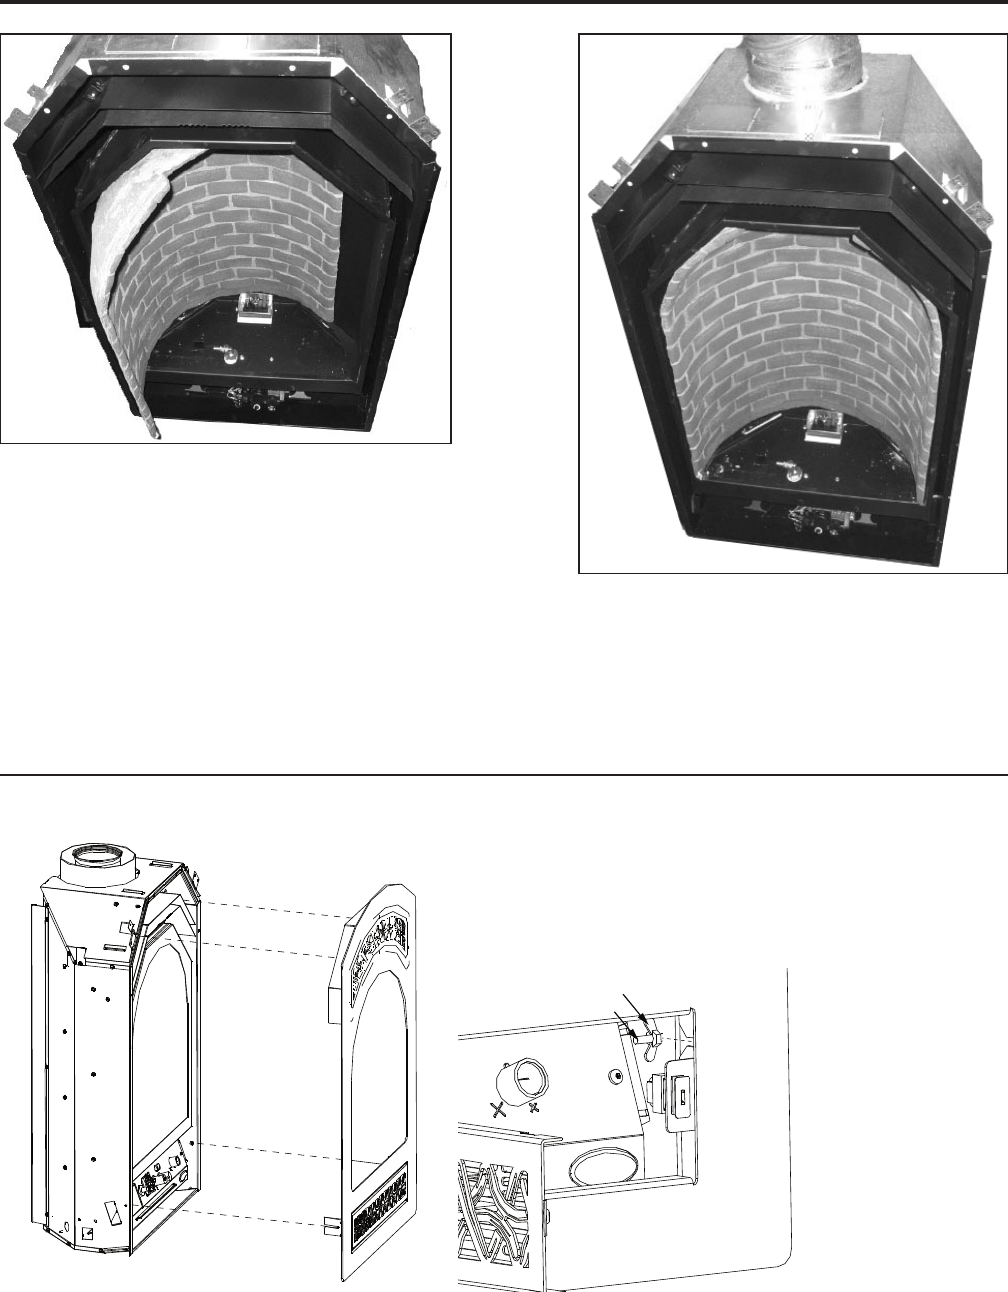
Figure 60. Ceramic Line Put in Place.
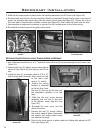
3. Tilt the top of the liner slightly forward and slide one
side of the liner into the rebox (see Figure 59 & 60).
Ensure that the liner goes behind the pilot assembly as
it is rotated into the rebox. It will be a snug t. The
bottom of the liner must rest on ceramic liner support
installed in step 2.
Figure 59. Slid In the Ceramic Liner.
4. Once the liner is in the rebox adjust it so it is ush with the front of the rebox, and so that there is
some clearance behind the pilot.
INSTALLATION OF THE FASCIA:
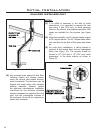
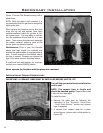
1. Ensure the lip with the tabs on the fascia is resting on top of the one on the Retreat (see Figure 61).
2. Slide the two (2) mounting slots at the bottom of the
fascia onto the studs on the Retreat (see Figure 61 &
62).
3. Tighten a wingnut on the stud to secure the Chalet to
the fascia.
Fascia
Wingnut
Control
Panel
Stud
Figure 62: Fastening Bottom of Chalet.


