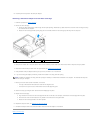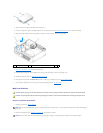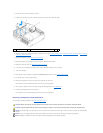
8. Replace the computer cover (see Replacing the Computer Cover).
9. Update your configuration information by setting the appropriate Drive option (0 or 1) under Drives. See Entering System Setup for more information.
10. Verify that your computer works correctly by running the Dell Diagnostics (see Dell Diagnostics).
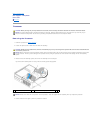
Floppy Drive
Removing a Floppy Drive
1. Follow the procedures in Before You Begin.
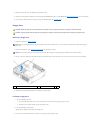
2. Remove the optical drive (see Removing an Optical Drive) and carefully set it aside.
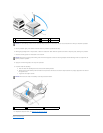
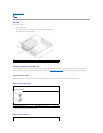
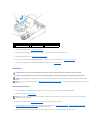
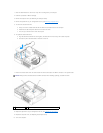
3. Pull up on the drive release latch and slide the floppy drive towards the back of the computer. Then, lift up to remove the drive from the computer.
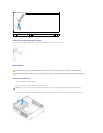
4. Disconnect the power and data cables from the back of the floppy drive.
Installing a Floppy Drive
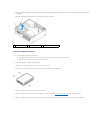
1. If you are installing a new drive:
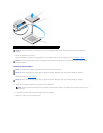
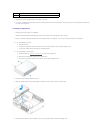
a. Use a small flat-edge screw driver on the back side of the drive-panel insert to gently pop off the insert.
b. Remove the four shoulder screws from the drive-panel insert.
2. If you are replacing an existing drive:
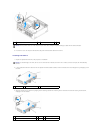
Remove the four shoulder screws from the existing drive.
3. Insert the four shoulder screws into the sides of the new floppy drive and tighten them.
CAUTION: Before you begin any of the procedures in this section, follow the safety instructions in the Product Information Guide.
CAUTION: To guard against electrical shock, always unplug your computer from the electrical outlet before removing the computer cover.
NOTE: Since the following steps do not require the complete removal of the optical drive, it is not necessary to disconnect the cables connecting the
optical drive.
NOTICE: Do not pull the drive out of the computer by the drive cables. Doing so may cause damage to cables and the cable connectors.
1
drive release latch
2
floppy drive


