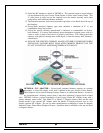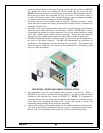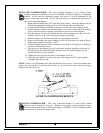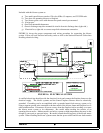
INSTALLING DAMPER DOOR - The rotary controlled damper of your Country Flame
Fireplace should be assembled as shown in FIGURE 10 after the fireplace is completely
installed. At this time the adjustable damper rod sleeve (C) will be embedded in the
masonry veneer and cannot turn. Follow the steps below to complete the installation of
your rotary controlled damper.
1. Begin with the damper door (G) in the fully open position. Insert the damper rod (D)
through the adjustable damper rod sleeve (C) from the front of the fireplace.
2. From inside the fireplace guide the washer (J) over the end of the damper rod (D).
3. Reach inside the fireplace and slide the damper screw (E) over the end of the damper
rod (D) with the setscrew opening positioned toward the rear of the fireplace.
4. Push the damper rod (D) as far toward the rear of the fireplace as possible. Push the
damper screw (E) as far to the front of the fireplace as possible.
5. Mark the damper rod (D) flush with the end of the damper screw (E).
6. Remove the assembly and cut the damper rod (D) off at the mark you made in Step 5.
7. Replace the assembly as in Steps 1 and 2.
8. Insert the damper screw (E) into the damper screw bracket (F) and turn it completely
counter clockwise until it seats.
9. Slide the end of the damper screw (E) without the setscrew opening over the end of
the damper rod (D) and push both the damper screw (E) and the damper rod (D)
toward each other as far as possible.
10. Tighten the setscrew (B) at the back of the damper screw (E).
11. Install the logo handle (A) on the outer end of the damper rod (D), align properly,
and tighten the setscrew (B).
NOTE: Always close the damper door when the fireplace is not in use. Closing the damper door
during non use periods will prevent airflow into or out of the house thus conserving energy
whatever the season may be.
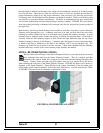
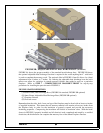
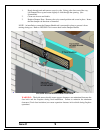
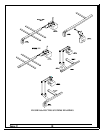
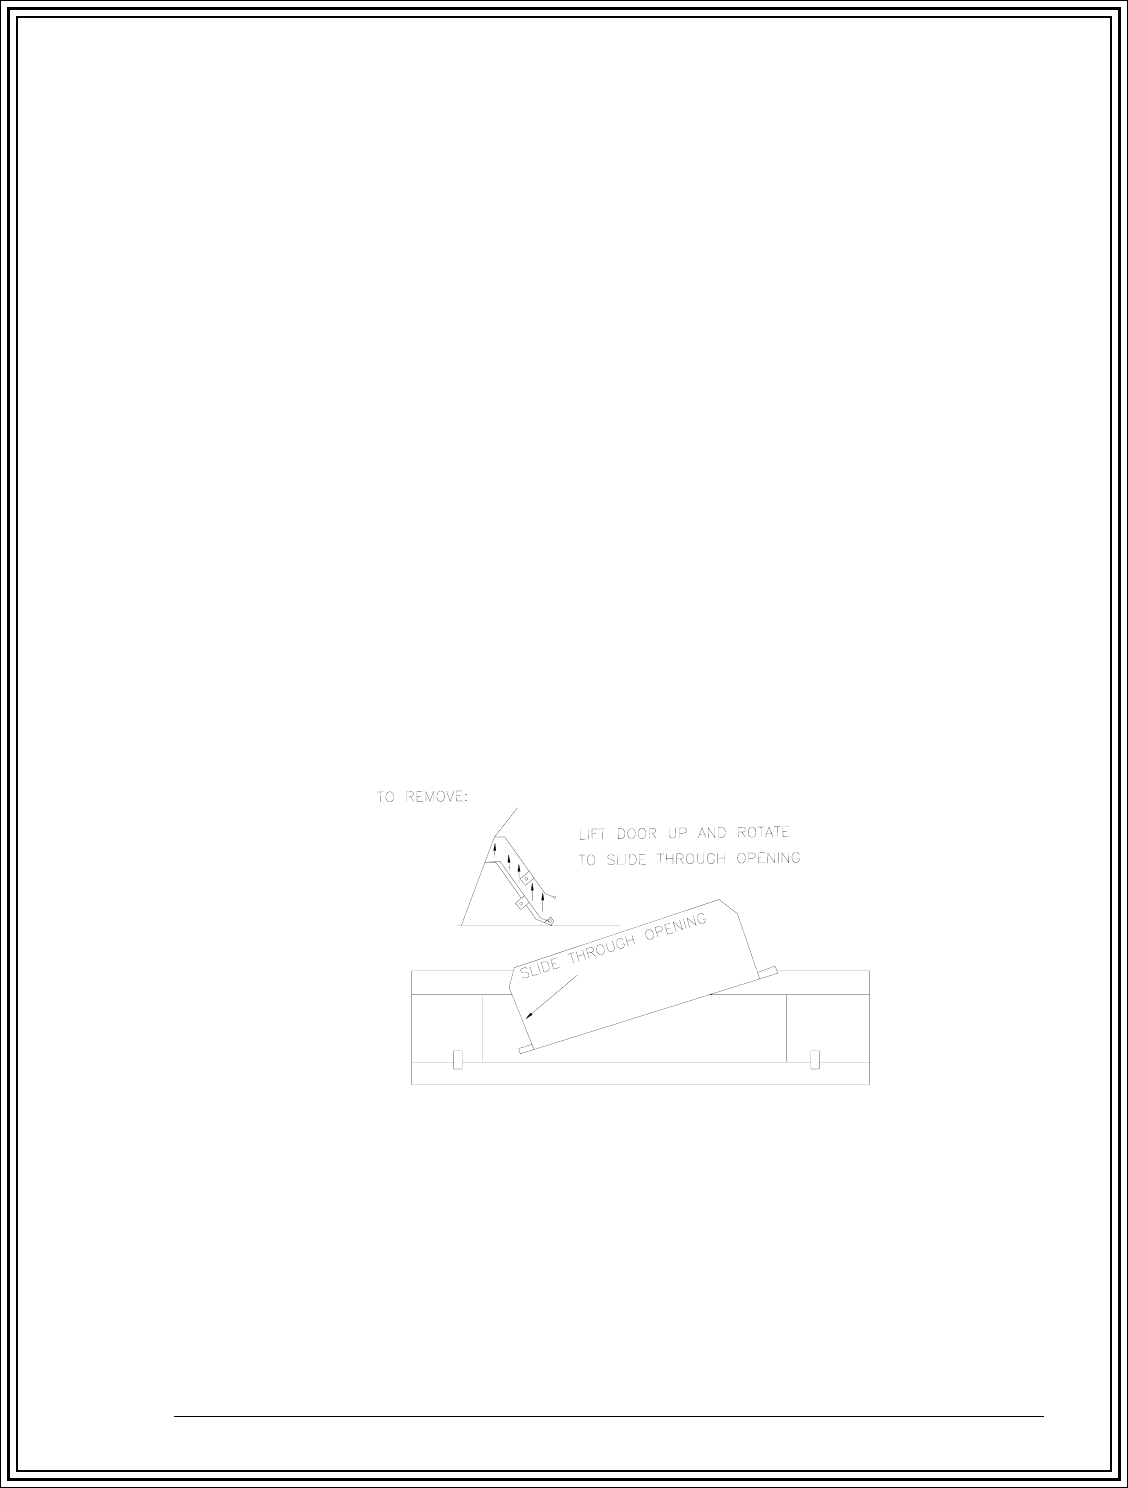
FIGURE 11a: DAMPER DOOR REMOVAL
REMOVING DAMPER DOOR - The rotary controlled damper of your Country Flame
Fireplace can be removed if necessary. Whether for fireplace system cleaning or repair,
follow the steps listed below to remove the damper. FIGURE 11a can be referenced when
it is necessary to remove the damper door.
Version 7.1
18


