Version 7.1
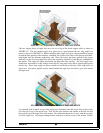
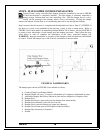
that this block is centered on the edge of the angle iron and maintains a distance of ½ inch from the
clay flue tile face. Once the clay flue tile and first course of brick are checked and verified for
proper installation, proper level, and proper clearances, each successive clay flue tile, and courses
of chimney brick can be added until the chimney cap height is reached. Check local building code
for specifics on masonry chimney installations. For those in earthquake prone areas, ensure that
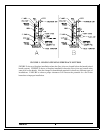
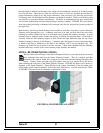
local seismic requirements are met when building a masonry chimney. FIGURE 7B is provided to
show the proper positioning of chimney brick from the clay flue tile and position on the top edge of
the angle iron.
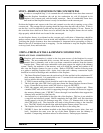
Both masonry and factory-build chimneys must extend at least three feet above a point where the
chimney passes through any roof. A chimney must also be at least two feet above any part of the
building or roofline within ten feet of a horizontal radius around the chimney structure. A taller
chimney may be required under certain site specific conditions for adequate draft. Good draft is
normally achieved with chimney heights at least fifteen feet high measured from the top of the
fireplace opening to the top of the chimney. A chimney must be capped to resist water penetration.
A mortar wash that is feathered to the edge of the chimney wall is not an adequate cap. The
chimney cap should be cast-in-place or pre-cast concrete. Check with a builder, masonry chimney
installer and always consult local codes to ensure proper chimney installation.
STEP 6 – BLOWER INSTALLATIONS
Blowers add to the efficiency of the Smart Fireplace Furnace by moving room air across the
heat exchanger fins built into the Smart Fireplace Furnace. This air is heated and then
returned to the room or home duct system to provide more uniform heating throughout the
house. Country Flame provides two grille frames that are to be framed in by the mason
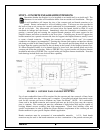
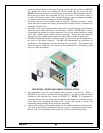
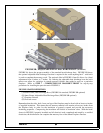
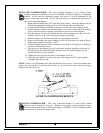
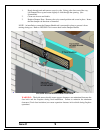
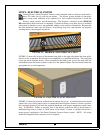
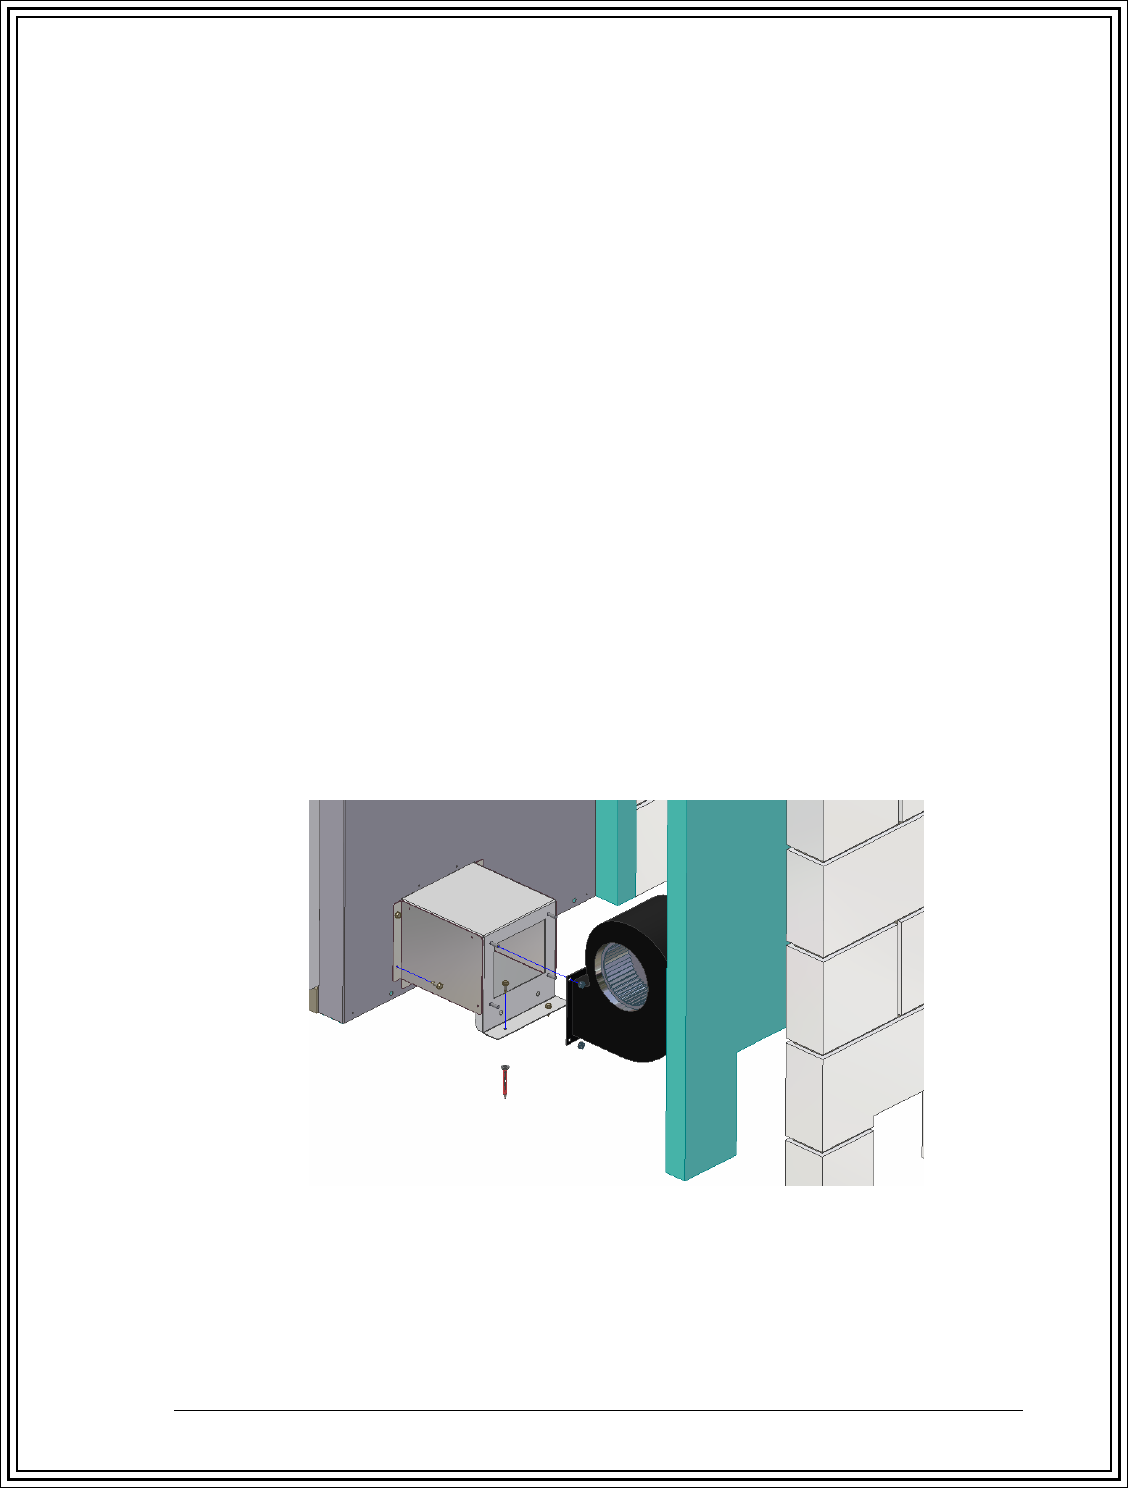
when finishing the front face of the Smart Fireplace Furnace. FIGURE 8A shows how a blower is
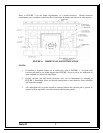
mounted to the Smart Fireplace. Figure 8B shows the proper installation of the air intake grills
with variable speed controls attached. Follow the steps listed below to install each blower. Refer
to FIGURE 12 for the electrical schematic of the blower system.
FIGURE 8A: BLOWER INSTALLATION
13


