90
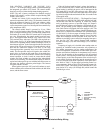
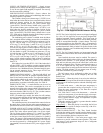
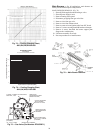
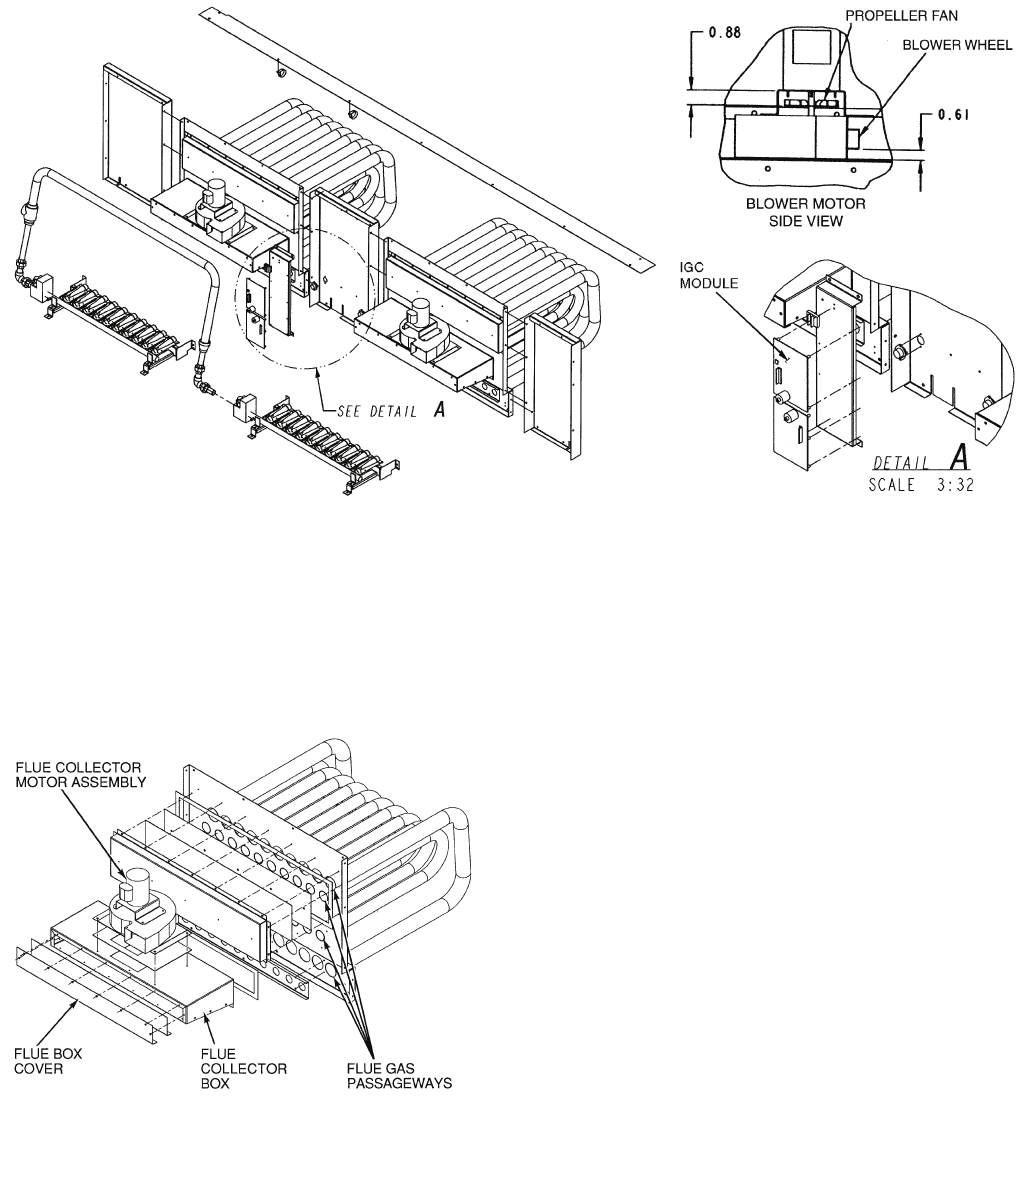
To inspect blower wheel, remove heat exchanger access
panel. Shine a flashlight into opening to inspect wheel. If clean-
ing is required, remove motor and wheel assembly by remov-
ing screws holding motor mounting plate to top of combustion
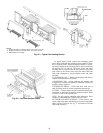
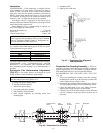
fan housing (Fig. 65 and 66). The motor, scroll, and wheel
assembly can be removed from the unit. Remove scroll from
plate. Remove the blower wheel from the motor shaft and
clean with a detergent or solvent. Replace motor and wheel
assembly.
EVAPORATOR COIL — Remove access panels and clean as
required with commercial coil cleaner.
CONDENSER COIL — Clean condenser coil annually and
as required by location and outdoor-air conditions. Inspect coil
monthly; clean as required.
CONDENSATE DRAIN — Check and clean each year at
start of cooling season. In winter, keep drains and traps dry.
FILTERS — Clean or replace at start of each heating and cool-
ing season, or more often if operating conditions require. Refer
to Tables 1A and 1B for type and size.
NOTE: The unit requires industrial grade throwaway filters
capable of withstanding face velocities up to 625 fpm.
OUTDOOR-AIR INLET SCREENS — Clean screens with
steam or hot water and a mild detergent. Do not use disposable
filters in place of screens. See Fig. 37 for location of screens
(filter track assembly).
NOTES:
1. Torque set screws on blower wheel to 70 in. lbs ± 2 in. lbs.
2. Torque set screw on propeller fan to 15 in. lbs ± 2 in. lbs.
3. Dimensions are in inches.
Fig. 65 — Typical Gas Heating Section
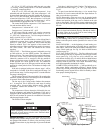
Fig. 66 — Gas Heat Section Details


