22
ECITON
aniyrucremniatnocstimiLerusserPA404L
oD.ebutdelaes
ton
hsartehtnitimilecalp
.efillufesustifodneehtta
sniatnoctahttimilagnicalpersitimilsihtfI
od,ebutdelaesaniy
rucrem
ton
ruoyecalp
.hsartehtnitimildlo
tnemeganametsawlacolruoytcatnoC
gnidragersnoitcurtsnirofytirohtua
sihtfolasopsidreporpehtdnagnilcycer
niyrucremgniniatnoctimildlonaforo,timil
.ebutdelaesa
ta.cnIllewyenoHllac,snoitseuqevahuoyfI
.2051-864-008-1
e. An L404F pressure limit does not require
leveling.
7. On units with a heater opening, install the aquastat
controller well in the ½" NPT or ¾” NPT tapping in
tankless heater plate or cover plate. Slip the bulb of
the aquastat into the well and secure the control in
place with the set screw.
GNINRAW
otnidetresniyllufebtsumblubtatsauqA
.lleweht
8. Connect the fi eld wiring to the pressure limit, the
LWCO, the R8239A Control Center/J-box and the
burner J-box or burner disconnect J-box.
If equipped with tankless heater, connect fi eld
wiring from the aquastat control to the R8239A
Control Center transformer terminals or oil burner
primary control's "T-T" terminals.
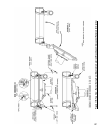
Make the wiring connections as shown in Figures
19, 20 and 21.
NOTE:
• The R7184P Primary Control has pre-installed
"T-T" jumper resistor. To activate "T-T"
terminals, "T-T" jumper must be removed. To
remove, use side cutting pliers to cut jumper (see
Figure 28).
• Do not remove (cut) "T-T" jumper unless
wiring diagram indicates a direct connection
from thermostat and/or tankless heater aquastat
control to the oil burner primary control's "T-T"
terminals.
Refer to Paragraph S for details on use of burner
disconnect junction box provided with all
knockdown boiler builds.
O. INSTALL TRIM AND CONTROLS WITH
BECKETT BURNER. - Water Boilers Only (See
Figures 1A, 1B, 1C and 5).
1. Thread ½” NPT pipe plugs into gauge glass tappings
in the upper right side of front section.
2. Thread ¾” NPT pipe plug in probe low water cut off
tapping (just left of gauge glass tappings).
3. Thread combination pressure/temperature gauge into
¼” NPT tapping. Tighten with wrench applied to the
square shank of the gauge.
NOITUAC
-esaceguagehtoterusserpylppatonoD
.sgnidaeretaruccaninitluseryamsiht
4. Screw drain valve into ¾" NPT side outlet of the
1½” NPT x 90° elbow (note - lower front section
tapping “G” is used for standard return on water
boilers).
5. If circulator (not supplied with boiler) is to be
mounted directly to 1½" NPT boiler return tapping
"G", use the piping arrangements outlined in steps a.
thru e. as follows: (see Figures 13A, 13B and 13C)
a. Thread 1½” NPT x 3” long nipple and 1½”
NPT x 90° elbow with ¾" NPT side outlet
into the return tapping and tighten with a pipe
wrench.
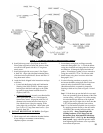
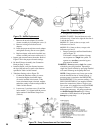
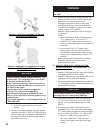
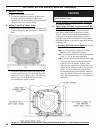
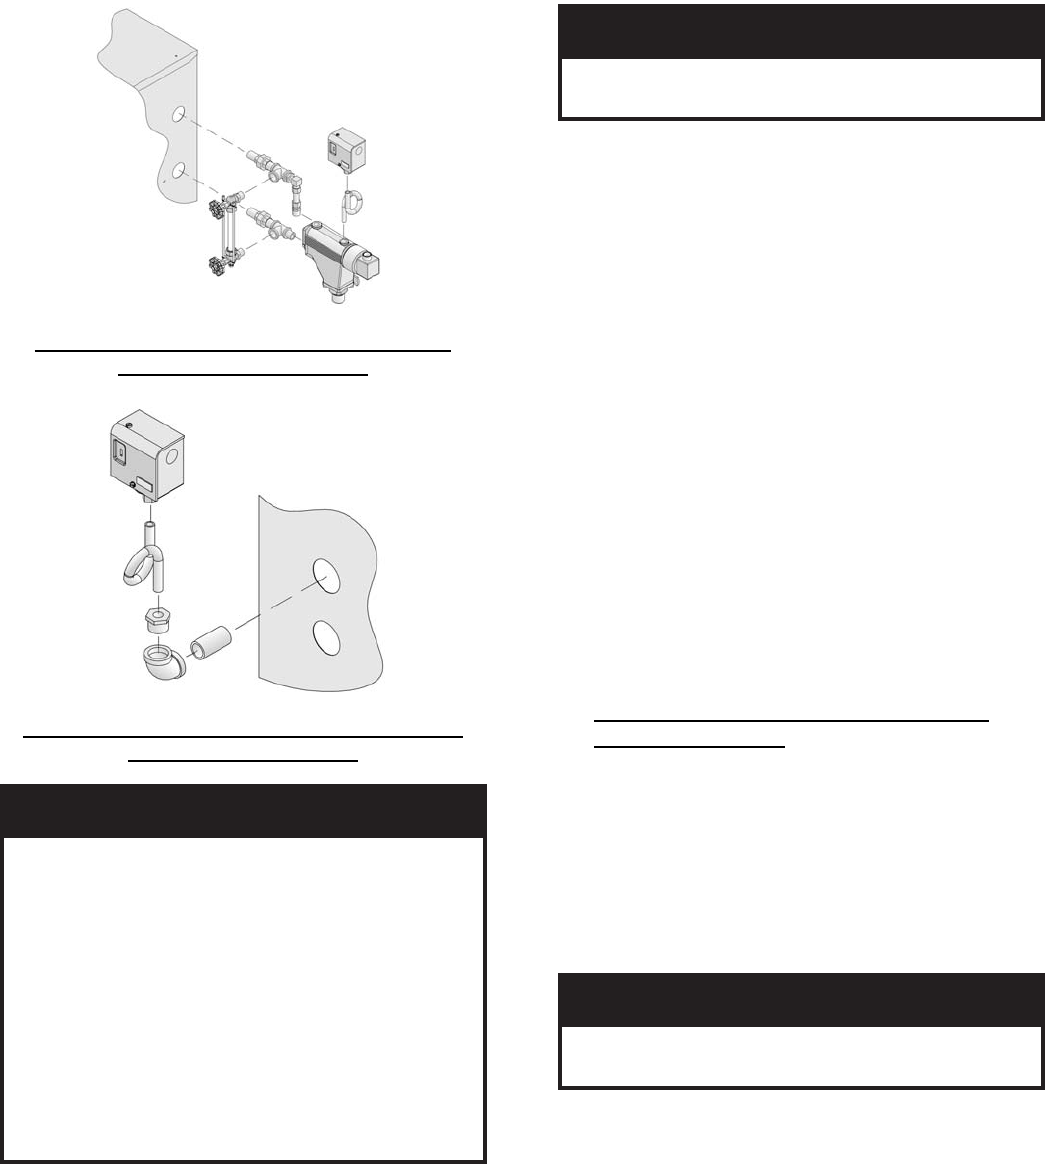
Figure 9: Pressure Limit Installation for Probe
LWCO Equipped Boilers
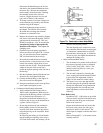
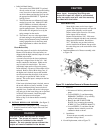
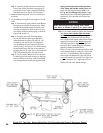
Figure 8: Float-Type Low Water Cut-Off and
Pressure Limit Installation


