38
Appliques
Pattern
1, 2, 3, 4 (Zigzag Stitch)
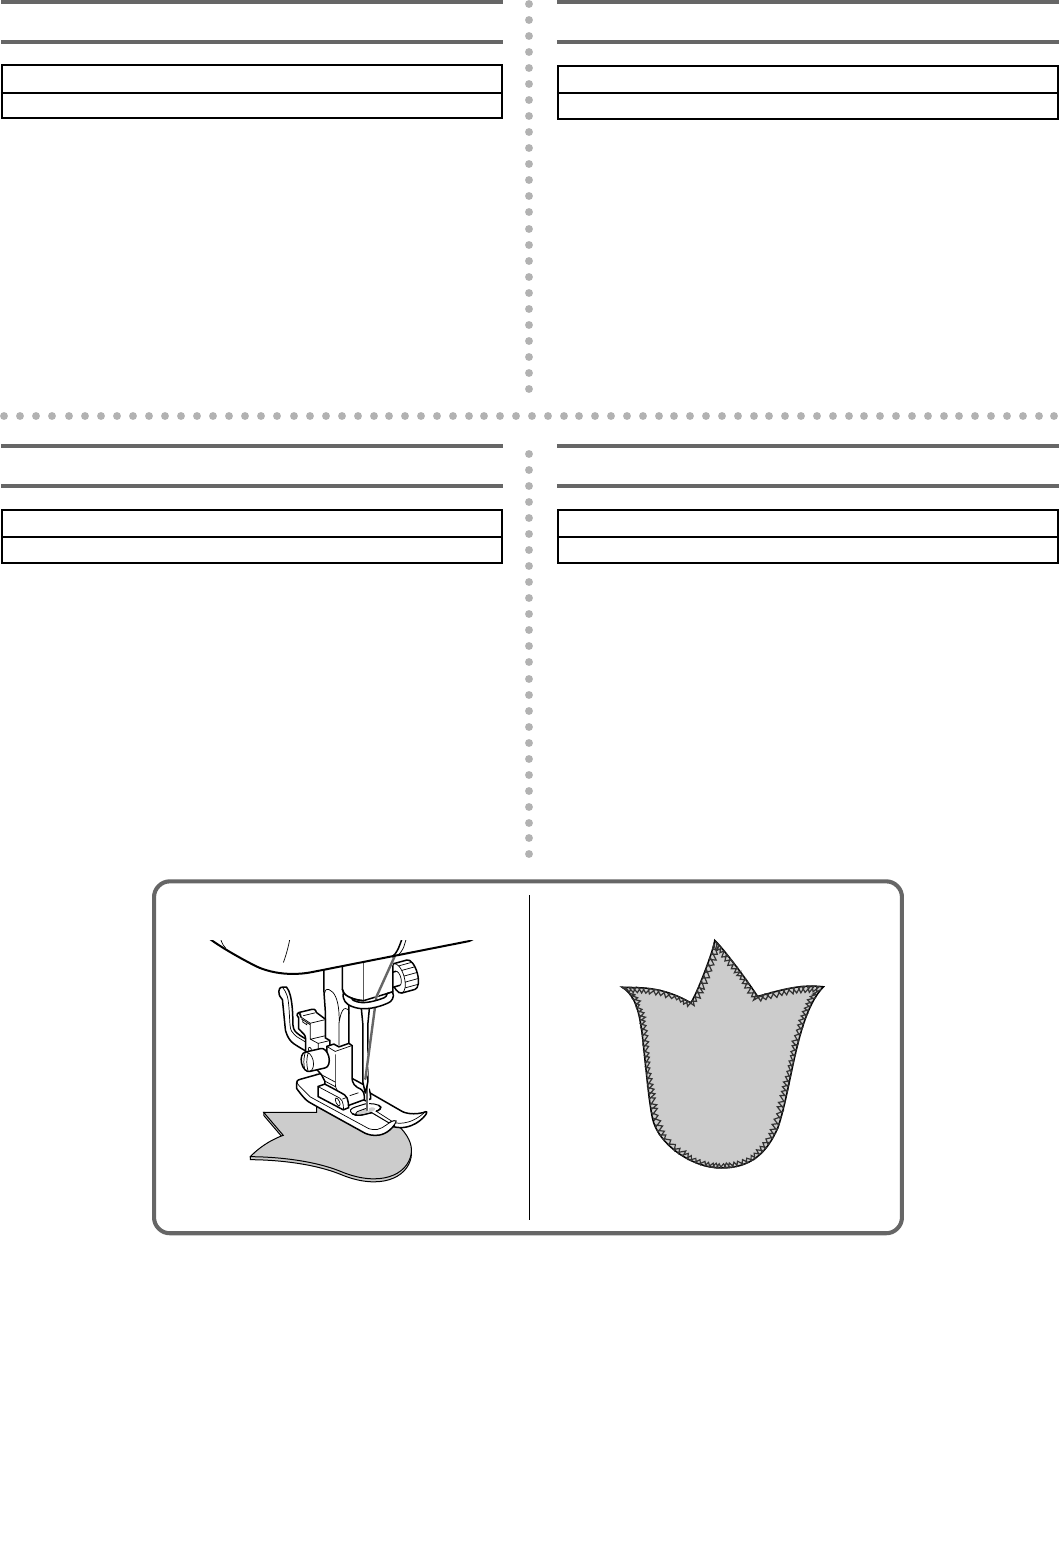
An applique is created by cutting a contrasting piece of fabric into
a shape to be used as a decoration on a garment or project.
1. Baste the cut design to the fabric in the desired location.
2. Carefully sew around the edge of the cutout design with the
appropriate Zigzag Stitch (1, 2, 3 or 4).
NOTE:
Make reinforcing Straight Stitches at the beginning and end of the
stitching to secure your work.
3. Cut away the surplus fabric outside of the stitching.
4. Remove the basting, if necessary.
Appliques
Modèle
1, 2, 3, 4 (Point zigzag)
Pour créer une applique, il suffit de découper un morceau d’un
tissu contrastant et de lui donner la forme d’une décoration à ap-
pliquer sur un vêtement ou sur un ouvrage.
1. Faufiler le motif découpé à l’endroit souhaité.
2. Coudre soigneusement le contour du motif avec le point zig-
zag approprié (1,2,3 ou 4).
REMARQUE:
Faire quelques points droits à chaque extrémité pour renforcer la
couture.
3. Couper la partie de tissu dépassant de la couture.
4. Défaufiler, si nécessaire.
Applizieren
Muster
1, 2, 3, 4 (Zickzackstich)
Eine Applikation wird hergestellt, indem ein Stück kontrastierenden
Stoffes ausgeschnitten und als Dekoration auf einem Kleidungsstück
oder einer anderen Arbeit aufgebracht wird.
1. Heften Sie den zugeschnittenen Stoff an den gewünschten Platz.
2. Nähen Sie sorgfältig entlang der Schnittkante mit einem geeigneten
Zickzackstich (1, 2, 3 oder 4).
HINWEIS:
Nähen Sie zur Befestigung ein paar Geradstiche an Anfang und Ende
der Nähte.
3. Schneiden Sie den überstehenden Stoff außerhalb der Naht ab.
4. Entfernen Sie die Heftung, wenn nötig.
Applicaties
Patroon
1, 2, 3, 4 (Zigzag steek)
Een applicatie is een uit contrasterende stof geknipte vorm die op een
andere stof wordt genaaid.
1. Rijg het uitgeknipte ontwerp op de gewenste plaats.
2. Volg met uw naaimachine voorzichtig de buitenrand van het ont-
werp met een geschikte zigzagsteek (1, 2, 3 of 4).
OPMERKING:
Naai enkele rechte versterkingssteken aan het begin en het einde van
uw werk voor het aan- en afhechten.
3. Knip eventueel overtollig materiaal van de applicatie.
4. Verwijder, indien noodzakelijk, de rijgdraad.


