


52
Arranging Embroidery Designs
9. Click in the upper-right corner of the
dialog box to close the dialog box.
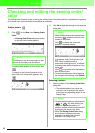
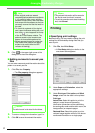
■ Adding comments to saved .pes
files
You can enter comments and information about the
pattern to a saved .pes file.
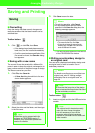
1. Click File, then Property.
→ The File property dialog box appears.
2. To enter or change the information, type it in.
3. Click OK to save the entered information.
Printing
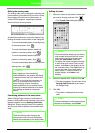
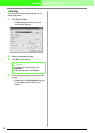
■ Specifying print settings
Before printing, you may need to change the print
settings for the embroidery design files that you
want to print.
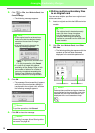
1. Click File, then Print Setup.
→ A Print Setup dialog box similar to the
one shown below appears.
2. Under Paper and Orientation, select the
appropriate settings.
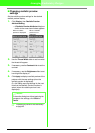
3. Under Print type, Print option and Stitch
image, select how the data is to be printed.
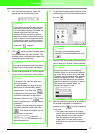
Print type
Actual Size: Select this option to print the
design in actual size and the sewing
information (dimensions of the embroidery,
the sewing color order and the stitch count, the
hoop position) on separate pages.
Reduced Size: Select this option to print a
reduced image together with all of the above-
mentioned information on a single page.
a Note:
• Since original cards are erased
completely before patterns are written to
it, it is useful to keep a copy with the
contents of each card in the card folder
that comes with the software so that you
can easily recover the files that were on
the card.
• To check the contents of the original
card, open the Browse dialog box, and
then click , which appears at the top
of the list in the Browse window. The
patterns saved on the inserted card
appear in the available patterns list.
• Do not remove the card or unplug the
USB cable while patterns are being
written to the card (while the LED
indicator is flashing).
b Memo:
The stitch count is the total of all stitches.
b Memo:
• The entered information will be saved to
the file the next time that it is saved.
• To quit the operation and close the dialog
box, click Cancel.