


16
Tutorial
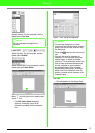
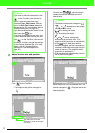
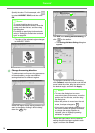
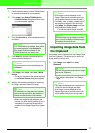
Specify the color. For this example, click
to select HARVEST GOLD, and then click
OK.
→ The color of the selected region changes
to HARVEST GOLD.
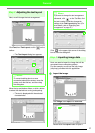
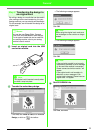
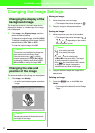
Change the sewing direction.
To add contrast and improve the appearance
of the embroidery, we can use different
sewing directions for different regions.
Select the region whose sewing direction you
want to change by clicking it while holding
down the key.
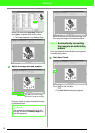
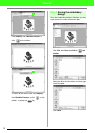
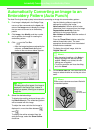
Click Sew, then Sewing Attribute Setting, or
click on the toolbar.
→ The Sewing Attribute Setting dialog box
appears.
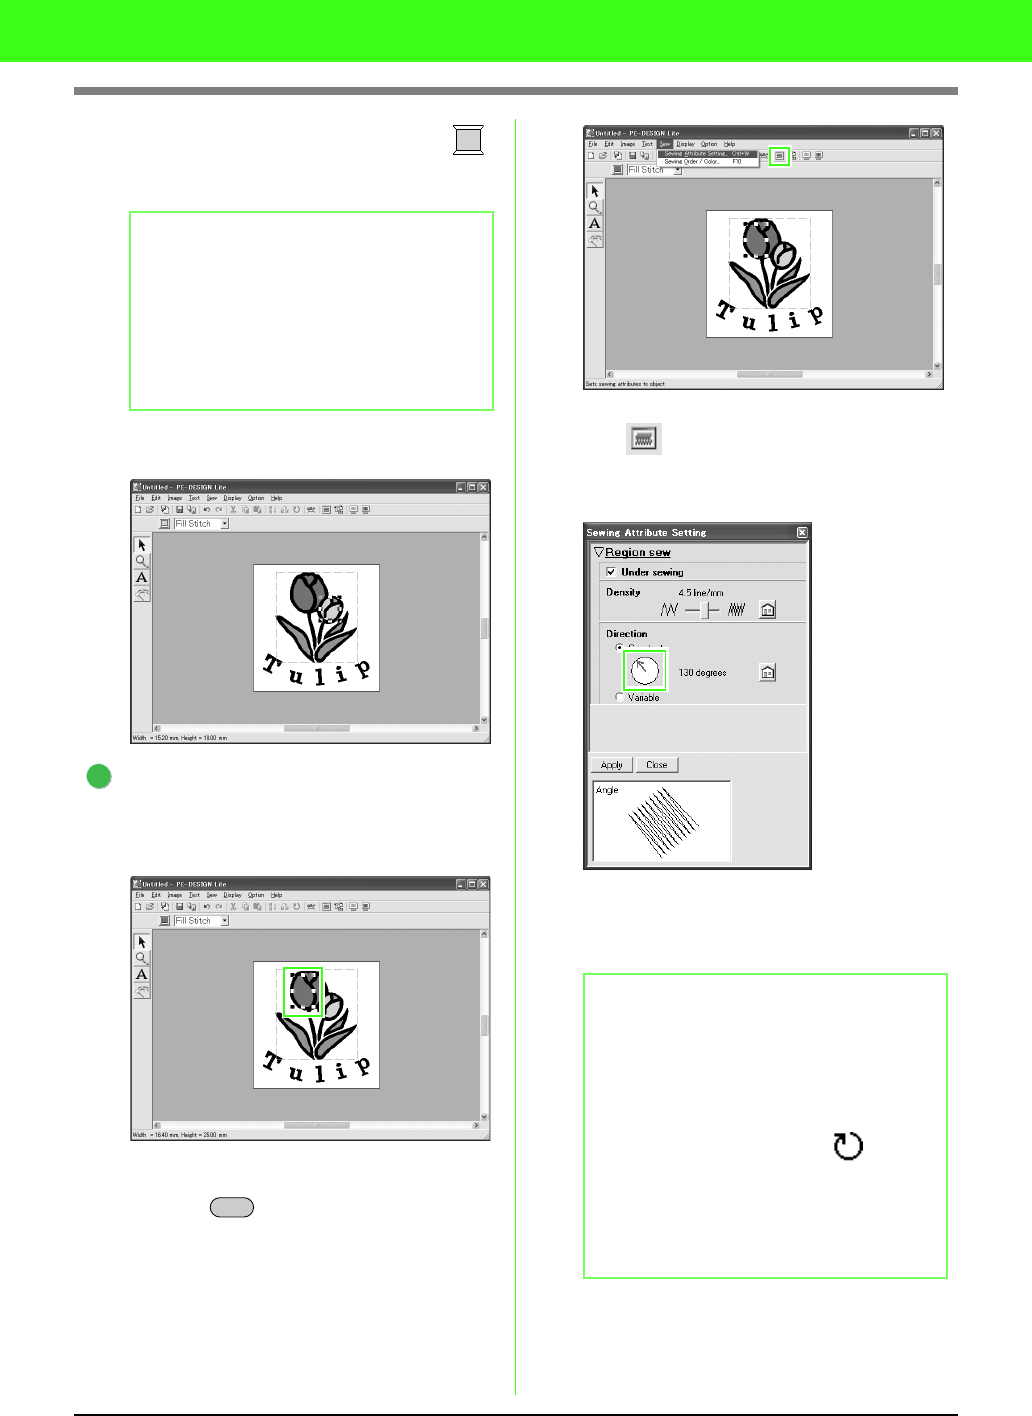
To change the direction of the fill stitching,
click Constant, move the pointer over the red
arrow inside the circle, drag the red arrow to
the desired angle, and then click Apply.
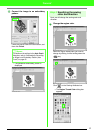
Repeat the steps above until the desired
sewing direction has been applied to each
region, and then click Close.
b Memo:
• To move the dialog box to a more
convenient place on the screen, move the
pointer over the title bar, and then drag
the dialog box.
• For details on specifying the thread color,
refer to “Setting the thread color and sew
type” on page 39.
2
Alt
b Memo:
• To move the dialog box to a more
convenient place on the screen, move the
pointer over the title bar, and then drag
the dialog box.
• When the pointer is moved over the red
arrow, its shape changes to .
• If you want to set underlay stitching on or
off, set the number of lines per millimeter,
or change the sewing Direction to
Variable, refer to “Specifying sewing
attributes” on page 41.