16
Getting Help Along the Way
If you need help—or simply want more
information—you can always click the
icon on any screen. This brings up a Help
window, which you can keep at the side
of the Server Assistant window or Server
Preferences pane. As you move through
installation and setup, you’ll see the Help
information change to support you—
wherever you are in the process.
• Connect. Run the Server Assistant application from the /Applications/Server folder.
Select “Set up a remote server” and click Continue. In the Destination window, click the
icon, then enter the IP address provided by your hosting service and the rst eight
characters (case-sensitive!) of your Xserve’s serial number in the spaces provided. Click
Continue.
• Welcome. Click Continue.
Following are all the dialog boxes you will encounter during the conguration process:
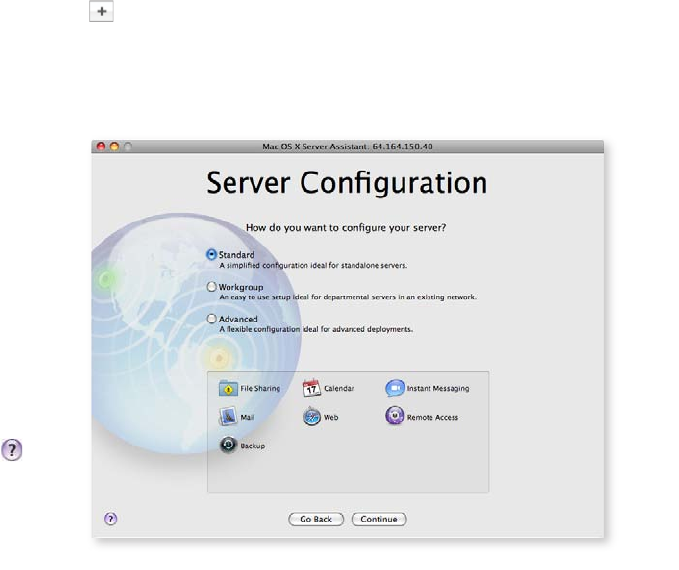
• Server Conguration. Mac OS X Server gives you a choice of three congurations:
Standard, Workgroup, and Advanced. For this type of installation, select Standard and
click Continue.
• Keyboard. Conrm that Mac OS X Server has recognized the keyboard you are using
and click Continue.
• Serial Number. Enter the serial number that’s on the card included with your Mac OS X
Server discs. Click Continue.
• Registration Information. Fill in your name and contact information. This will register
your copy of Mac OS X Server with Apple. Click Continue.
• A Few More Questions. Please provide additional information about how you expect
to use Mac OS X Server. Click Continue.
• Administrator Account. Create a name, short name, and password for your
administrator account. For security reasons, you should not use this account as your
user account on the server. Click Continue.


