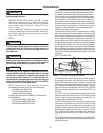
1 In accordance with current CAN/CGA-B149 Installation Codes.
2 In accordance with current ANSI Z223.1/ NFPA 54 National Fuel Gas Code.
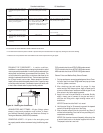
+ A vent shall not terminate directly above a sidewalk or paved driveway that is located between two single family dwellings and serves both dwellings.
* If clearances are not specified then follow local installation codes and the requirement of the gas supplier.
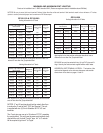
H = Clearance to each side of center line
extended meter/regulator assembly.
above
3 feet (91 cm) within a height 15 feet (4.57
m) above the meter/regulator assembly.
*
I = Clearance to service regulator vent
outlet.
3 feet (91 cm)
*
J = Clearance to nonmechanical air supply
inlet to the combustion air inlet to any
building or other appliance.
6 inches (15 cm) for appliances < 10,000
Btuh (3 kW), 12 inches (30 cm) for appli-
ances > 10,000 Btuh (3kW) and
< 100,000 Btuh (30kW), 36 inches (91 cm)
for appliances > 100,000 Btuh (30kW).
4 feet (1.2 m) below or to side of opening;
1 foot (300 mm) above opening.
K = Clearance to mechanical air supply
inlet.
6 feet (1.83 m) 3 feet (91 cm) above if within 10 feet
(3 m) horizontally.
L = Clearance above paved side walk or
paved driveway located on public
property.
7 feet (2.13 m) 7 feet (2.13 m)
M = Clearance under veranda, porch, deck
or balcony.
Not Allowed Not Allowed
Canadian Installations
1
US Installations
2
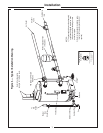
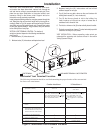
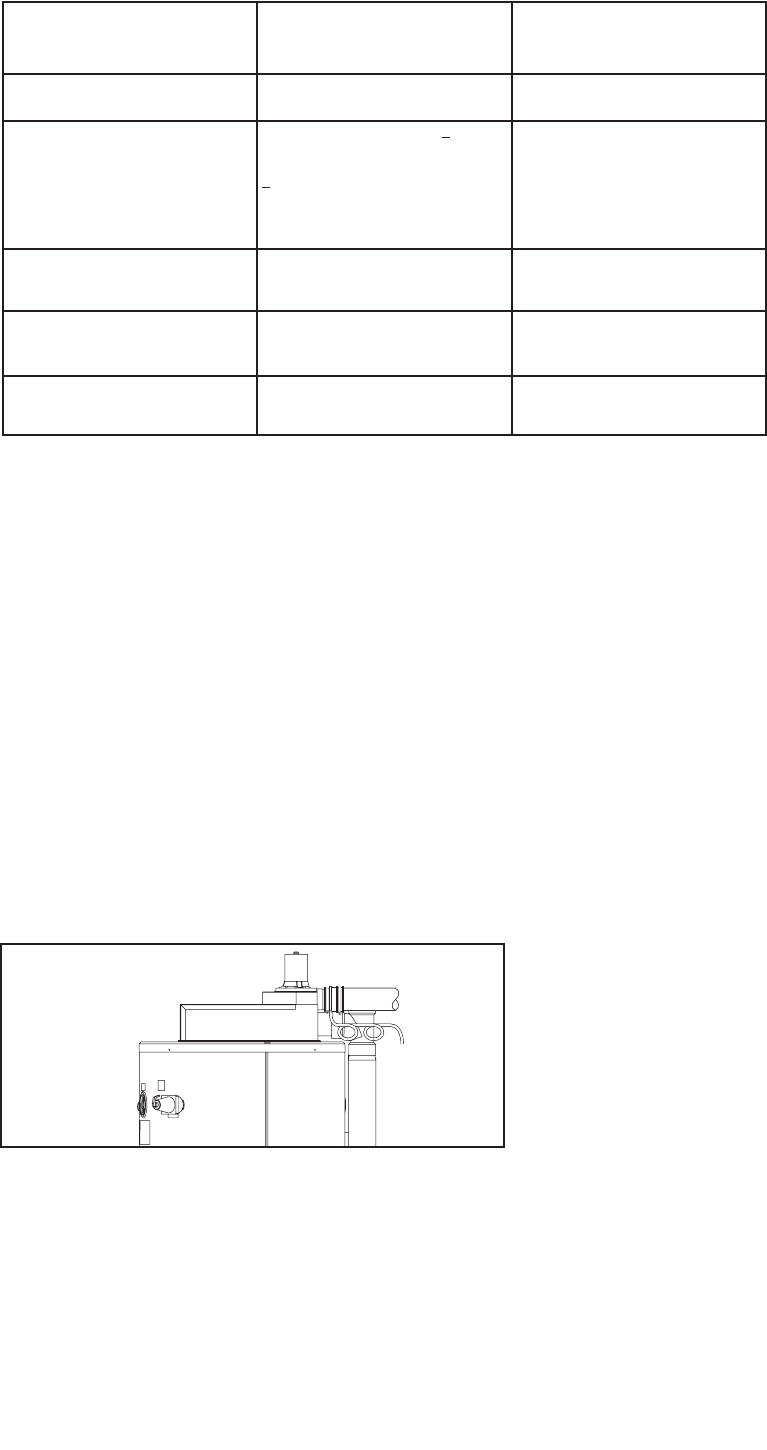
DRAINING THE CONDENSATE – In certain conditions,
installations in unconditioned space or having long horizontal or vertical
runs may accumulate condensate. In order to prevent condensate from
draining back into the blower, we recommend that it be drained. This
unit is provided with a special fitting on the blower that allows for the
draining of condensate formed in the vent. The drain hose should have
two (2) loops formed, to act as traps. Before operation of the water
heater, both loops should have water placed in them. Support the traps
so that they remain horizontal. Condensate is known to be acidic; refer
to local, state or federal codes for proper handling methods.
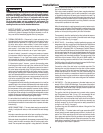
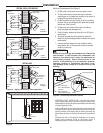
JOINING PIPES AND FITTINGS – All pipe, fittings, solvent
cement, primers and procedures must conform to Ameri-
can National Standards Institute and American Society for
Testing and Materials (ANSI/ASTM) standards.
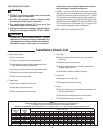
CEMENTING JOINTS – All joints in the vent piping must
be properly sealed and we recommend using the following mate-
rial:
PVC materials should use ASTM D-2564 grade cement.
CPVC materials should use ASTM F-493 grade cement.
ABS materials should use ASTM D-2235 grade cement.
Cleaner-Primer and Medium Body Solvent Cement
1. Cut pipe end square, remove jagged edges and burrs. Cham
-
fer end of pipe, then clean fitting socket and pipe joint area
of all dirt, grease or moisture.
2. After checking pipe and socket for proper fit, wipe
socket and pipe with cleaner-primer. Apply a liberal coat of
primer to inside surface of socket and outside of pipe. Do not
allow primer to dry before applying cement.
3. Apply a thin coat of cement evenly in the socket. Quickly
apply a heavy coat of cement to the pipe end and in-
sert pipe into fitting with a slight twisting motion until it
bottoms out.
NOTICE: Cement must be fluid; if not, recoat.
4. Hold the pipe fitting for 30 seconds to prevent the tapered
socket from pushing the pipe out of the fitting.
5. Wipe all excess cement from the joint with a rag. Allow 15
minutes before handling. Cure time will vary according to fit,
temperature and humidity.
NOTICE: Stir the solvent cement frequently while using. Use
a natural bristle brush or the dauber supplied with the can.
The proper brush size is one inch.
Figure 10 - Draining the Condensate
12


