Regency Z2510 WarmHearth 7
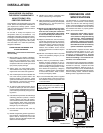
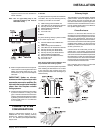
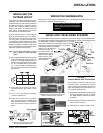
Framing Specifi cations
No Combustibles on Face of Unit
Combustibles May Not Extend to
Unit Face
Do not notch wallboard around
standoffs
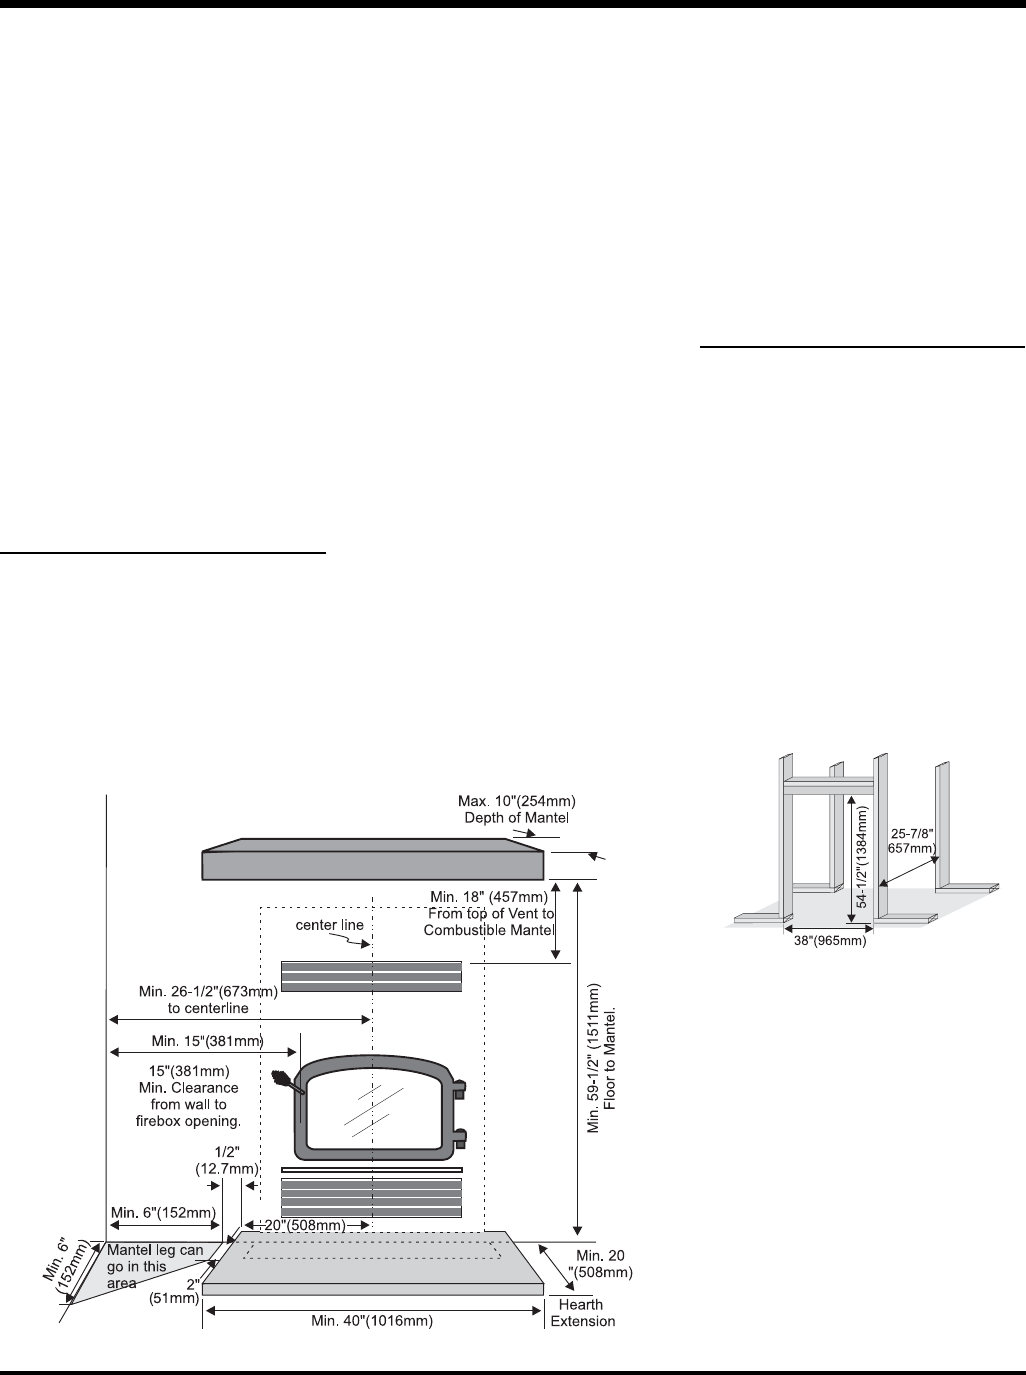
Clearances to Combustibles
INSTALLATION
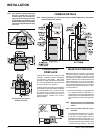
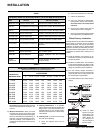
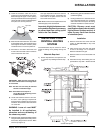
requires a minimum 2 in. (50 mm) clearance. A
combustible mantle (to a depth of 10 in.) may be
installed no closer than 18 in. (457 mm) above
the warm air vent.
The chimney must be enclosed when installed
in or passing through a living area where com-
bustible material or people may come in contact
with it. This is important to prevent possible
personal injury or fi re hazard.
For any further information, please call your
dealer. Special restrictions apply to the front and
facing of the fi replace and nearby walls.
WARNING: If insulation is used, do not place
the unit against it. Insulation or vapor barriers,
if used, must be secured to assure insulation
and vapor barriers remain in place and do not
affect the required air spaces.
WARNING: Do not pack or fi ll required air
spaces with insulation or other material. No
material of any kind is allowed in these areas.
NOTE:
FAILURE TO USE PARTS MAN-
UFACTURED BY REGENCY
FIREPLACE INDUSTRIES OR
VARIATIONS IN TECHNIQUES AND
CONSTRUCTION MATERIAL DE-
SCRIBED IN THIS MANUAL MAY
CREATE A FIRE HAZARD AND
VOID REGENCY’S WARRANTY.
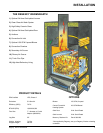
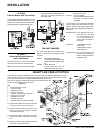
The WarmHearth main unit consists of the
following:
1) The main fi re box and heat exchanger
2) The large door with ceramic glass
3) A full brick lining and fl ue baffl e
4) The upper and lower louvers
5) The insulated outside air duct
6) The hearth extension fl oor protector used
for fl ush mount installations
7) Hearth Safety Strip
8) The internal blowers system (optional)
9) A Furnace Damper Control (optional)
10) The Masonry Retainer Kit (Optional)
11) Furnace Blower (optional)
CLEARANCES AND
HEIGHT
REQUIREMENTS
The WarmHearth may be placed on or near
construction materials. The combustion air kit,
fi re stop spacer and roof fl ashings (not chase
fl ashings) may be placed directly on or against
normal construction materials. The chimney
1) Do not insulate the chase cavity with blown
or fi ll type insulation materials.
2) Local codes may not require fi restopping at
the ceiling level for outside chase installa-
tions; however, it is recommended for safety
and the reduction of heat loss.
3) We recommend that you insulate at least
the fi rst fl oor of the chase to prevent heat
loss.
4) Some local codes require 1 hour fi re rating
on one or all sides of fi re chases. Check
with your local authorities.
FIREPLACE
ENCLOSURE FRAMING
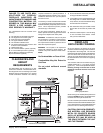
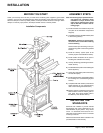
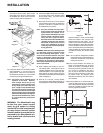
As per the diagram, the framing of the main
enclosure should not infringe on the area above
the fi replace to the ceiling level. The rear and
side walls as well as the face above the fi replace
must not extend into the area above the unit.
The only structure allowed above the unit is on
the stand-offs at the front of the unit supporting
the header.
The enclosure walls can be framed using any
suitable material (2 x 4 - 2 x 6 studs, plywood,
gyproc, etc.), 2 x 6 is not acceptable for header.
Normally, framing will be set back to allow
sheathing to be fl ush with the front of the
fi replace.
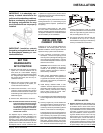
When framing in the header (directly above the
fi replace) DO NOT bring any combustible mate-
rial lower than the top of the stand-offs.
Be sure to seal the space between the fi replace
and the enclosure above with Wonderboard, Du-
rock or other similar non-combustible sheeting to
prevent hot air from entering the enclosure.
CAUTION: ONLY NON-COMBUSTI-
BLE MATERIAL LIKE EXPANDED
METAL OR CONCRETE BOARDS
SUCH AS WONDERBOARD AND
DUROCK ETC. MAY BE USED IN
THE SPACE BETWEEN THE UNIT
AND THE FRAMING.


