Regency Z2510 WarmHearth 17
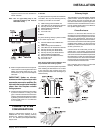
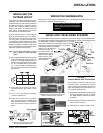
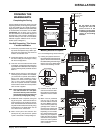
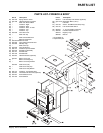
2" (51mm) x 4" (102mm)
Framing
Metal
Edging
.
.
.
.
.
.
.
.
.
.
.
.
.
.
.
.
Extend unit past
studs so it is flush
with sheeting.
Drill & Tap
screws
INSTALLATION
FINISHING THE
WARMHEARTH
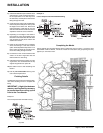
Completing the Facing
Facing materials must be thin veneer (non-self
supporting facades) or self supporting facades.
If you are installing a thin veneer facade the
Regency Masonry Retainer Kit (Part # 000-920)
is recommended. All facades must be Non-
Combustible such as brick, rock or ceramic
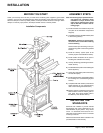
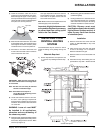
tile. See Clearance to Combustible diagram at
the beginning of this manual to determine the
extent to which you must use non-combustible
materials. Gypsum wallboard is not non-com-
bustible (refer to Diagram 1).
Non-Self Supporting, Thin Veneer
Facades Installation
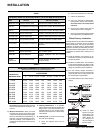
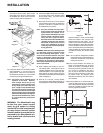
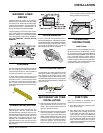
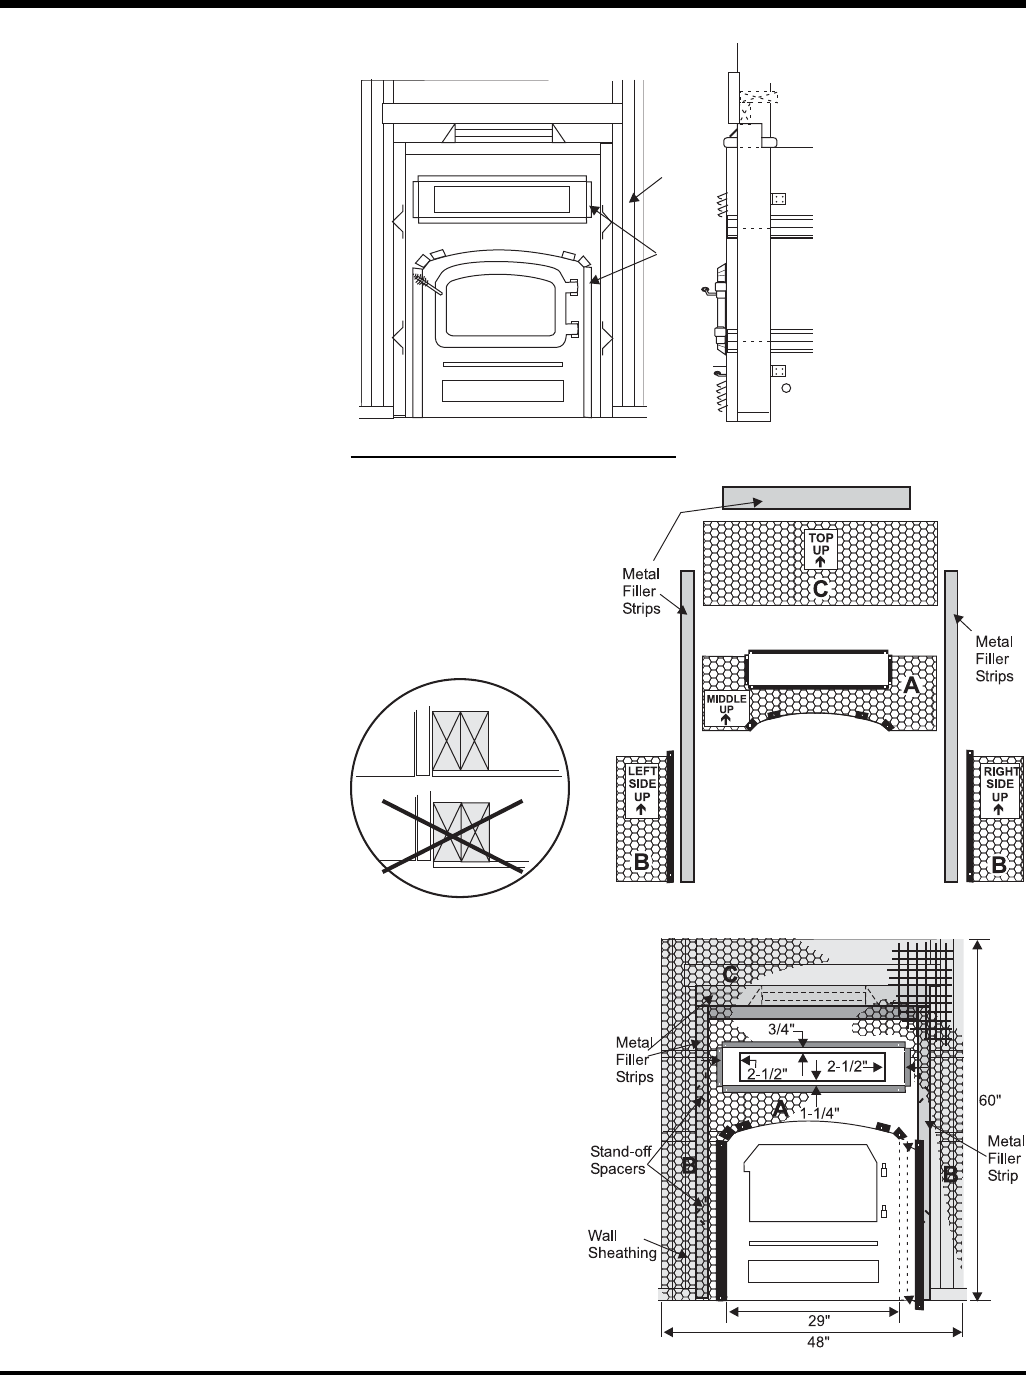
1) Install heavy expanded metal only on the
top half of the fi replace using a drill to pre-
drill holes and install using tap screws at
locations as indicated on kit.
2) Install metal edging of kit on each side of
the doors making sure the edges fi t nicely
with the arch edge above.
3) Cover the rest of the area with wire mesh
or metal lath, overlapping around the heavy
expanded metal. Make sure nails or staples
used for fastening mesh penetrate studs at
least 1 in.
4) Mortar must be "thin set" or "thin bed" type
inherently polymer modifi ed. If not modifi ed,
you should add a synthetic latex additive.
Mix to a fi rm, moist consistency. Using a
plasterer's or mason's trowel apply mortar
1/2 in. to 3/4 in. thick to prepared surface
area. Do not spread more than a workable
area so that the mortar will not set up before
stone or brick is applied.
Note: Remove the fi replace doors and lou-
vers and store them in a safe place
until all the masonry work is fi nished.
Acid from the cleaning operation will
permanently damage gold plating.
5) If additional mortar is required, use a grout
bag to fi ll in joints. Care must be taken to
avoid smearing on the surface of stone or
brick. Accidental smears should be removed
only after mortar has become crumbly, using
a whisk broom or dry bristle brush. Do not
use a wet brush or a wire brush.
6) When mortar joints have become fi rm
(thumb-print dry) they should be pointed
up with a wood stick or metal jointing tool.
Masonry Retainer Kit Option
For a non-selfsupporting veneer fi nish only.
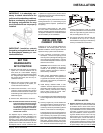
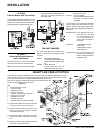
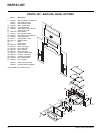
2) Unscrew the top stand-off
and move the ceramic blan-
ket forward so it will be tight
against the mesh to make a
seal.
3) Mesh must be positioned
one way only to allow the
mortar to hold and not slide
off. Place "Middle" mesh (A)
on the front and position top
grill edge frame. Check di-
mensions from opening and
mark and drill screw holes.
Depending on the installa-
tion, heavier reinforcing wire
screen may be required to
bridge the stand-off spacer
area around the perimeter
of the unit. Hold in position
with 2 screws while the door
arch is centered.
Diagram 1
1) Framing and plywood cannot ex-
tend past the side and top stand-off
spacers. Allow for the thickness of
the wall sheathing when framing so
that the front of the WarmHearth
and the wall sheathing are fl ush.
Do not restrict air fl ow
through the inlet and
outlet louvers of the
fi replace. This will cause
overheating and possible
ignition of surrounding
materials.


