Quadra-Fire 5100I-GD-B Indoor Fireplace User Manual



5100-I ACT WOOD INSERT
R
438-0380E
April 21, 2010
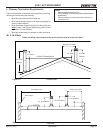
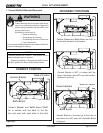
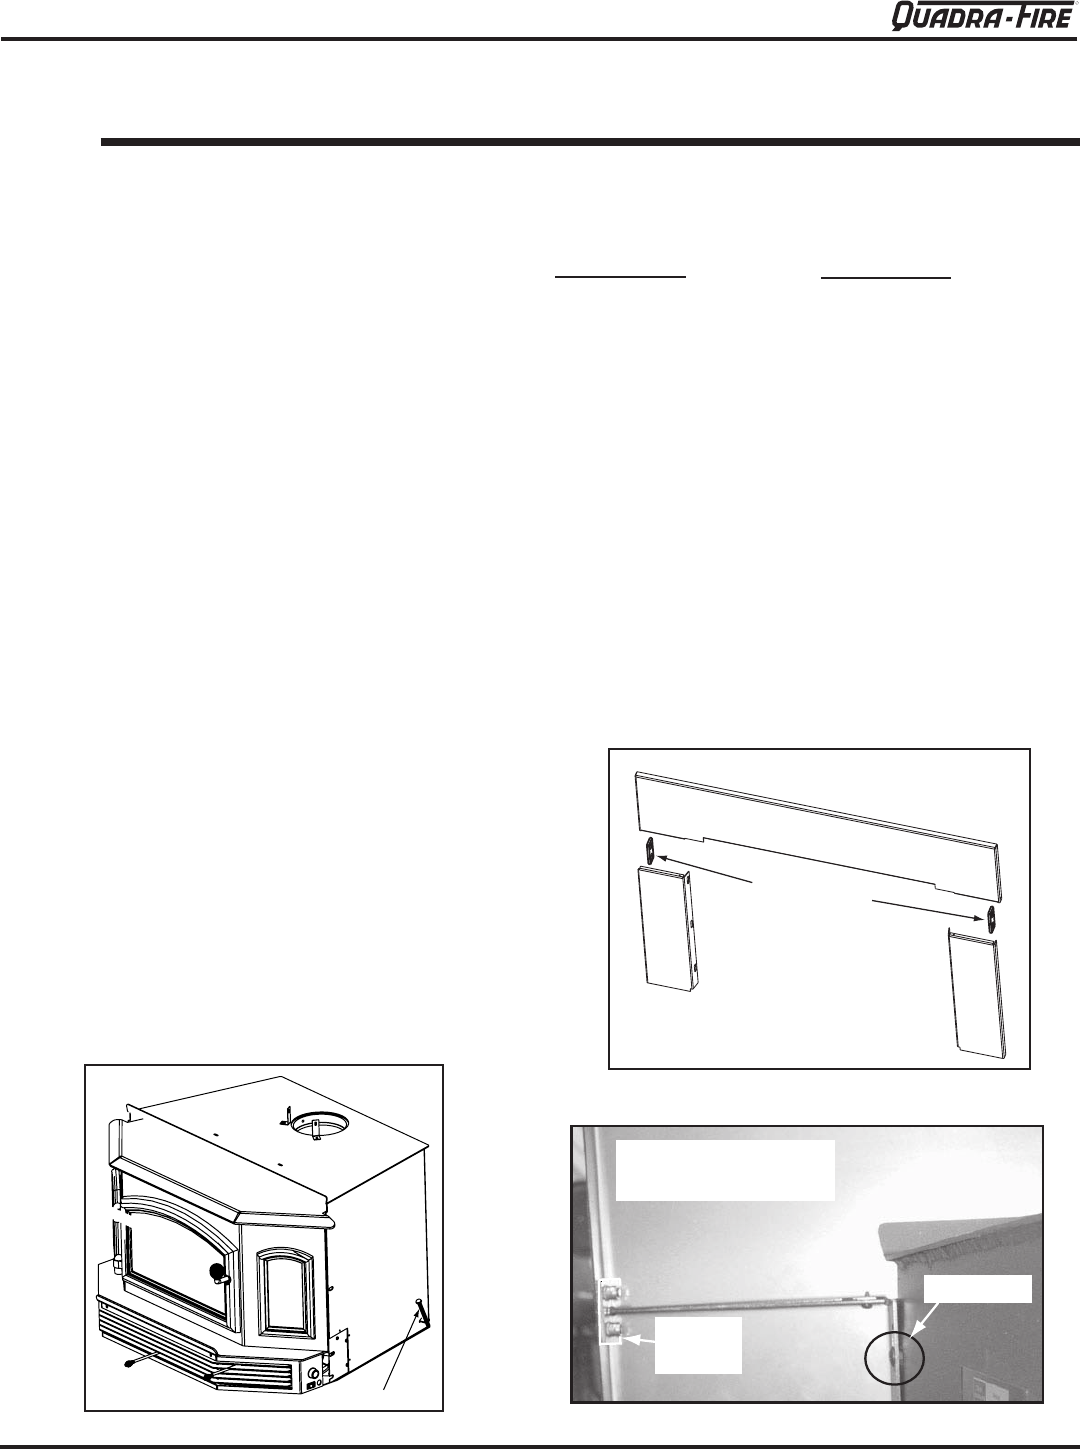
Figure 21.1
Figure 21.2
Figure 21.3
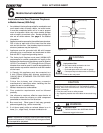
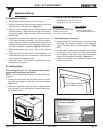
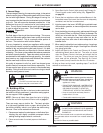
Two leveling bolts, 3/8” x 4” are shipped inside the com-
ponent pack found inside the rebox.
NOTE:-
ing bolts.
    
into weld nuts welded to each side of the insert bottom
Figure 21.1.
 
-
ward to level insert.
B. Leveling Bolts
7
Appliance Set-up


Do not tighten sides until
top is locked into place
Panel brackets
a.
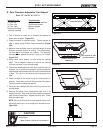
Loosely install the 2 side panels, do not tighten, using
the cage nuts already attached to the appliance.
     Figure
21.3.
 
         
    
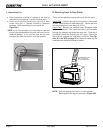
Figure 21.2.
         
handle screw driver.
Back view of top and
side panel assembled
Panel
bracket
Cage nut
1. Attaching Panels to the Insert
C. Panel & Trim Set Installation
Kit Includes:
(




Tools Needed:



A. Installation Outline
 
 
start the bolts in the weld nuts. Figure 21.1.
 
-
ing leaving approximately 4 inches (102mm) protruding
out the front.
4. Assemble the panels and temporarily attach to insert.
-

opening and that the face can be sealed off from room
air when installation is complete. Figures 21.2 & 21.3.
5. Remove the panels and secure liner to the chimney
ring.
 

then secure liner to offset adapter.
 

,EVELING"OLT