


and pause to indicate which protected zone was violated while the system is still
armed, after it’s disarmed, and until the vehicle’s ignition is turned on. The
system’s Zone Violation memory can store two consecutive zone violations. If
there have been multiple violations, the Status Light will replay the two most
recent violations in the order in which they occurred.
9) 2 Red Flashes / Pause = System was triggered by an open hood or trunk.
10) 3 Red Flashes / Pause = System was triggered by an open door.
11) 4 Red Flashes / Pause = System was triggered by the sensor.
Starting System Status: The primary function of the Status Light is to
indicate the status of the remote starting system:
12) Off = The remote starter system is off and in standby mode. The security
system is disarmed and not performing automatic functions.
13) Flashing Slow Green = The engine is running after remote starting.
14) Flashing Fast Green = A remote start command has been received, and the
system is in the process of starting the engine.
Remote Starting Diagnostics: Whenever the system is placed into Valet
Mode, the Status Light illuminates solid Red. However, when this occurs, the
Status Light will flash Red, then 1 to 6 Green flashes before resuming solid Red.
This indicates why the engine stopped running from the last previous remote
starting.
15) Red / 1 Green Flash / Red = Programmed run time expired.
16) Red / 2 Green Flashes / Red = Brake was pressed or hood opened.
17) Red / 3 Green Flashes / Red = Engine stalled or bad tach signal.
18) Red / 4 Green Flashes / Red = Received transmitter command to stop.
19) Red / 5 Green Flashes / Red = Gear selector removed from “park”.
20) Red / 6 Green Flashes / Red = Security system triggered or low voltage.
Combination Indications: These indications occur when security and
remote starting operations are, or have been, simultaneous.
21) Slowly Alternates Red & Green = Full Valet Mode (page 24).
22) Solid Green w/ Red Flash = Security Armed with Starting Valet Mode.
23) Solid Red w/ Green Flash = Remote starter system engaged with security
system in Valet Mode.
24) Rapidly Alternates Red & Green = Remote starter system engaged with
security system armed.
25) Slow Flashing Green w/ 2 to 4 Red Flashes = This indication is during remote
start operation after disarming the alarm, and shows that the pre-
viously Armed alarm was activated and reset prior to the remote
starting. The Red flashes are the Zone Violation (previous page),
occurring with the “engine running”
indicator.
Page 26
( ( (ECHO
ALARM VALET & STARTING VALET MODES
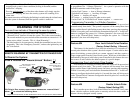
The Valet Switch may be located in the Status Light/Valet Switch Assembly,
or, the installer may have mounted the Valet Switch in a hidden, yet accessible
location. Please ensure that you and others who use your vehicle are aware of the
location of the Valet Switch.
Alarm Valet Mode: This allows you to turn off all of the “alarm” operations
of the security system while retaining the remote convenience features such as
keyless entry, Panic, and the Auxiliary Outputs. The system may only be placed
into Alarm Valet Mode when it’s disarmed; if armed, an Emergency Override
must be performed before placing into Alarm Valet Mode. Once the system is
in Alarm Valet Mode, it cannot become armed from the transmitter, Last Door
Arming, or Automatic Rearming.
Although both operations use the Valet Switch, Alarm Valet Mode and
Emergency Override are two similar, but different procedures. Emergency
Override disarms an armed and activated system, and requires the ignition key.
Alarm Valet Mode turns off the alarm operations of the disarmed system, but
without the need of the ignition key.
Alarm Valet Mode is designed for situations in which it is not convenient for
the security portion of the system to be operational, such as during extended
stopovers for vehicle servicing, maintenance, valet parking, washing, etc.
Starting Valet Mode: This feature is similar to Alarm Valet Mode, but its
purpose is turn off the remote starting operations of the system.
The system may
be placed into Starting Valet Mode and Alarm Valet Mode independently, or into
both modes at the same time. Please note that the only difference in obtaining
either mode is whether or not the brake pedal is being pressed.
Page 23
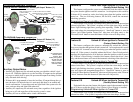
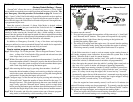
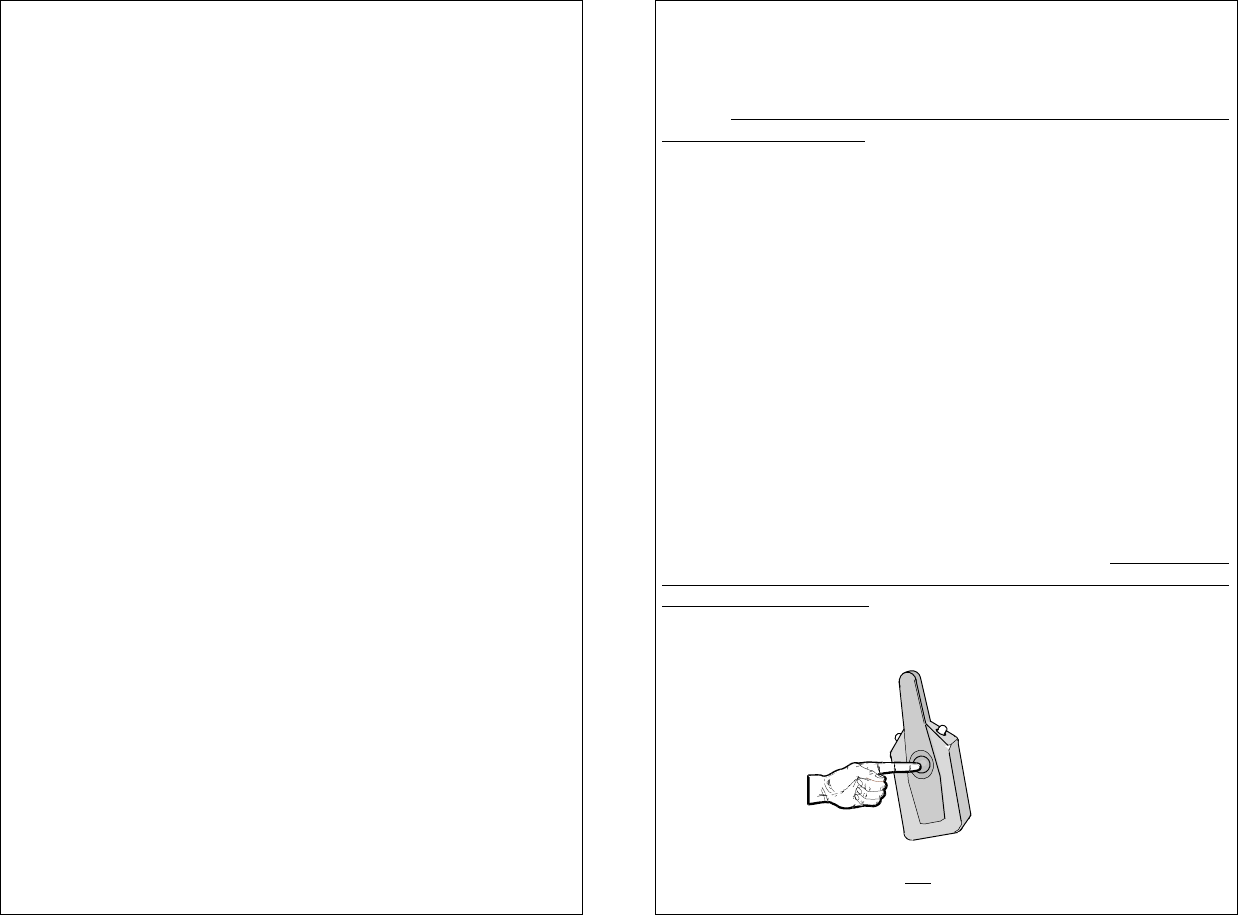
Alarm Valet Mode:
WITH THE SYSTEM DISARMED,
AND WITHOUT DEPRESSING
THE BRAKE PEDAL, PRESS
AND HOLD THE VALET
SWITCH FOR 2 SECONDS
Starting Valet Mode:
WITH THE SYSTEM DISARMED,
AND PRESSING THE BRAKE
PEDAL, PRESS AND HOLD THE
VALET SWITCH FOR 2 SECONDS
Full Valet Mode: WITH THE SYSTEM DISARMED, PRESS AND HOLD
THE VALET SWITCH WITH AND WITHOUT DEPRESSING THE BRAKE
PEDAL. HOLD THE VALET SWITCH UNTIL 4 CHIRPS TOTAL ARE HEARD.